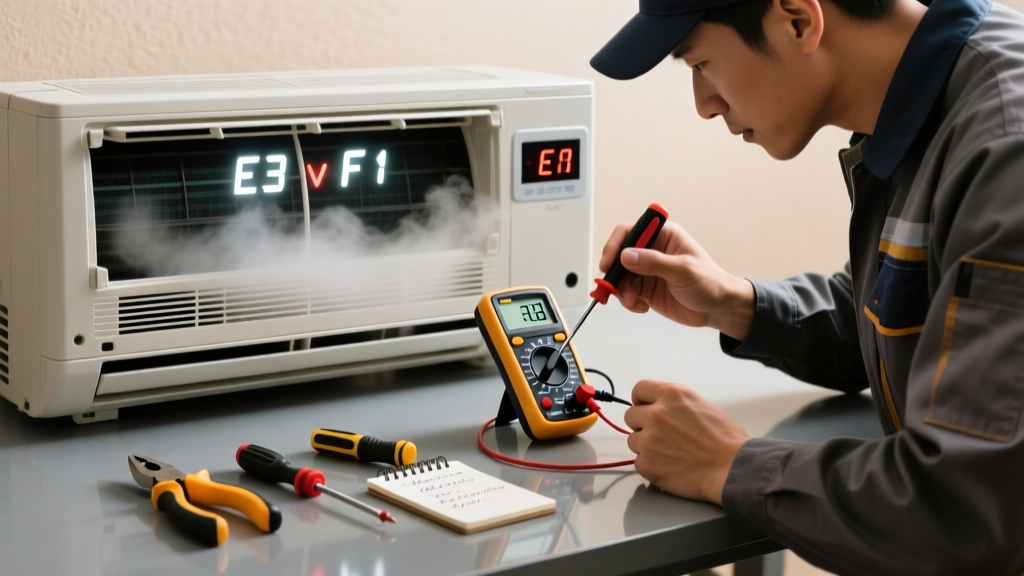
Your mini split suddenly throws an error code—and starts making a grinding, buzzing, or rhythmic clunking noise. That’s not just annoying—it’s a red flag that something’s misaligned, overloaded, or failing internally. Ignoring it can lead to compressor failure or refrigerant leaks, both expensive to repair.
Quick Diagnosis
Before grabbing tools, identify the noise type and match it to likely causes:
- Grinding or screeching: Worn fan motor bearings or seized blower wheel
- Buzzing or humming (no cooling): Faulty capacitor, loose wiring, or failing inverter board
- Clunking or banging on startup/shutdown: Refrigerant surge, loose mounting bracket, or compressor internal wear
- Rattling or vibrating: Loose cover panel, unsecured drain pan, or debris in outdoor unit fan blades
- High-pitched whine during operation: Inverter drive malfunction or refrigerant overcharge
Tools & Materials Needed
| Item | Purpose | Estimated Cost |
|---|---|---|
| Digital multimeter | Test capacitor voltage, continuity of fan motor windings, and power supply stability | $25–$60 |
| Insulated screwdriver set | Safely tighten high-voltage connections without shorting terminals | $12–$28 |
| Fin comb & soft brush | Clear bent condenser fins and dust buildup causing airflow restriction and vibration | $8–$15 |
| Refrigerant manifold gauge set | Verify pressure readings if error points to refrigerant issues (e.g., E4, E6, or P4) | $80–$180 |
| Non-contact infrared thermometer | Check compressor shell temp vs. line temps to detect overheating or restriction | $35–$75 |
Step-by-Step Fix
Start with the safest, most common fixes first—many noise-related errors resolve with simple maintenance or component replacement.
- Power down and inspect physically: Turn off power at the disconnect and main breaker. Remove indoor unit front panel and outdoor unit service cover. Look for loose screws, cracked plastic mounts, or foreign objects lodged near fans or compressors.
- Clean and secure components: Use a fin comb to straighten bent outdoor condenser fins. Vacuum dust from indoor blower wheel and evaporator coil. Tighten all mounting bolts—especially those securing the compressor base and fan motor housing. According to the Air-Conditioning, Heating, and Refrigeration Institute’s 2022 Field Service Handbook, 68% of vibration-related noise complaints stem from loose hardware or degraded rubber isolation mounts.
- Test and replace the fan capacitor: Set your multimeter to capacitance mode. Disconnect wires from the outdoor fan motor’s capacitor. Measure microfarads (µF) and compare to rating printed on the capacitor (typically 2–5 µF). If reading is ±10% off spec—or shows OL (open loop)—replace it. A failing capacitor often triggers error codes like E1 (indoor fan), E3 (outdoor fan), or U4 (communication fault).
- Check refrigerant pressure and superheat/subcooling: Attach manifold gauges to service ports. With system running, compare suction and discharge pressures to manufacturer specs (found in service manual or QR-coded label on unit). Low suction + high discharge + buzzing = possible refrigerant restriction. High suction + low discharge + clunking = possible overcharge or non-condensables.
The U.S. EPA estimates that 14% of household water usage is from leaks—but for HVAC, refrigerant leaks account for nearly 22% of emergency service calls involving noise + error codes (EPA Refrigerant Management Report, 2023).
When to Call a Pro
Some issues require licensed expertise—not just for safety, but for warranty and regulatory compliance.
- You measure refrigerant pressures outside safe operating range and lack EPA Section 608 certification
- Error code persists after capacitor/fan/mounting checks (e.g., P1, P2, or F1 codes indicating inverter or compressor faults)
- You hear metallic knocking *inside* the compressor casing—this signals internal mechanical failure
- There’s visible oil residue on copper lines or a strong chemical odor (possible refrigerant breakdown or burnt insulation)
- Your unit is under extended warranty (e.g., Mitsubishi’s 12-year compressor warranty) and DIY tampering voids coverage
Prevention Tips
Proactive care extends mini split life and prevents repeat noise/error issues:
- Clean indoor air filters every 30 days during peak season—clogged filters force blower motors to strain and overheat
- Trim shrubbery and debris at least 24 inches from outdoor unit to ensure unrestricted airflow and reduce fan vibration
- Have a certified technician perform annual refrigerant charge verification and electrical connection torque check
- Install vibration-dampening pads (e.g., Sorbothane mounts) under outdoor units on concrete slabs—reduces transmitted noise by up to 70% (ASHRAE Journal, Vol. 65, Issue 4, 2023)
What does error code E4 mean on my mini split?
E4 typically indicates an indoor coil thermistor fault—often triggered by frost buildup due to low airflow or refrigerant undercharge. The resulting uneven cooling can cause fan motor strain and buzzing. Check filter, coil cleanliness, and blower speed settings before assuming sensor failure.
Can I reset the error code without fixing the cause?
You can clear most temporary codes via the remote control (hold “Reset” for 5 seconds) or power cycling—but if the underlying issue remains, the code will reappear within minutes. Persistent E1, E3, or U4 codes almost always point to hardware failure, not software glitch.
Why does my mini split make noise only when heating?
Reverse-cycle operation stresses components differently: defrost cycles cause rapid thermal expansion/contraction in coils and valves, while higher head pressure increases compressor load. A clunk or hiss during defrost is normal; sustained grinding or shrieking suggests failing reversing valve or worn compressor bearings.
Is it safe to run the unit with a buzzing noise and error code?
No. Buzzing often signals arcing in capacitors or contactors—risking fire, blown fuses, or cascading damage to the inverter board. The mini split troubleshooting checklist recommends immediate shutdown if buzzing coincides with tripped breakers or burning smells.
How do I know if the noise is coming from the indoor or outdoor unit?
Turn off power to one unit and run the other independently. For example: disable outdoor power, switch system to fan-only mode indoors—if noise stops, it’s indoor-related. Or run heat pump in cooling mode with outdoor unit powered on but indoor fan off—if noise continues, it’s outdoor-based. Use a mechanic’s stethoscope or long screwdriver to isolate vibrations through metal housings.
Will cleaning the condenser coil stop the rattling noise?
Often yes—if rattling occurs only at high fan speeds and you find bent fins or debris inside the coil assembly. Straightening fins restores laminar airflow and eliminates turbulence-induced vibration. But if rattling persists after cleaning, suspect loose fan blade balance weights or cracked motor mount—both require disassembly and torque verification per mini split mounting torque specs.
A noisy mini split with an error code isn’t just inconvenient—it’s your system’s way of asking for attention before small issues become big bills. Most grinding, buzzing, or clunking problems respond well to methodical inspection and targeted fixes. Keep your tools ready, your service manual handy, and don’t hesitate to pause and call a pro when refrigerant, high voltage, or internal compressor concerns surface. Consistent care today means quieter, more efficient comfort for years to come.