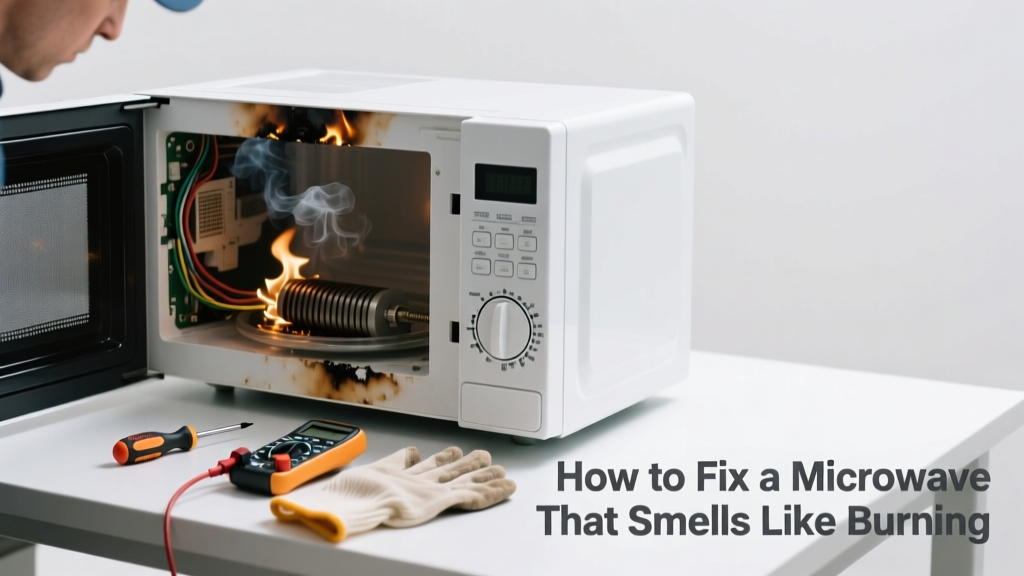
That acrid, electrical-burn smell coming from your microwave isn’t just unpleasant—it’s a red flag. Unlike a mild food odor, burning smells often signal overheating components, arcing, or damaged wiring. Ignoring it risks fire, permanent damage, or even injury.
Quick Diagnosis
Before grabbing tools, identify the likely source. Most burning smells fall into one of these categories:
- Charred food splatter on the cavity wall or ceiling
- Burnt-out magnetron or high-voltage diode (often accompanied by sparking or no heating)
- Melted or scorched waveguide cover (a thin plastic or mica sheet behind the interior wall)
- Overheated turntable motor or roller ring due to debris jamming rotation
- Electrical short in the control board or power supply
Tools & Materials Needed
| Item | Purpose | Estimated Cost |
|---|---|---|
| Microfiber cloths | Wipe interior without scratching; absorb vinegar solution | $5–$12 |
| White vinegar & water (1:1) | Dissolves grease, neutralizes odors, safe for microwave surfaces | $3–$5 |
| Small Phillips screwdriver | Remove waveguide cover or vent panel screws (usually #1 or #2) | $8–$15 |
| Replacement mica waveguide cover | Replaces burnt or warped cover that blocks steam but lets microwaves pass | $4–$9 |
| Non-contact infrared thermometer | Check surface temps of magnetron, transformer, or control board during operation | $25–$45 |
Step-by-Step Fix
Start with the safest, most common causes first—then escalate only if needed:
- Clean thoroughly: Mix 1 cup white vinegar + 1 cup water in a microwave-safe bowl. Heat on high for 5 minutes until steam coats interior. Let sit 5 minutes, then wipe walls, ceiling, and turntable with damp microfiber cloth. Pay special attention to corners and the waveguide cover area (upper right or left rear wall).
- Inspect and replace the waveguide cover: Unplug the unit. Remove the interior cavity’s rear wall panel (usually 2–4 screws). Look for charring, bubbling, or holes in the thin mica sheet. If damaged, order an exact-match replacement and install it with included adhesive or light pressure-fit clips.
- Clear turntable obstruction: Lift out the glass plate and roller ring. Clean under both with soapy water and a soft brush. Check for hardened food debris lodged in the motor housing groove. Reassemble and test rotation manually before powering on.
- Test for arcing: Run microwave empty for 10 seconds. Watch for blue flashes inside (especially near waveguide or door seal). If seen, stop immediately—this indicates serious internal fault or damaged shielding.
When to Call a Pro
Some issues require licensed technicians—not DIY. Call a certified appliance repair tech if you notice any of these:
- Smell persists after full cleaning and waveguide replacement
- Visible scorch marks on circuit board, transformer, or magnetron casing
- Tripped breaker or GFCI outlet when plugging in or operating
- Sparking occurs even with clean interior and no metal objects present
- Unit powers on but doesn’t heat—and you’ve ruled out simple fuse or door switch failure
According to the U.S. Consumer Product Safety Commission’s 2022 Appliance Incident Report, 62% of microwave-related fires involved internal component failure—not user error—making professional diagnostics essential when electrical symptoms appear.
Prevention Tips
- Cover food with microwave-safe lids or vented plastic wrap to reduce splatter
- Wipe interior weekly—even if no visible mess—to prevent grease buildup
- Never operate empty or with foil-lined containers
- Replace waveguide covers every 2–3 years if used daily, especially in high-humidity kitchens
- Ensure ventilation grilles are unobstructed (no cabinets pressing against top/sides)
Can I use bleach on this?
No. Bleach can corrode metal cavity surfaces and degrade the waveguide cover’s mica layer. It also produces toxic fumes when heated accidentally. Stick to vinegar, baking soda paste, or diluted dish soap—never chlorine-based cleaners.
Why does it smell only when I reheat coffee?
Coffee oils polymerize over time, forming sticky, heat-resistant residue on the cavity ceiling and waveguide. When reheated, they carbonize and emit a sharp, burnt-toast odor. Wipe the upper interior weekly with vinegar-dampened cloth to prevent buildup.
Is the burning smell dangerous if it stops after cleaning?
It may be—but not guaranteed. A one-time burn-off of old residue is low-risk. However, if the smell returns within 3–4 uses, suspect deeper issues like failing magnetron insulation or arcing at the stirrer fan mount. Monitor closely and test heating performance with a cup of water.
Can a dirty filter cause burning smells?
Only in over-the-range models. Clogged charcoal or grease filters restrict airflow, causing the internal cooling fan to overheat and melt nearby plastic housings. Replace charcoal filters every 6–12 months and wash metal grease filters monthly in hot, soapy water.
Do microwaves have fuses that blow and cause burning?
Yes—most have a thermal cut-off fuse near the magnetron and a main line fuse on the control board. A blown fuse itself won’t smell, but if it failed due to overheating (e.g., blocked vents), you’ll detect residual burning. Always check fuses with a multimeter before assuming component failure—see our fuse replacement guide.
Should I replace the whole microwave if it’s over 8 years old?
Not automatically—but consider it. The average microwave lifespan is 7–10 years (National Appliance Repair Association, 2023). Older units often lack updated safety interlocks and have degraded capacitor insulation. If repair costs exceed $120 or involve multiple parts, new ENERGY STAR® models start at $149 and cut standby power use by 50%.
A burning smell shouldn’t be normalized—it’s your microwave’s emergency alert system. Addressing it early prevents costly replacements and keeps your kitchen safe. Keep a spare mica cover on hand, clean weekly, and never ignore repeated odors. For persistent issues, trust trained eyes and calibrated tools over guesswork.