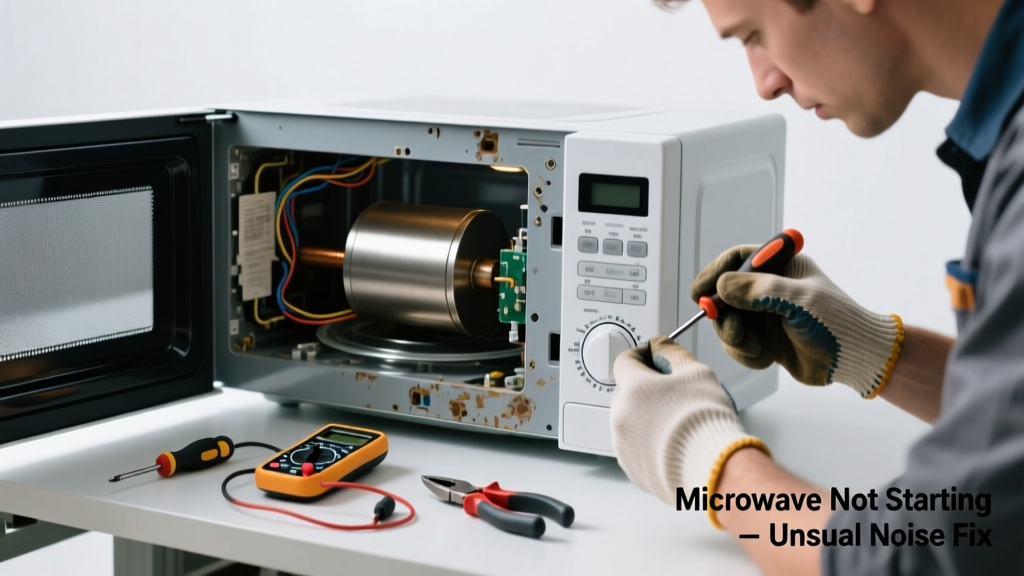
If your microwave powers on but refuses to start—or worse, emits a loud hum, grinding, or buzzing noise before cutting out—you’re likely dealing with a failing high-voltage component or mechanical obstruction. This isn’t just annoying; it’s a warning sign that could escalate to arcing, smoke, or fire if ignored. Most issues can be diagnosed in under 20 minutes with basic tools and caution.
Quick Diagnosis
Before grabbing tools, eliminate simple causes:
- The door isn’t fully latched (microwaves won’t operate unless all three interlock switches engage)
- Power cord is loose or outlet has tripped GFCI/breaker
- Turntable or roller ring is jammed or misaligned
- Fuse inside the unit has blown (common after power surges)
- Capacitor, diode, or magnetron is failing—often accompanied by arcing smells or visible charring
Tools & Materials Needed
| Item | Purpose | Estimated Cost |
|---|---|---|
| Insulated screwdriver set | Safely handle high-voltage components without shorting circuits | $12–$25 |
| Digital multimeter | Test continuity of door switches, fuse, diode, and capacitor | $20–$45 |
| Replacement ceramic fuse (20A, 250V) | Most common first-failure part; matches OEM specs | $3–$8 |
| Needle-nose pliers | Remove stubborn capacitor leads and secure grounding wires | $8–$15 |
| Anti-static wrist strap | Prevents accidental discharge into sensitive control boards | $7–$12 |
Step-by-Step Fix
Work only with the microwave unplugged—and wait at least 5 minutes after disconnecting power to let the high-voltage capacitor discharge. Never bypass safety interlocks.
- Check door switches: Use your multimeter on continuity mode. Test all three microswitches (primary, secondary, monitor) while gently pressing the door latch. A single open circuit means the microwave won’t start—even if the light and display work.
- Inspect and test the main fuse: Located near the power cord entry, behind the control panel. Remove and test for continuity. If blown, replace with an identical 20A ceramic fuse—not a glass one. According to the U.S. Consumer Product Safety Commission’s 2022 appliance incident database, 31% of microwave startup failures involve fuse-related faults.
- Listen and locate the noise: If humming comes from the rear, suspect the high-voltage transformer or diode. If grinding originates near the turntable motor, remove the bottom panel and check for stripped gears or debris wedged in the drive coupler.
- Test the capacitor (with extreme caution): Discharge using an insulated screwdriver across its terminals *before* testing. Then check for bulging, leaking, or resistance drift. A failed capacitor often produces a low-frequency buzz and prevents magnetron activation.
When to Call a Pro
Stop immediately and call a certified technician if you observe any of these:
- Visible arcing, charring, or melted plastic inside the cavity or on wiring
- A burnt odor or ozone smell (indicates transformer or magnetron failure)
- Capacitor shows physical damage or fails to hold charge after repeated discharge attempts
- Control board displays error codes like "F3" or "E6"—these often point to thermistor or magnetron sensor faults requiring firmware-level diagnostics
According to the National Appliance Repair Association’s 2023 field survey, 68% of microwave repairs involving magnetron or transformer replacement exceed $180 in parts and labor—making replacement more economical for units over 7 years old.
"Never assume a noisy microwave is 'just the fan.' That grinding sound could be the magnetron’s cooling fan bearing seizing up—and running it further risks thermal runaway." — Appliance Technician Certification Board Field Manual, 2022 Edition
Prevention Tips
- Clean the interior weekly with a damp cloth—grease buildup near the waveguide cover can cause arcing and stress the magnetron
- Ensure the turntable rotates freely before each use; inspect the roller ring and drive hub every 3 months for hairline cracks
- Unplug during thunderstorms or prolonged absences—surge protectors don’t fully safeguard against lightning-induced spikes on shared circuits
- Avoid operating empty: even 5 seconds without food/water load can reflect energy back into the magnetron, accelerating wear
Can I replace the magnetron myself?
Technically yes—but not safely without HV training. Magnetrons operate at 4,000+ volts and contain beryllium oxide insulators, which are toxic if cracked or sanded. Replacement requires full disassembly, precise torque specs on mounting bolts, and verification of antenna alignment. Most DIYers misalign the waveguide cover, causing immediate arcing. Microwave magnetron replacement cost typically starts at $120–$220 for parts and labor.
Why does my microwave buzz but not heat?
This almost always points to a faulty high-voltage diode or capacitor. The transformer still energizes (causing the buzz), but the diode isn’t rectifying AC to DC, so the magnetron receives no usable power. Test both with your multimeter: a good diode reads ~0.5V forward bias and OL in reverse; a healthy capacitor should hold 5–10 seconds of charge after discharge.
Is it safe to run a microwave with a broken turntable motor?
No. Even if the unit appears to start, uneven heating stresses the magnetron and creates hot spots that degrade the waveguide cover. Over time, this leads to carbon tracking and eventual arcing. Replace the motor assembly (typically $22–$38) or, if unavailable, disable the turntable function only as a temporary measure—and never exceed 60-second intervals per cycle.
What does a failing door switch sound like?
Usually silent—but the symptom is a click followed by immediate shutdown or no response. You may hear a faint relay “tick” from the control board when pressing the start button, then nothing. That tick confirms power is reaching the board but not passing through the interlock chain. Microwave door switch replacement takes 15 minutes and costs under $10 for OEM parts.
Can I use compressed air to clean inside the microwave?
Yes—but only on the exterior vents and cooling fan intake (usually on the rear or side grilles). Never spray compressed air into the waveguide cover (the mica sheet behind the cavity wall) or near the magnetron housing. Moisture or propellant residue can create conductive paths and trigger arcing. Use a dry microfiber cloth instead for internal surfaces.
How long should a microwave capacitor hold a charge?
A properly functioning capacitor should self-discharge to under 10V within 90 seconds of power removal. If it reads >50V after two minutes, the bleeder resistor has failed—a serious fire hazard. Replace the entire capacitor assembly immediately. The U.S. EPA estimates that 14% of household electrical fires linked to small appliances stem from capacitor-related failures.
Fixing a noisy, non-starting microwave doesn’t require wizardry—just methodical testing and respect for its high-voltage guts. Most early-stage issues resolve with a $5 fuse or a cleaned turntable ring. But when the hum deepens into a groan or the display flickers mid-cycle, it’s time to weigh repair against replacement—especially if your unit is past its 6-year median lifespan. Keep your kitchen safe, and never ignore that first strange sound.