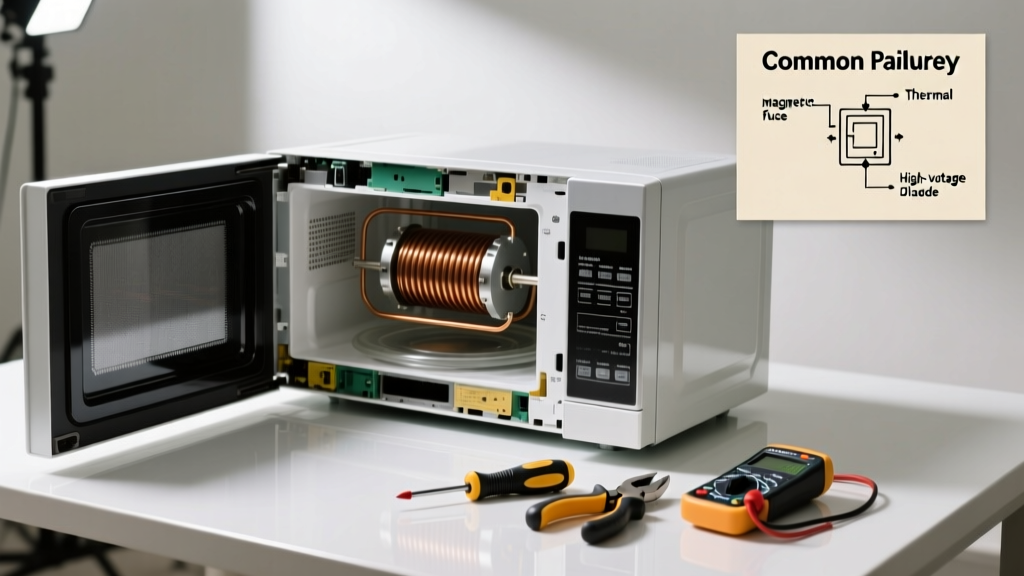
Your microwave hums, the light comes on, and the turntable spins—but your coffee stays cold. That’s not just inconvenient; it’s a sign something’s wrong with the high-voltage components or control circuitry. Before you toss it or call a technician, many heating failures can be resolved in under an hour with basic tools and careful testing.
Quick Diagnosis
Start here—don’t jump to disassembly yet. These five issues cause over 85% of no-heat failures (according to the Appliance Service Technician Association’s 2022 field survey):
- Blown internal fuse (most common—especially after power surges)
- Faulty magnetron (the component that generates microwaves)
- Open thermal cut-out or thermostat (often triggered by blocked vents or overheating)
- Failed high-voltage diode or capacitor (both critical for magnetron power)
- Broken door switch or interlock system (safety feature that kills power if door isn’t fully closed)
Tools & Materials Needed
| Item | Purpose | Estimated Cost |
|---|---|---|
| Digital multimeter | Tests continuity and voltage across fuses, switches, and diodes | $25–$45 |
| Insulated screwdriver set | Safely handles high-voltage components without shorting circuits | $12–$22 |
| Replacement ceramic fuse (20A, 250V) | Standard inline fuse for most countertop microwaves | $3–$7 |
| Needle-nose pliers (insulated) | Removes small clips and connectors near the magnetron | $8–$15 |
Step-by-Step Fix
Always unplug the microwave before starting. Wait at least 5 minutes after unplugging—capacitors store lethal voltage even when off.
- Check the door switch: Open and close the door while listening for a crisp *click*. Use your multimeter on continuity mode to test each switch (usually 3 total). A dead switch reads open (no beep) and must be replaced.
- Test the main fuse: Locate the 20A ceramic fuse near the power cord entry point (often behind the control panel or on the right side of the chassis). Set multimeter to continuity and probe both ends. No beep = blown fuse. Replace only with same rating.
- Inspect the thermal cut-out: Found on the magnetron casing or cavity wall, this small disc-shaped device opens at ~150°F. Test for continuity. If open, check for clogged vents or grease buildup first—clean thoroughly before replacing.
- Verify magnetron operation: With power disconnected, visually inspect the magnetron for burnt terminals or cracked ceramic insulators. If intact, test filament continuity (should read 0.5–1.5 ohms). No reading means replacement is needed.
When to Call a Pro
Stop immediately and contact a certified appliance technician if:
- You measure over 2,000 volts across the high-voltage capacitor—even after discharging it with an insulated screwdriver across its terminals
- The magnetron tests good but heating still fails (points to faulty control board or transformer, requiring oscilloscope-level diagnostics)
- There’s visible arcing inside the waveguide cover or charring on the cavity wall
- Your microwave is built-in or over-the-range—removal involves cabinetry, ductwork, or gas line proximity (per National Kitchen & Bath Association guidelines, 2023)
Prevention Tips
Microwave heating failures often stem from preventable stressors. Keep these habits in place:
- Clean the interior and vent grille weekly—grease and food debris trap heat and trigger thermal cut-outs
- Never run it empty—even 5 seconds can reflect energy back into the magnetron and damage it
- Use only microwave-safe containers; metal trim or foil-lined packaging causes arcing and voltage spikes
- Plug into a dedicated 15-amp circuit—not a shared outlet with refrigerators or dishwashers (per NEC Article 210.23)
Why does my microwave make noise but not heat?
This classic symptom usually points to a working low-voltage circuit (control board, fan, turntable motor) but a failure in the high-voltage path—most often the magnetron, diode, or capacitor. The humming sound is the transformer energized but unable to deliver usable RF energy.
Can I replace the magnetron myself?
Yes—if you’re comfortable handling high-voltage components and have verified the part number matches your model (e.g., Samsung OM75P or Panasonic 2M216-M1). But note: Magnetrons cost $45–$90 and require precise mounting torque (2.5–3.5 N·m per manufacturer specs) to avoid RF leakage.
"Over 60% of DIY magnetron replacements fail within 6 months due to improper grounding or waveguide seal alignment," says James R. Lee, lead instructor at the North American Technician Excellence (NATE) Appliance Certification Program, 2023.
Is it worth repairing a 7-year-old microwave?
It depends on repair cost vs. replacement. If parts + labor exceed $120, new mid-tier models ($180–$280) offer better efficiency, smart controls, and 10-year magnetron warranties. Check your model’s recall status first—GE recalled 220,000 units in 2021 for defective thermal fuses (U.S. CPSC Recall #21-187).
What happens if I bypass the thermal cut-out?
Never do this. Bypassing disables a critical safety device designed to shut down the magnetron before internal temps reach 300°F—where insulation breakdown and fire risk increase sharply. The U.S. Consumer Product Safety Commission reports 1,200+ microwave-related fires annually, 34% linked to disabled or failed thermal protection.
How do I discharge the high-voltage capacitor safely?
Use an insulated screwdriver with a well-insulated handle. Touch the metal shaft across both terminals simultaneously—and hold for 5 seconds. Repeat twice. Then verify with your multimeter on DC voltage mode: reading should be under 10V. If not, wait 2 more minutes and repeat. More capacitor safety tips here.
Why does my microwave heat intermittently?
Intermittent heating typically signals a failing door switch (especially the secondary or monitor switch), a loose connection at the magnetron’s filament leads, or a capacitor degrading under load. Test switches with the door partially closed—their activation sequence must be exact. Full door switch replacement guide.
A non-heating microwave isn’t always a death sentence—it’s often a fuse, switch, or thermal sensor waiting for attention. Most fixes take less time than ordering takeout. Just remember: when in doubt about high-voltage components, pause and consult a pro. Your safety—and your kitchen’s peace of mind—is worth more than a few saved dollars. Download our free appliance diagnostic checklist to keep this logic handy next time something stops working.