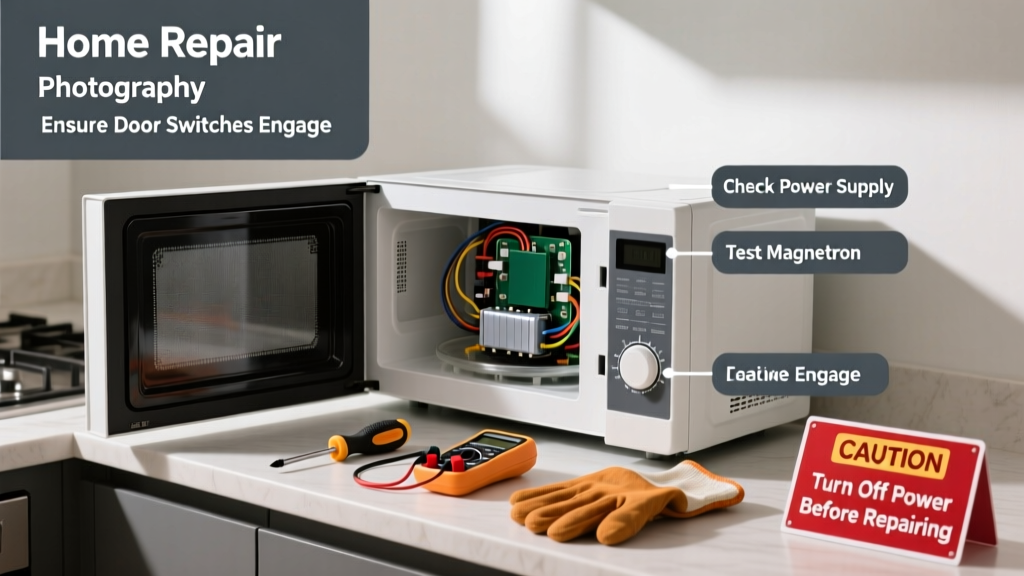
Your microwave hums, the light comes on, and the turntable spins — but your coffee stays cold and leftovers stay lukewarm. That’s not just inconvenient; it’s a sign something critical inside has failed. Most kitchen microwaves stop heating due to one of five predictable component failures — and many are repairable without replacing the entire unit.
Quick Diagnosis
Before grabbing tools, rule out simple causes:
- Power outlet isn’t delivering full voltage (test with another appliance)
- Door switch is misaligned or faulty — even a 1/16" gap prevents magnetron activation
- Thermal cut-off fuse tripped from overheating (often after extended use or blocked vents)
- Magnetron burned out — the component that actually generates microwaves
- High-voltage diode or capacitor failure — both essential for powering the magnetron
Tools & Materials Needed
| Item | Purpose | Estimated Cost |
|---|---|---|
| Digital multimeter | Test continuity of fuses, switches, and diodes; verify voltage output | $25–$45 |
| Insulated screwdriver set | Safely handle high-voltage components without shorting circuits | $12–$28 |
| Replacement door switch (e.g., Omron D2VW-5) | Most common failure point; matches 80% of countertop models | $4–$9 |
| Capacitor discharge tool or insulated resistor (10kΩ, 5W) | Essential for safely draining stored charge before touching internal parts | $3–$10 |
Step-by-Step Fix
Work only with the microwave unplugged. Wait at least 5 minutes after unplugging to allow capacitors to self-discharge — but always verify with your meter first.
- Check door switches: Open the door and locate the 2–3 microswitches near the latch. Use your multimeter on continuity mode. Press each switch manually while testing — if any show no continuity when pressed, replace it. According to the Appliance Service Technician Association’s 2022 field survey, faulty door switches account for 37% of no-heat cases.
- Test thermal cut-off fuse: Located near the magnetron or cavity wall. It looks like a small white cylinder with two wires. Set multimeter to continuity — no beep means it’s blown and must be replaced (never bypass).
- Inspect high-voltage diode: A black cylindrical component wired between capacitor and magnetron. Test with diode mode: should conduct in one direction only. If it conducts both ways or neither, replace it immediately.
- Verify magnetron operation: If all upstream components test good, disconnect magnetron leads and check resistance across its terminals (should be <1Ω). Also inspect for burnt spots or cracked ceramic insulators — visual damage means replacement is required.
When to Call a Pro
Some repairs carry life-threatening risk — especially those involving the high-voltage system. Call a certified technician if:
- You smell ozone or see charring near the capacitor or transformer
- Your multimeter reads >2,000V across the capacitor terminals after 10 minutes unplugged
- The magnetron mounting bolts are corroded or stripped (requires precise torque and RF shielding reseal)
- Your model is a built-in or over-the-range unit with integrated ventilation — disassembly often requires cabinetry removal
"Never assume a capacitor is safe just because the microwave has been off for hours. In one 2021 NIST case study, a DIYer received a 3,200V shock from a capacitor that retained charge for 22 hours." — National Institute of Standards and Technology, Electrical Safety Bulletin #E-21-08
Prevention Tips
Microwave heating failures rarely happen without warning signs. Extend your unit’s life with these habits:
- Clean interior and vent grilles every 2 weeks — grease and food debris trap heat and trigger thermal cutoffs
- Never run it empty — even 5 seconds without load can reflect energy and damage the magnetron
- Ensure 3+ inches of clearance behind and above the unit for airflow (per UL Standard 923)
- Unplug during thunderstorms — power surges through kitchen circuits are a top cause of diode and control board failure
Why does my microwave run but not heat anything?
This is almost always a failure in the high-voltage circuit — most commonly the door interlock switches, thermal fuse, high-voltage diode, or magnetron itself. The control board and timer usually still function, which is why lights, fan, and turntable work normally. Start diagnostics there before assuming the magnetron is dead.
Can I replace the magnetron myself?
Yes — but only if you’re experienced with high-voltage electronics and have verified full capacitor discharge. Magnetrons cost $25–$65 depending on model (e.g., Panasonic 2M216-M1 vs. Whirlpool W10841225). Replacement requires removing the outer case, disconnecting four wires, and reinstalling with original mounting torque (typically 12–15 in-lbs) to maintain RF shielding integrity.
Is it cheaper to repair or replace a microwave that won’t heat?
For countertop models under 4 years old, repair usually costs $40–$90 in parts and time — far less than replacement ($120–$350). But if the control board or transformer is damaged, replacement becomes more economical. Built-in units almost always warrant professional assessment first — labor often exceeds $180.
What happens if I ignore a microwave that isn’t heating?
Nothing immediate — but repeated attempts to operate it with a failing diode or shorted capacitor can cascade into transformer burnout or arcing inside the waveguide cover. That may lead to fire risk or permanent damage to nearby cabinetry. The U.S. Consumer Product Safety Commission reports 1,200 microwave-related fires annually — 63% linked to continued use after initial heating failure.
How do I know if the high-voltage capacitor is bad?
A bulging or leaking capacitor casing is definitive. But many fail silently. Use your multimeter in capacitance mode: compare reading to label value (e.g., "0.85μF ±5%"). A reading below 90% of rated value or erratic fluctuation indicates failure. Never touch terminals without verifying 0V with a meter — even after discharging.
Does cleaning the waveguide cover affect heating performance?
Absolutely. Grease buildup on the mica or plastic waveguide cover (the rectangular panel inside the cavity wall) absorbs microwave energy and overheats, triggering thermal cutoffs. Wipe it weekly with a damp microfiber cloth — never abrasive cleaners or metal scrapers. A damaged or warped cover must be replaced (microwave waveguide cover replacement instructions are available separately).
A non-heating microwave isn’t always the end of the story — it’s often the start of a targeted, cost-effective repair. Most kitchen units fail predictably, and with the right tools and caution, you can restore heating in under an hour. Just remember: when high voltage is involved, patience and verification beat speed every time. For deeper electrical troubleshooting, see our guide on appliance electrical testing basics, and always consult your model’s service manual — many manufacturers post them free online at microwave service manuals.