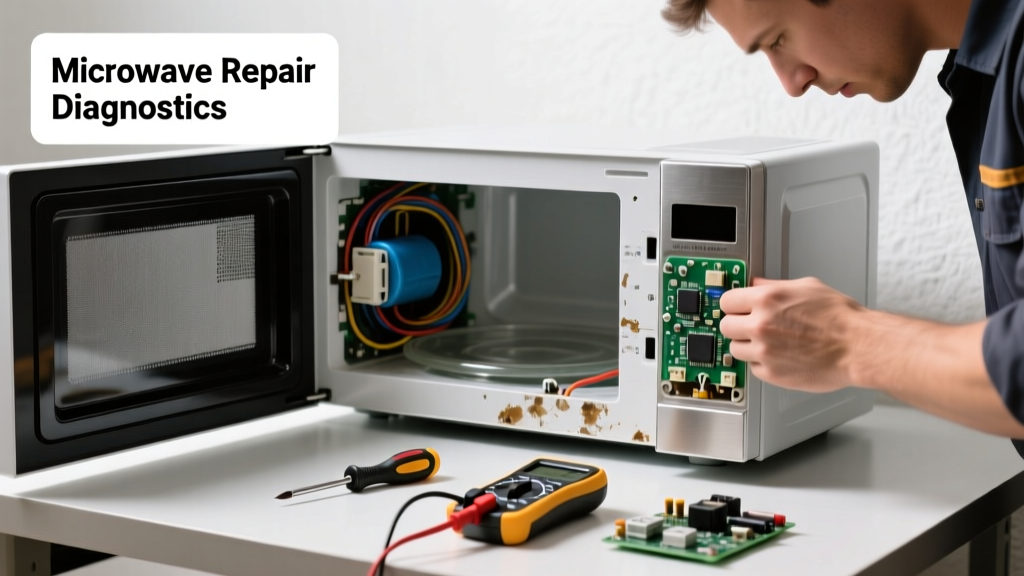
If your microwave is making strange noises—grinding, buzzing, humming, or even popping—and isn’t heating food properly, don’t assume it’s time for a replacement. Many noise-and-function issues stem from simple, repairable problems like a worn turntable motor, misaligned roller ring, or failing high-voltage diode.
Quick Diagnosis
Start by listening closely and observing behavior:
- Grinding or scraping sound → Likely turntable assembly issue (roller guide, coupler, or motor)
- High-pitched hum with no heat → Failed magnetron or high-voltage diode
- Buzzing + arcing sparks inside → Damaged waveguide cover or metal debris
- Clicking without startup → Faulty door switch or control board relay
- Intermittent operation + whining noise → Overheating thermal cut-off or failing capacitor
Tools & Materials Needed
| Item | Purpose | Estimated Cost |
|---|---|---|
| Phillips #2 screwdriver | Removes outer cabinet screws and access panels | $4–$8 |
| Digital multimeter | Tests continuity of door switches, diode, and capacitor | $15–$35 |
| Replacement turntable coupler (OEM) | Replaces worn plastic gear connecting motor to tray | $6–$12 |
| Waveguide cover (mica sheet) | Replaces burnt or warped cover protecting magnetron opening | $3–$9 |
| Insulated gloves & safety glasses | Required when testing high-voltage components (capacitor holds lethal charge) | $10–$22 |
Step-by-Step Fix
- Unplug and discharge the capacitor: Wait at least 5 minutes after unplugging, then short the capacitor terminals with an insulated screwdriver across both leads (wear gloves). This is non-negotiable—capacitors store 2,000+ volts.
- Inspect the turntable system: Remove the glass tray and roller ring. Check for cracks, warping, or debris under the ring. Rotate the coupler (the plastic post beneath the tray)—if it wobbles or doesn’t turn smoothly, replace it.
- Test door switches: Use your multimeter on continuity mode. There are usually three microswitches (primary, secondary, monitor). All must click and show continuity when the door is closed. Replace any that fail.
- Check the waveguide cover: Open the interior cavity and look above the stirrer (or behind the right wall). If the mica sheet is discolored, warped, or has holes, replace it immediately—it’s cheap and critical for safe operation.
- Listen and isolate the magnetron: With the outer case removed and power disconnected, inspect the magnetron (cylindrical metal tube near the transformer). Look for burn marks or bulging. If suspected, test its filament resistance (should be 0.5–1.5 Ω); infinite resistance means failure.
When to Call a Pro
Stop immediately and call a certified appliance technician if you encounter any of these:
- The microwave emits burning smells or visible smoke during operation
- You hear loud arcing sounds *and* see blue flashes inside the cavity
- Capacitor shows physical bulging or electrolyte leakage
- Magnetron tests good but unit still won’t heat—points to control board or transformer failure
- Your model is over 10 years old and has recurring failures (replacement may be more cost-effective)
According to the U.S. Consumer Product Safety Commission’s 2022 Appliance Incident Report, 27% of microwave-related injuries involved attempted DIY repairs of high-voltage components without proper training or discharge procedures.
Prevention Tips
- Clean the interior weekly with vinegar-water solution to prevent grease buildup near the waveguide
- Never run the microwave empty—even 5 seconds can damage the magnetron
- Replace the turntable coupler every 3–4 years if used daily
- Ensure the door seals cleanly: wipe gasket monthly and check for dents or warping in the latch mechanism
- Use only microwave-safe containers—no metal trim, foil, or recycled paper with hidden staples
Why does my microwave make a loud humming noise but still heats?
A persistent low-frequency hum during operation often indicates a failing high-voltage transformer or weak magnetron. Even if heating occurs, this noise signals impending failure—test transformer windings for continuity and compare resistance values to your model’s service manual (microwave transformer testing guide).
Can I replace the turntable motor myself?
Yes—if you’re comfortable removing the bottom panel and tracing wiring. Most motors mount with two screws and connect via a quick-disconnect plug. Match the RPM and voltage rating (usually 120V AC, 5–6 RPM) to your OEM part number. A mismatched motor can cause grinding or stall under load.
Is it safe to run the microwave with a damaged waveguide cover?
No. A punctured or warped mica cover allows microwaves to reflect into the cavity wall, causing arcing, carbon tracking, and eventual magnetron burnout. It also increases radiation leakage risk. Replace it within 24 hours of noticing damage—step-by-step waveguide cover replacement takes under 10 minutes.
What does a failing capacitor sound like?
A failing high-voltage capacitor often produces a rhythmic click-hum-click pattern just before startup—or a sustained, rising whine during operation. If your multimeter reads less than 0.8 µF (or outside ±10% of rated value), replace it. Never substitute with a generic capacitor—microwave capacitors are oil-filled and rated for pulse duty.
How do I know if the magnetron is bad?
Signs include no heat despite normal light/fan operation, a faint ozone smell, or a ‘thunk’ sound at startup followed by silence. Multimeter testing requires checking both filament continuity (0.5–1.5 Ω) and case-to-pin insulation (>10 MΩ). If either fails, the magnetron must be replaced—magnetron replacement steps require careful grounding and alignment.
Will cleaning the microwave fix the noise?
Sometimes—especially if the noise is a rattle or buzz caused by loose screws, debris under the turntable, or food splatter vibrating against the cavity wall. But cleaning won’t fix mechanical wear (e.g., worn coupler), electrical faults, or component fatigue. Always rule out physical obstructions first before moving to electronics.
Most microwave noise-and-failure issues aren’t random—they’re symptoms of cumulative stress on aging parts. Addressing them early keeps repair costs under $25 and extends unit life by 2–4 years. Keep your owner’s manual handy, label all screws as you remove panels, and never skip the capacitor discharge step—even if you’ve done it a dozen times before.