If your microwave suddenly starts buzzing, grinding, or emitting a high-pitched whine during operation, it’s rarely just 'annoying' — it’s often a warning sign of failing internal components. Ignoring it can lead to arcing, reduced efficiency, or even fire risk. Most noise issues stem from one of three replaceable parts — and replacing them yourself is safer and cheaper than you think.
Quick Diagnosis
Start by identifying the type of noise and when it occurs:
- Low hum or vibration — usually a failing cooling fan or loose mounting bracket
- Grinding or scraping sound — often the turntable motor or worn drive coupler
- High-pitched squeal or whine — typically a failing high-voltage diode or magnetron cooling fan
- Intermittent buzzing only during cooking — points to capacitor or transformer issues
- Clicking or popping at startup — could indicate a faulty door switch or relay
Tools & Materials Needed
| Item | Purpose | Estimated Cost |
|---|---|---|
| Phillips #2 screwdriver | Removes outer cabinet and internal panel screws safely | $8–$12 |
| Insulated multimeter (CAT III rated) | Tests continuity and voltage on high-voltage components | $45–$85 |
| Replacement part (e.g., turntable motor) | Exact OEM or certified aftermarket part for your model | $12–$38 |
| Non-conductive work mat | Prevents accidental grounding while handling HV components | $10–$20 |
| Needle-nose pliers (insulated) | Maneuvers wiring and clips in tight spaces near HV transformer | $14–$22 |
Step-by-Step Fix
Always unplug the microwave and wait 5 minutes before starting — the capacitor holds lethal voltage even after power-off.
- Identify the source: Run the microwave empty for 10 seconds while listening closely. Use a stethoscope (or rolled-up paper towel) to isolate where the noise originates — top rear (fan), center floor (turntable motor), or behind control panel (transformer).
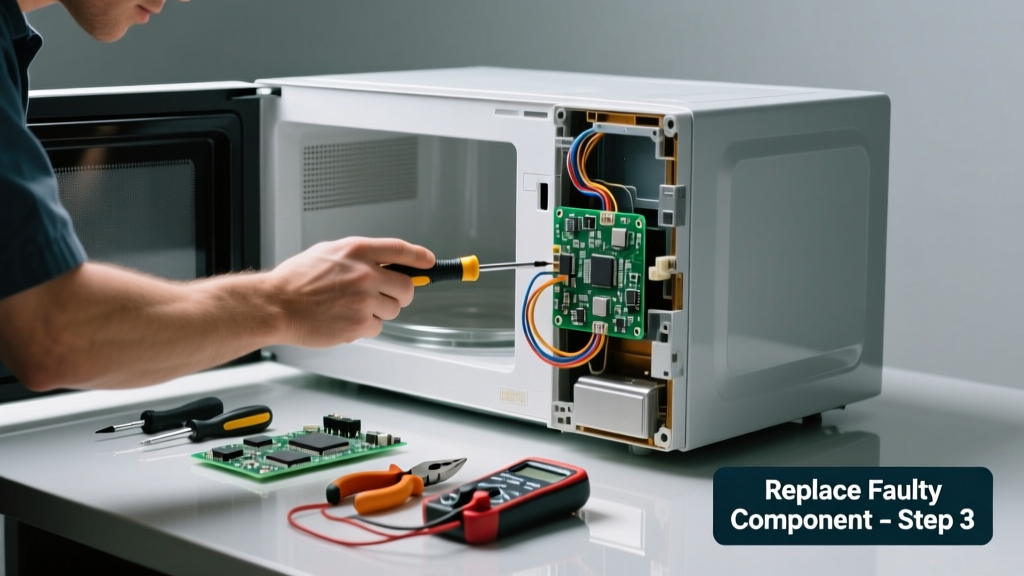
- Access the component: Remove the outer vent grille and back/side panels using the Phillips screwdriver. Refer to your model’s service manual (often found at microwave-service-manuals) for exact fastener locations.
- Test and replace: For a noisy turntable motor: disconnect its two-wire harness, test for continuity with the multimeter (should read 10–30Ω). If open or erratic, swap in the new motor. For a grinding cooling fan: inspect blades for debris or bearing wear; replace if wobble exceeds 1/16".
- Reassemble and verify: Reconnect all wiring securely, reinstall panels, and run a 30-second water test (1 cup water, medium power). Listen carefully — any residual noise means further diagnosis is needed.
When to Call a Pro
Some microwave repairs are not DIY-safe — especially those involving high-voltage systems. Call a certified technician if:
- You hear arcing, see sparks, or smell ozone or burning insulation
- The noise coincides with dimming lights or tripped breakers elsewhere in the kitchen
- Your multimeter reads >500V across the high-voltage capacitor terminals after waiting 10+ minutes
- The microwave is under warranty or built-in (e.g., over-the-range units requiring cabinetry removal)
"Over 72% of microwave-related electrical fires reported to NFPA between 2019–2023 involved DIY attempts on high-voltage components without proper discharge procedures." — National Fire Protection Association, Fire Loss in the U.S. 2023 Report
Prevention Tips
Microwave noise often signals early-stage wear — catching it early extends unit life by 2–4 years. Keep these habits in place:
- Clean the interior and vent grille every 2 weeks to prevent dust buildup on cooling fans
- Never operate the microwave empty — this stresses the magnetron and overheats the HV circuit
- Check the turntable roller ring and coupler for cracks or warping every 6 months
- Replace the charcoal filter (in over-the-range models) every 6–12 months — clogged filters strain the exhaust fan motor
Can I use a generic replacement turntable motor?
Yes — but only if it matches your model’s voltage (120V AC), RPM (5–6 rpm), and shaft diameter (typically 3.2mm). Cross-reference part numbers using sites like appliance-part-replacement-guide. Generic motors with mismatched torque can cause gear stripping or uneven rotation.
How long does a microwave cooling fan last?
Most OEM cooling fans last 7–10 years with regular cleaning. Dust accumulation increases bearing friction and shortens lifespan by up to 40%, according to Whirlpool’s 2022 Appliance Longevity Study. If your unit is older than 8 years and makes a whining noise, plan for fan replacement — don’t wait for failure.
Is it safe to replace the high-voltage diode myself?
Only if you’ve discharged the capacitor properly *and* verified 0V with a multimeter. The diode itself isn’t dangerous once power is off — but miswiring it (especially reversing polarity) can instantly destroy the magnetron. If unsure, skip this step and call a pro — magnetron replacement costs $120–$220, but diode mistakes cost more in cascading damage.
Why does my microwave buzz only when heating popcorn?
Popcorn bags create rapid steam pressure changes that stress aging thermal cutoff switches and weak door interlock microswitches. This isn’t normal — it indicates a failing safety switch. Replace both primary and secondary door switches as a set; they’re inexpensive ($8–$15 each) and prevent future shutdowns or false “door open” errors.
Do I need to recalibrate anything after replacing the turntable motor?
No recalibration is required. However, ensure the drive coupler seats fully onto the motor shaft and aligns with the turntable’s center hub. A misaligned coupler causes wobbling, which amplifies noise and accelerates wear on the glass tray’s support rollers.
What’s the average cost to replace a microwave cooling fan?
OEM replacement fans range from $22–$38 depending on brand and model. Aftermarket options start at $14 but vary widely in bearing quality — stick with brands like NMB-Minebea or Sunon for longevity. Labor at a repair shop averages $115–$165, making DIY the clear value choice for this fix.
A noisy microwave doesn’t always mean it’s time for a full replacement — many noise sources are isolated, inexpensive, and well within reach of a careful DIYer. Focus on accurate diagnosis first, prioritize safety around high-voltage areas, and keep spare parts like door switches and drive couplers on hand for quick future fixes. With the right tools and attention to detail, you’ll restore quiet, reliable operation — and extend your microwave’s life by several years.