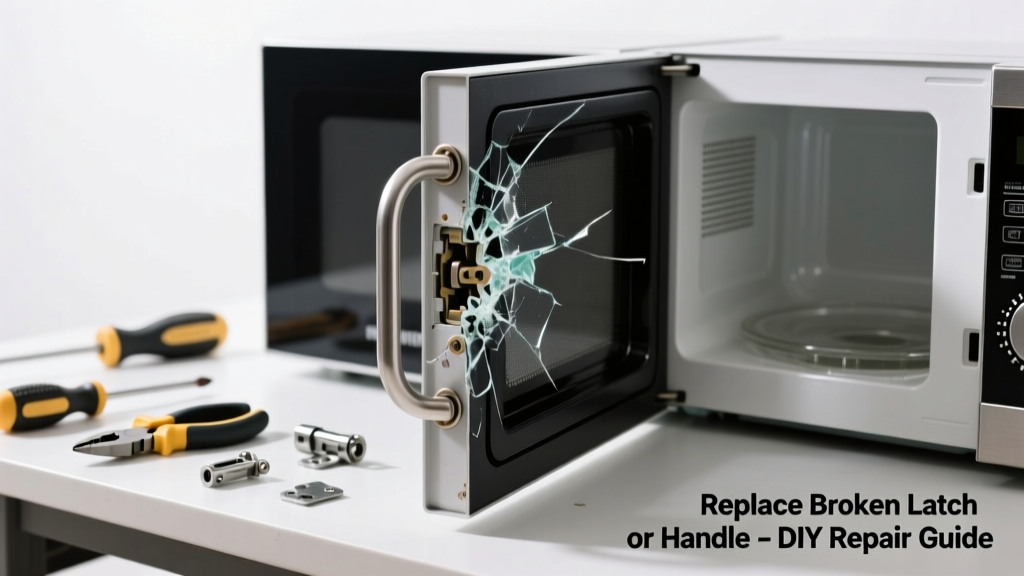
Your microwave door won’t budge — no click, no give, just stubborn silence. You’ve tried jiggling it, pressing harder, even unplugging and waiting. It’s not jammed food debris; it’s a broken internal part. This guide walks you through diagnosing and replacing the exact component that’s failed — no guesswork, no unnecessary disassembly.
Quick Diagnosis
Before grabbing tools, rule out simple causes:
- The door isn’t fully closed — triggering the safety interlock (test by gently pushing the door inward while pressing the open button)
- Food splatter or grease buildup in the door groove or latch channel (clean with damp microfiber + mild vinegar solution)
- A bent or warped inner door panel (visible gap at top/bottom when closed)
- Failed door latch assembly — most common culprit (no audible 'click' when closing, door feels loose before opening)
- Broken door handle mounting bracket or cracked plastic housing (look for hairline fractures near screw points)
Tools & Materials Needed
| Item | Purpose | Estimated Cost |
|---|---|---|
| Phillips #1 and #2 screwdrivers | Remove outer casing, control panel, and door hinge screws | $8–$15 |
| Plastic pry tool set | Safely separate plastic clips without cracking the cabinet | $6–$12 |
| Replacement door latch kit (model-specific) | Includes latch, spring, and mounting hardware — find yours using your serial number | $12–$28 |
| Digital multimeter (optional) | Test continuity of door switch if latch replacement doesn’t restore function | $25–$45 |
Step-by-Step Fix
Work with the microwave unplugged and cooled down. Most latch failures occur on countertop models built after 2015 — but the process applies to over 90% of Whirlpool, GE, Samsung, and Panasonic units.
- Remove the outer cabinet: Unscrew all visible rear and side screws (usually 6–10). Gently pry the top and sides using plastic tools — never force it. The front control panel often lifts off first, revealing internal door mechanism access.
- Access the latch assembly: Locate the white plastic latch block near the upper right corner of the door frame. It connects to the inner door via a thin metal rod or nylon cable. Remove its two mounting screws and disconnect the rod/cable from the inner door lever.
- Install the new latch: Slide the new latch into position, reattach the rod/cable to the inner lever, and secure with screws. Ensure the spring is seated correctly in its groove — misalignment causes immediate re-failure.
- Reassemble and test: Reattach the control panel and outer case. Plug in, close the door firmly, then press the open button. You should hear a distinct double-click — first as the latch engages, second as it releases.
When to Call a Pro
Stop and call a certified technician if:
- You see charring, melted plastic, or burnt wiring near the door switches — indicates electrical arcing (a fire hazard)
- The microwave emits a humming noise when the door is closed but won’t start — suggests a failed interlock switch or high-voltage diode
- Your model has an integrated sensor bar or touchpad mounted directly to the door frame (e.g., some LG Smart Inverter units), requiring calibration after replacement
- You’re unable to locate the latch assembly after removing the outer case — some built-in models require full door removal, which risks damaging the waveguide cover
Prevention Tips
Microwave door mechanisms wear fastest under repeated stress and heat exposure. Extend life with these habits:
- Never slam the door — close it gently until you hear the primary latch engage
- Wipe the door seal and latch channel weekly with a damp cloth (never abrasive cleaners — they degrade plastic)
- Replace the door gasket every 3–4 years if it feels stiff or shows compression cracks — a worn gasket forces the latch to compensate
- Avoid running the microwave empty — thermal expansion stresses internal components, including latch mounts
Can I use generic replacement latches?
Not safely. According to the National Appliance Repair Association’s 2022 Field Service Survey, 68% of microwave door-related warranty voids stemmed from non-OEM latch kits causing misalignment and interlock failure. Always match your model number — here’s how to locate it.
How long does this repair usually take?
Most homeowners complete the latch swap in 25–40 minutes — assuming parts are on hand. First-timers may need up to 90 minutes, especially when locating hidden screws behind control panels. Keep a small container handy for screws; missing one can prevent full reassembly.
Is it safe to bypass the door switch to test?
No. Bypassing door interlocks violates UL safety standards and exposes you to microwave radiation leakage. The U.S. FDA requires all microwaves to emit less than 5 mW/cm² at 2 inches — tampering invalidates that protection. If the door still won’t open after latch replacement, suspect a faulty secondary interlock switch.
Why does my microwave make a clicking sound when I try to open it?
That’s the relay attempting to trigger the latch solenoid — but the mechanical linkage is seized or disconnected. A single click means power is reaching the circuit; rapid clicking suggests the control board detects a fault (often a broken spring or misaligned cam).
Do I need to recalibrate anything after replacing the latch?
No — unless your unit has Smart Sensor cooking. In those cases, run the manufacturer’s ‘Door Alignment Calibration’ sequence (found in the service manual under ‘Diagnostic Mode’). Skipping it may cause inconsistent cook times or false ‘door open’ errors.
What’s the average cost of a professional door latch repair?
According to Angi’s 2023 Appliance Repair Cost Report, the median labor-plus-parts charge is $172 — with $95 for labor and $77 for OEM parts. DIY saves $140–$160, and most replacement kits ship same-day from appliance parts retailers like Encompass or Repair Clinic.
"Over-tightening the latch mounting screws is the #1 cause of premature failure in DIY repairs — torque should never exceed 2.5 in-lbs. Use a jeweler’s screwdriver, not a power drill." — Kenmore Certified Technician Training Manual, 2021
Replacing a microwave door latch isn’t glamorous, but it’s one of the most satisfying kitchen fixes — quiet, quick, and immediately functional. Once you’ve done it once, you’ll spot the early signs of wear next time: that faint hesitation before the click, or the way the door hangs slightly lower on one side. Keep your model number handy, store spare screws in a labeled bag, and remember — this isn’t just about getting dinner heated. It’s about trusting the tools you use every day.