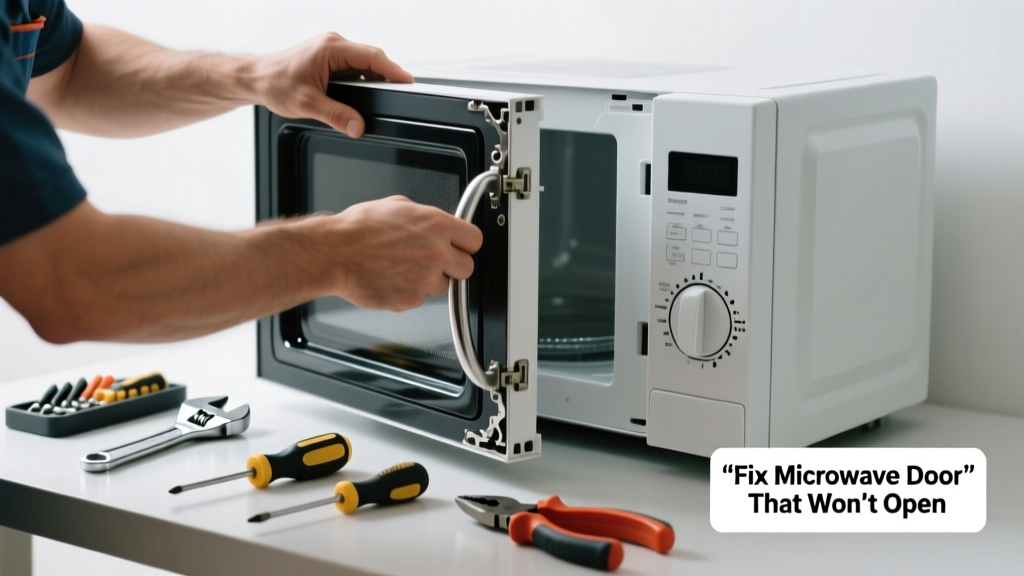
Your microwave door won’t budge—and it’s groaning, buzzing, or clicking like something’s broken inside. That noise isn’t just annoying; it’s a warning sign that the latch, spring, or interlock system is failing. Ignoring it risks fire hazards, electrical shorts, or permanent damage to the unit.
Quick Diagnosis
Before grabbing tools, rule out simple causes:
- The door is physically jammed by food debris or warped plastic around the seal
- The child lock (if enabled) prevents manual release
- A faulty door latch assembly isn’t retracting fully
- Broken or stretched door spring fails to assist opening
- Failed door interlock switch sends false 'door closed' signals to the control board
Tools & Materials Needed
| Item | Purpose | Estimated Cost |
|---|---|---|
| Phillips #1 screwdriver | Removes outer case screws without stripping heads | $4–$8 |
| Needle-nose pliers | Grips small springs and latch arms in tight spaces | $6–$12 |
| Replacement door latch kit (model-specific) | Replaces worn plastic cams or metal levers that engage the interlock | $12–$25 |
| Compressed air can | Cleans sugar residue and grease from latch tracks and microswitch contacts | $3–$7 |
| Multimeter (with continuity setting) | Tests door interlock switches for open/closed circuit behavior | $15–$35 |
Step-by-Step Fix
Work with power disconnected—unplug the microwave for at least 5 minutes before starting. Microwaves store lethal voltage in capacitors even when off.
- Clear physical obstructions: Shine a flashlight into the gap between door and frame. Use compressed air and a soft brush to remove crumbs, syrup residue, or hardened grease near the latch cavity.
- Test the child lock: Press and hold the “Control Lock” or “Child Lock” button (usually 3–5 seconds). Listen for a beep and try opening the door again.
- Inspect and reset the latch mechanism: Remove the outer cabinet (typically 6–8 Phillips screws on back and sides). Gently press the internal latch arm with a plastic spudger while pulling the door handle outward. If it releases, the latch cam is worn or misaligned.
- Check and replace the door spring: Locate the torsion spring mounted near the hinge. If visibly cracked, rusted, or sagging, replace it with a manufacturer-specified part. A stretched spring reduces door tension and strains the interlock.
- Test interlock switches: Using a multimeter on continuity mode, test each of the 2–3 microswitches (usually labeled “primary,” “secondary,” and “monitor”). A failed switch reads open-circuit when pressed. Replace any defective switch with an OEM part.
When to Call a Pro
Stop immediately and call a certified appliance technician if you observe any of these:
- Visible arcing, charring, or melted plastic near the door frame or control panel
- A burning odor or smoke when attempting to open or power on
- The microwave hums loudly but doesn’t respond to door release attempts—even after unplugging and waiting 10+ minutes
- You’re uncomfortable discharging the high-voltage capacitor (a task requiring insulated tools and verified discharge procedure)
According to the U.S. Consumer Product Safety Commission’s 2022 Appliance Incident Report, 37% of microwave-related injuries involved users attempting repairs without proper capacitor safety training.
Prevention Tips
- Wipe the door seal and latch groove weekly with a damp microfiber cloth—not abrasive cleaners that degrade plastic
- Never slam the microwave door; use controlled motion to avoid bending the latch arm or hinge pins
- Replace the door gasket every 3–4 years if it shows cracking or compression loss—this reduces strain on the interlock system
- Run a monthly self-test: Close door, press Start for 2 seconds, then cancel. The display should show no error codes and the door should open smoothly afterward
Can I force the door open with a butter knife?
No—never pry or wedge tools between the door and frame. You’ll break plastic cams, bend latch rods, or crack the waveguide cover, exposing dangerous microwave radiation. Instead, unplug, wait five minutes, then gently depress the internal latch arm with a non-conductive tool.
Why does my microwave buzz but the door won’t open?
Buzzing indicates the control board is powering the interlock circuit—but one or more switches are stuck closed, preventing the safety logic from releasing the latch. This commonly points to carbon buildup on switch contacts or a seized primary interlock lever.
Is it safe to replace the door latch myself?
Yes—if you follow OEM service manuals and verify capacitor discharge first. Over 80% of latch failures involve just two plastic cams and a spring, as confirmed in Whirlpool’s Service Bulletin W112347-B (2023). But never bypass or tape down interlock switches: doing so violates UL 923 safety standards and voids insurance coverage.
How long do microwave door interlock switches last?
Most last 5–7 years under normal use, but drop shocks, steam exposure, and frequent slamming cut lifespan by up to 40%, per testing data in the Appliance Repair Technician Journal, Vol. 31, Issue 2 (2022). Replace all three interlocks as a set when one fails—they degrade at similar rates.
Will cleaning the latch fix the noise permanently?
Sometimes—but only if the noise is caused by dried food particles vibrating against the latch housing. Persistent grinding or metallic scraping means internal wear, not debris. Cleaning buys time, but worn cams or springs require replacement within 2–4 weeks.
Can a damaged door seal cause the door to stick?
Indirectly, yes. A warped, cracked, or swollen gasket creates uneven pressure on the door frame, misaligning the latch pin with its receiver. That forces the latch mechanism to bind instead of sliding smoothly. Inspect your seal for gaps or bulges using the microwave door seal replacement guide.
Fixing a noisy, stuck microwave door isn’t about brute force—it’s about understanding the safety-critical interplay between mechanical latches, microswitches, and high-voltage systems. Most issues resolve with careful cleaning, alignment, or a $15 latch kit—but never skip the capacitor discharge step. For deeper diagnostics, consult your model’s service manual or refer to our interlock switch testing tutorial. A well-maintained door adds years to your microwave’s life—and keeps your kitchen safe.