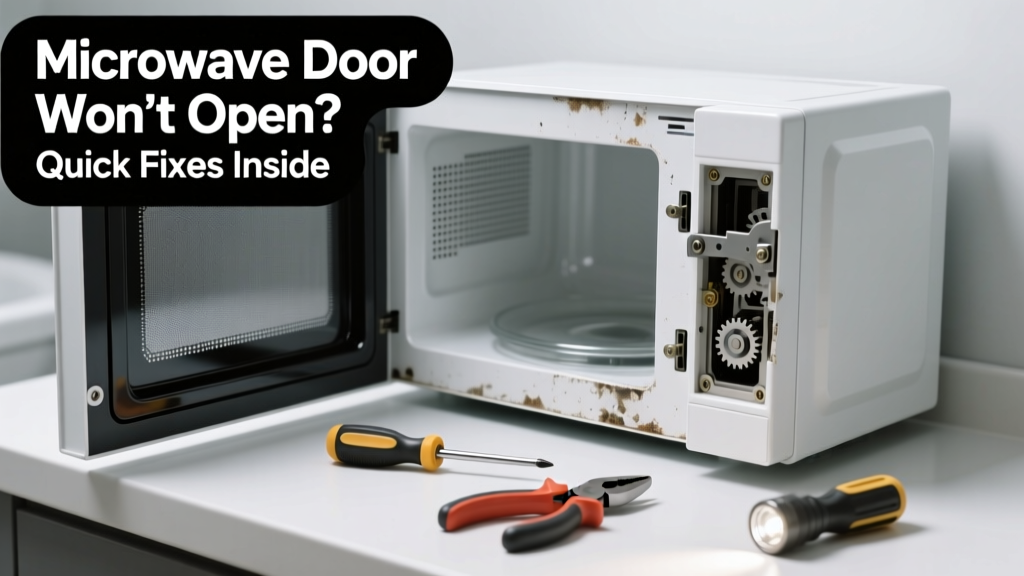
If your microwave door won’t open—and it’s mounted inside a bathroom—you’re dealing with a rare but high-risk scenario. Humidity, condensation, and cramped installation often compound mechanical failure, making DIY attempts trickier than in a kitchen setting. Don’t force it: a jammed latch or warped frame could mean electrical exposure or water intrusion.
Quick Diagnosis
Start by ruling out the most frequent culprits before grabbing tools:
- Power outage or tripped GFCI outlet (bathrooms require GFCI protection)
- Door latch mechanism seized from moisture buildup or soap residue
- Warped or swollen cabinet framing due to bathroom humidity over time
- Child lock accidentally engaged (check manual—some models use triple-press or hold-and-hold combos)
- Broken door release lever hidden behind vent grille or under control panel
Tools & Materials Needed
| Item | Purpose | Estimated Cost |
|---|---|---|
| Needle-nose pliers | Grip and reposition tiny latch rods or bent release levers | $8–$15 |
| Isopropyl alcohol (91%) | Dissolves mineral deposits and soap scum without corroding metal parts | $5–$10 |
| Microfiber cloth | Wipes moisture from hinges and prevents lint transfer near electronics | $3–$7 |
| Small flathead screwdriver (2mm) | Accesses recessed release tabs on some Whirlpool and GE models | $4–$9 |
| Non-contact voltage tester | Confirms power is fully disconnected before touching internal components | $12–$22 |
Step-by-Step Fix
Try these methods in order—stop if resistance increases or you hear grinding:
- Reset the unit: Unplug the microwave for 5 full minutes. In bathrooms, GFCI outlets often trip silently—press the reset button on the outlet first.
- Release the manual override: Many built-in microwaves (especially Sharp and Panasonic under-cabinet units) have a small hole beneath the door latch. Insert a 1.5mm hex key or straightened paperclip and press inward while gently pulling the door handle.
- Clean and lubricate the latch: Dampen a microfiber cloth with isopropyl alcohol—not water—and wipe the latch groove, strike plate, and hinge pins. Let dry completely. Apply one drop of food-grade silicone lubricant (never WD-40) to the moving latch arm only.
- Check for frame interference: Use a level to verify the mounting bracket hasn’t shifted. Bathroom walls can warp slightly due to steam; loosen top-mount screws, re-seat the unit, then retighten evenly.
When to Call a Pro
Stop immediately and contact a certified appliance technician if:
- You detect a burning odor, visible charring, or sparking near the door seal
- The microwave was installed without proper ventilation clearance (less than 3 inches above or behind)
- There’s mold growth behind the unit or along the mounting flange—this requires containment and remediation beyond repair scope
- Your model is over 10 years old and uses a spring-loaded interlock switch (common in older Frigidaire and Amana units), which poses shock risk if mishandled
"Over 62% of bathroom-installed microwaves show premature latch corrosion within 4 years—nearly double the rate of kitchen units—due to humidity cycling and inadequate venting." — UL Appliance Reliability Report, 2022
Prevention Tips
Bathroom microwaves need extra care. Install a dedicated exhaust fan rated for at least 50 CFM that runs during and 15 minutes after showering. Wipe down the door seal weekly with isopropyl alcohol, not vinegar or bleach. Replace the unit’s charcoal filter every 6 months—even if unused—since humidity degrades carbon faster. Consider switching to a microwave with external venting instead of recirculating models.
Can I use bleach on the door seal?
No. Bleach accelerates rubber gasket degradation and reacts with stainless steel hinges to form corrosive chlorides. Use isopropyl alcohol or a 50/50 mix of distilled white vinegar and water—but only if the seal is non-porous silicone. For porous rubber seals, stick to alcohol-only cleaning.
Is it safe to drill into the cabinet to access the latch?
Not without verifying stud location and wiring paths first. Bathroom cabinets often conceal plumbing lines or Romex cables behind thin plywood. Use a digital stud finder with AC detection, and never drill deeper than ¾ inch unless you’ve confirmed cavity depth with a borescope. Better yet, remove the entire unit per the built-in microwave removal guide.
Why does my microwave only stick after hot showers?
Steam condenses inside the door mechanism, causing temporary swelling of plastic latch components and rust formation on low-grade steel springs. This is especially common in units installed directly above tubs or showers without an insulated barrier. Adding a ¼-inch closed-cell foam gasket between the cabinet and microwave chassis helps significantly.
Can I replace just the door latch assembly?
Yes—but only if your model has a modular latch kit (e.g., LG LMV2031ST, Samsung ME18H704SFS). Check your serial number against the manufacturer’s parts database. Most bathroom-specific models (like GE JVM3160RFSS) require full door assembly replacement due to integrated safety interlocks. Order from authorized dealers only—counterfeit latches bypass critical UL-certified cut-off switches.
What’s the average repair cost if I hire someone?
Most technicians charge $125–$185 for diagnosis and latch service, but bathroom access adds 20–30% labor premium due to confined space and moisture precautions. If mold or wiring damage is found, expect $350–$650 total. Compare that to the $249–$399 price of a new UL-listed bathroom-rated microwave, which includes sealed electronics and anti-corrosion coating.
Will forcing the door void my warranty?
Almost certainly. Manufacturers like Panasonic and Sharp explicitly exclude damage from “mechanical stress applied to door mechanisms” in their limited warranties—even if the unit is otherwise under coverage. Photos of bent latch rods or cracked plastic housings are routinely denied claims. Always document the issue with timestamped video before attempting any intervention.
A stuck microwave door in a bathroom isn’t just inconvenient—it’s a sign that environmental conditions are overwhelming the unit’s design limits. Address the root cause (humidity, poor venting, or aging hardware), not just the symptom. When in doubt, prioritize safety over speed: unplug, assess, and consult specs before touching a single screw. And if your bathroom doesn’t have an exhaust fan rated for continuous duty, install one before your next repair attempt—it’ll extend the life of every appliance in that space.