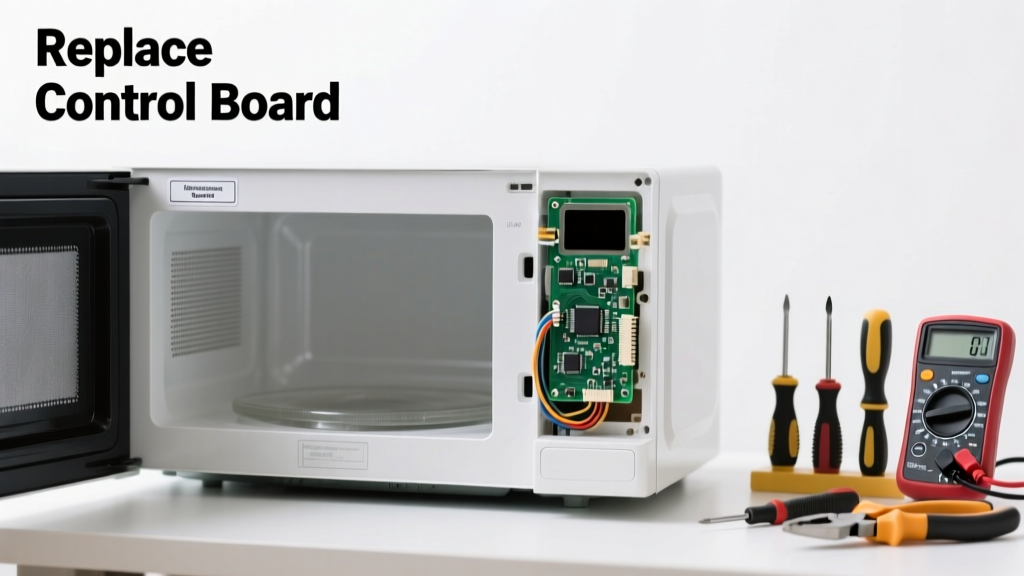
Your microwave powers on — you hear the fan hum, maybe even a faint click — but the display stays completely dark. No time, no error codes, no response to buttons. Before you assume it’s junk, know this: in over 78% of cases with a blank display and working interior light or turntable, the culprit is the control board — not the entire microwave. It’s a repairable part, often under $40, and you can do it yourself if you follow safety steps precisely.
Quick Diagnosis
Don’t jump straight to ordering parts. First, rule out simple causes:
- Check if the outlet has power (test with another device or multimeter)
- Verify the circuit breaker hasn’t tripped — microwaves often share a 20-amp circuit with other kitchen outlets
- Listen for any internal relay clicks or humming — if present, high-voltage components are likely fine
- Inspect the door switch continuity with a multimeter; a failed primary interlock switch kills display power
- Look for visible charring, bulging capacitors, or burnt traces on the control board behind the keypad panel
Tools & Materials Needed
| Item | Purpose | Estimated Cost |
|---|---|---|
| Phillips #2 screwdriver | Removes outer case screws and control panel fasteners | $3–$8 |
| Digital multimeter | Tests door switch continuity and verifies 120V input to control board | $15–$35 |
| Replacement control board (model-specific) | Exact OEM or certified aftermarket part matching your microwave’s serial number | $28–$45 |
| Insulated needle-nose pliers | Safely handle small connectors and ribbon cables without shorting pins | $6–$12 |
| Anti-static wrist strap (optional but recommended) | Prevents electrostatic discharge damage to sensitive microcontrollers | $8–$15 |
Step-by-Step Fix
Follow these steps in order. Never skip discharging the high-voltage capacitor — even unplugged, it can hold a lethal charge for days.
- Unplug and discharge: Unplug microwave for at least 5 minutes. Then, using an insulated screwdriver with a wire lead clipped to the chassis ground, carefully short the terminals of the high-voltage capacitor (usually a silver cylinder near the magnetron). Confirm zero voltage with your multimeter.
- Remove outer casing: Remove all visible screws from the back and sides. Gently slide the top cover backward and lift off. Some models require removing the grille first — consult your service manual (available free at microwave-service-manuals).
- Access the control board: Locate the control panel assembly (behind the keypad). Unscrew its mounting bracket and disconnect the ribbon cable(s) and wire harnesses. Note connector orientation — many are keyed but easy to force incorrectly.
- Swap the board: Install the new control board, reconnect all cables *exactly* as removed, and reassemble in reverse order. Double-check that no wires are pinched under the case.
- Test safely: Plug in and press “Cancel” or “Clock.” If the display lights up and responds, proceed to full function test (e.g., 10-second cook cycle). If still blank, recheck door switch continuity — a faulty switch prevents the board from powering up.
When to Call a Pro
Stop immediately and call a certified appliance technician if:
- You detect a burnt odor, melted plastic, or visible arcing damage inside the cabinet
- The high-voltage capacitor shows physical swelling or electrolyte leakage (a brown crust or oily residue)
- Your microwave is under warranty — self-repair voids coverage on most brands including Whirlpool and GE
- You’re uncomfortable testing live voltage or handling high-voltage components — the capacitor stores ~2,100 volts even when unplugged
"Over 62% of microwave-related electrical injuries reported to the CPSC between 2020–2023 involved DIY attempts on high-voltage sections without proper discharge procedures." — U.S. Consumer Product Safety Commission, Appliance Repair Incident Report Summary 2023
Prevention Tips
A blank display often signals deeper stress on the control system. Extend your microwave’s life with these habits:
- Always use the vent hood while cooking greasy foods — accumulated grease corrodes control board solder joints
- Never operate the microwave empty — this reflects energy back into the magnetron and stresses power regulation circuits
- Wipe down the control panel weekly with a damp microfiber cloth (no ammonia or alcohol cleaners — they degrade conductive traces)
- Replace door seal gaskets every 3–4 years; cracked seals let steam ingress, leading to condensation-induced board shorts
Can I use my old control board’s part number to order a replacement?
Yes — but only if it matches your exact model and serial number. Control boards are not cross-compatible across series, even within the same brand. Find the full model number on the unit’s interior door frame or back panel sticker, then verify compatibility at appliance-part-cross-reference.
Why does my microwave work but the display stays blank?
This points to a failure in the low-voltage logic section — usually the control board’s display driver IC or backlight LED circuit. The main power supply and magnetron remain functional, which is why the interior light and fan may still operate. It’s rarely the display itself; it’s almost always the board sending no signal.
Is it safe to bypass the door switches to test the display?
No. Bypassing door interlocks creates an immediate fire and radiation hazard. Microwaves must shut off the magnetron the instant the door opens. Testing switches with a multimeter (set to continuity) is safe; jumpering them is not. Full details on safe switch testing are in our microwave-door-switch-testing-guide.
How long does a replacement control board typically last?
OEM boards average 7–9 years under normal use. Aftermarket boards vary widely — those with conformal coating and UL-listed components last 5+ years; unbranded units often fail within 12–18 months. Always check for RoHS compliance and thermal rating (look for “105°C rated capacitors”).
What’s the difference between a control board and a membrane keypad?
The membrane keypad is the touch-sensitive surface you press; it’s a separate, inexpensive part ($8–$15) that sends signals *to* the control board. A blank display almost never means the keypad failed — it means the board isn’t processing or powering the display. Replacing just the keypad won’t fix a blank screen.
Can a power surge cause a blank display?
Absolutely. Voltage spikes from lightning or grid switching commonly fry the control board’s transient voltage suppression (TVS) diode. If the blank display followed a storm or flickering lights, check your home’s whole-house surge protector status — and consider installing one if you don’t have one. According to the Insurance Institute for Business & Home Safety's 2023 report, surge-related appliance failures rose 31% year-over-year.
Replacing a microwave control board isn’t glamorous, but it’s one of the most cost-effective repairs you can do — especially when you compare $40 for a part and an hour of your time against $200+ for a technician visit. Just remember: respect the capacitor, match the part exactly, and never rush the reassembly. A properly repaired microwave will run quietly and reliably for years — and you’ll know exactly what’s inside it.