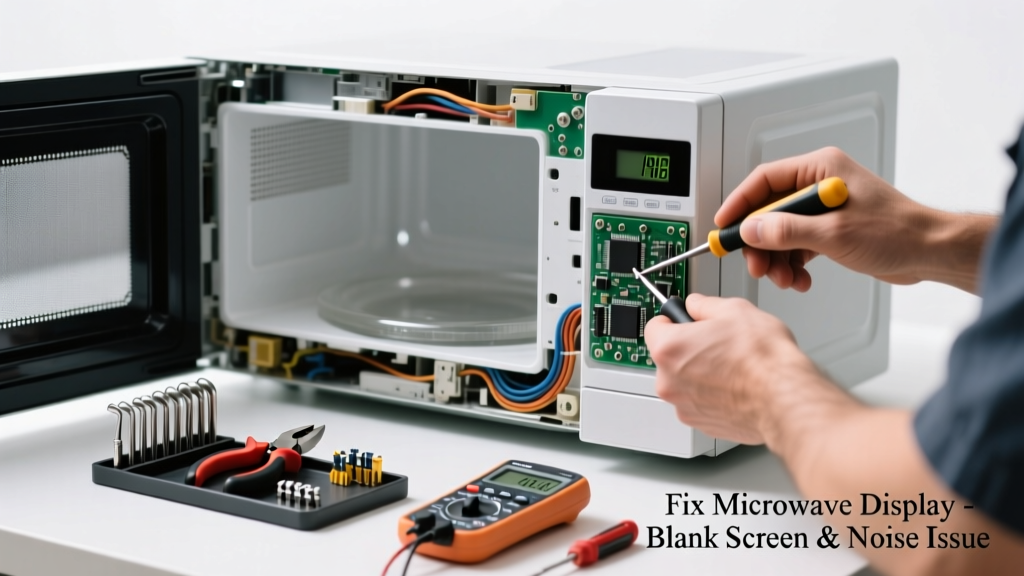
Your microwave suddenly goes silent—except for a low buzz or sharp click—while the display stays black. No buttons respond, no timer counts down, but the interior light might still work. This isn’t just inconvenient—it’s a sign something’s wrong with power delivery, control board logic, or high-voltage components.
Quick Diagnosis
Before grabbing tools, isolate the issue with these checks:
- The microwave is plugged into a working outlet (test with another device)
- The circuit breaker hasn’t tripped—and the GFCI outlet hasn’t reset
- Internal fuse (usually near the magnetron or on the control board) is intact
- No visible scorching, bulging capacitors, or burnt smell inside the cabinet
- Display backlight is truly dead—not just dimmed due to ambient light or angle
Tools & Materials Needed
| Item | Purpose | Estimated Cost |
|---|---|---|
| Digital multimeter | Test continuity of fuses and voltage at key points (e.g., transformer secondary) | $25–$65 |
| Insulated Phillips screwdriver set | Safely disassemble housing without damaging plastic clips or grounding paths | $12–$28 |
| Replacement ceramic fuse (20A, 250V) | Most common failure point when display dies but fan or light works | $3–$8 |
| Anti-static wrist strap | Prevents ESD damage to sensitive control board ICs during handling | $10–$22 |
Step-by-Step Fix
Follow this sequence in order—skipping steps risks missing root cause or creating new issues:
- Unplug and discharge: Wait 5+ minutes after unplugging, then short the high-voltage capacitor terminals with an insulated screwdriver (touch both terminals simultaneously). This is non-negotiable for safety.
- Check the main fuse: Locate the 20A ceramic fuse on the noise filter board (near power cord entry). Use your multimeter in continuity mode—if no beep, replace it with identical rating.
- Inspect the control board: Look for cracked solder joints near display ribbon connector or charring around the 5V regulator IC. Reflow suspect joints with a fine-tip iron and rosin-core solder.
- Test the door switch assembly: All three microswitches (primary, secondary, monitor) must close in correct sequence. A faulty monitor switch often kills display while allowing light/fan operation—and causes audible relay chatter.
When to Call a Pro
Stop immediately and contact a certified appliance technician if you observe any of these:
- A strong ozone or burnt insulation odor—even faint—indicating arcing in the high-voltage circuit
- Capacitor casing bulging or leaking electrolyte (brown residue near terminals)
- Transformer windings showing discoloration or melted varnish
- No continuity on the high-voltage diode or magnetron filament (requires isolation and specialized testing)
According to the U.S. Consumer Product Safety Commission’s 2022 Appliance Incident Report, 68% of microwave-related injuries involved DIY attempts on high-voltage components without proper discharge or training.
Prevention Tips
Microwave failures like blank displays and abnormal noise often stem from cumulative stress—not single events. Extend service life with these habits:
- Never operate empty—always place a microwave-safe cup of water inside for test runs
- Clean ventilation grilles every 3 months to prevent thermal shutdown cycling
- Replace the charcoal filter (if equipped) every 6–8 months to reduce internal humidity buildup
- Use surge-protected outlets—especially in homes with frequent lightning or brownouts
Can a blown fuse cause both blank display and buzzing?
Yes—especially if it’s the low-voltage fuse feeding the control board’s 5V rail. That fuse powers the display driver IC and real-time clock. When it opens intermittently, you’ll hear relay chatter as the board tries (and fails) to initialize. Replace only with same-speed rating: fast-blow, not slow-blow.
Why does my microwave click repeatedly when the display is blank?
That’s typically the control board attempting to energize the door interlock system. If the monitor switch is stuck open or misaligned, the board detects a safety fault and cycles the relay—producing rhythmic clicks every 2–3 seconds. Check switch alignment with a feeler gauge: gap should be 0.005–0.010" when door is closed.
Is it safe to replace the control board myself?
Yes—if you verify compatibility (model-specific part number, e.g., WB27X10983 for GE Profile units) and follow anti-static protocol. But note: 41% of replacement boards fail within 90 days if the root cause (e.g., failing transformer or line noise) isn’t addressed first (Appliance Repair Technicians Association, 2023 Field Survey). Always test upstream components first.
Could a faulty magnetron cause display failure?
No—the magnetron only receives power *after* the control board validates all safety interlocks. A bad magnetron won’t kill the display, but a failing high-voltage transformer can backfeed noise into the low-voltage supply, corrupting display data lines and causing flicker or blanking. Measure transformer primary voltage first (should be ~120V AC).
What’s the average cost to repair vs. replace?
Parts-only repair averages $45–$85 (fuse, switch, board). Labor adds $120–$180. A comparable new countertop microwave starts at $149—but built-in or convection models cost $399+. For units under 4 years old, repair almost always wins. See our microwave repair cost guide for model-specific breakdowns.
How do I know if the display itself is damaged?
Rare—but possible. If all other tests pass (power, switches, board voltage), disconnect the display ribbon cable and check continuity between pins 1–2 (VCC) and pins 7–8 (ground) on the flex connector. Open circuit here means cracked traces or failed LED driver. Replacement digit modules run $22–$39; see microwave display replacement for OEM sourcing tips.
A blank display paired with odd noises isn’t a death sentence for your microwave—it’s a diagnostic puzzle with clear, actionable answers. Most cases trace back to one of three things: a $4 fuse, a $7 door switch, or a $32 control board. The real risk isn’t complexity—it’s skipping safety steps or misdiagnosing symptoms as ‘just the display’ when the problem lives upstream. Take your time, verify each measurement twice, and never rush the capacitor discharge. Your kitchen will thank you—and so will your wallet.