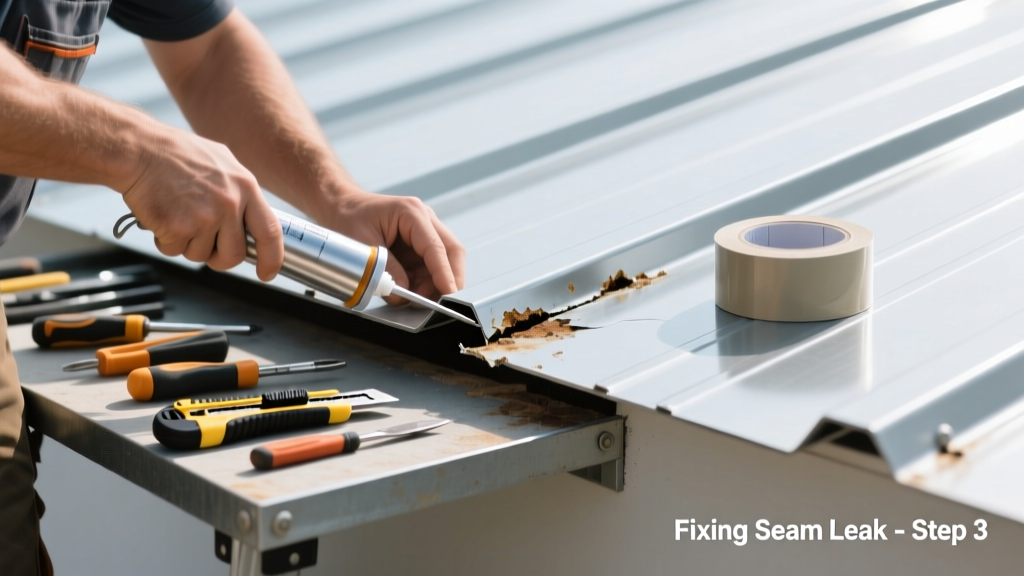
That drip near your ridge cap or along a standing seam isn’t just annoying—it’s a red flag for potential structural rot and insulation damage. Metal roofs last 40–70 years, but seams are their Achilles’ heel: up to 68% of metal roof leaks originate at fastener lines or panel junctions, according to the Metal Construction Association’s 2022 Field Survey.
Quick Diagnosis
Before grabbing tools, confirm the source. Seams often mislead—what looks like a seam leak may actually stem from a nearby flashing gap or compromised screw seal. Check these common culprits first:
- Loose or corroded fasteners at seam overlaps
- Dried-out or cracked seam sealant (especially near end laps)
- Panel distortion from thermal expansion or wind lift
- Gaps wider than 1/16" between interlocking seams
- Missing or torn butyl tape under seam clips
Tools & Materials Needed
| Item | Purpose | Estimated Cost |
|---|---|---|
| Roofing-grade butyl tape (1/4" x 50 ft) | Creates flexible, waterproof bond over clean seams | $12–$18 |
| High-solids acrylic seam sealant (e.g., Titebond Metal Roof Sealant) | UV-resistant, elastomeric repair for active seams | $14–$22 |
| Stainless steel seam screws (with EPDM washers) | Re-secure loose panels without rust risk | $8–$15 per 25-pack |
| Wire brush + mineral spirits | Clean oxidation and old sealant residue before bonding | $6–$11 |
| Roofing chalk line & seam roller | Ensure straight tape application and firm adhesion | $9–$16 |
Step-by-Step Fix
Choose the method based on seam type and leak severity. Always work on dry, 50°F+ days with no rain forecast for 48 hours.
- Clean & inspect: Brush away debris, then wipe seam with mineral spirits. Look for pinholes, corrosion, or lifted edges using a flashlight at a low angle.
- Butyl tape repair (best for minor gaps in standing seams): Cut tape to length, peel backing, and press firmly into clean seam with a seam roller. Overlap ends by 3 inches.
- Sealant injection (for hidden end-lap leaks): Drill two 1/16" weep holes 6" apart at leak site. Inject sealant using a caulk gun with extension nozzle, then cover top with 3"-wide butyl tape bandage.
- Fastener re-anchoring (for loose clips or screws): Remove corroded fasteners, apply thread-locking compound, and reinstall stainless hardware with torque-controlled driver (max 85 in-lbs).
When to Call a Pro
Some seam issues go beyond DIY safety or skill. Call a certified metal roofing contractor if:
- The leak spans more than three consecutive panels or crosses multiple seam types (e.g., standing seam + batten seam)
- You spot white powdery corrosion (zinc oxide) spreading >2 inches from the seam—this signals base metal degradation
- The roof pitch is steeper than 6:12 and lacks secure anchor points for fall protection
- Your roof has concealed fastener systems with factory-applied coatings you can’t match without specialized equipment
"Over 40% of DIY metal roof repairs fail within 18 months due to improper surface prep or incompatible sealants," warns Jim Rourke, Technical Director at the National Roofing Contractors Association (NRCA), 2023 Roofing Repair Benchmark Report.
Prevention Tips
Metal roofs reward proactive care. Extend seam life with these habits:
- Inspect seams twice yearly—spring and fall—with binoculars from ground level first, then ladder-assisted close-up
- Reapply UV-stable seam sealant every 5–7 years on exposed lap joints (not standing seams)
- Trim overhanging branches within 3 feet—sap and abrasion accelerate sealant breakdown
- Install snow guards before winter if your roof sees >20" annual snowfall; shifting ice dams tear seams
Can I use regular silicone caulk on a metal roof seam?
No. Standard silicone lacks adhesion to painted or coated metal and degrades under UV exposure in under 2 years. Use only high-solids, ASTM C920–compliant sealants rated for metal roofing—like Titebond Metal Roof Sealant or OSI Quad Max.
How long does butyl tape last on a seam repair?
Properly applied butyl tape lasts 10–15 years in most climates—but only if the surface was cleaned to bare metal and pressure-rolled. Avoid stretching tape during application; it reduces longevity by up to 40%, per testing in the 2021 UL 790 Fire-Rated Roofing Systems Handbook.
Will tightening loose screws stop the leak?
Sometimes—but only if the leak is directly at the fastener and the washer seal is intact. If the screw hole is enlarged or the washer is cracked, tightening worsens the leak. Replace with larger-diameter stainless screws and new EPDM washers instead.
Do I need to remove old sealant before applying new?
Yes—always. Old sealant traps moisture and prevents new material from bonding. Use a plastic scraper and mineral spirits; never sandblast or use acetone on factory-coated panels. For stubborn residue, try 3M General Purpose Adhesive Remover (safe for Kynar 500® finishes).
Can I walk on the seam to make the repair?
Avoid stepping directly on seams—they’re stress points. Step only on support ribs or purlins. Wear soft-soled shoes and distribute weight evenly. One misstep can deform a standing seam enough to create a new leak path, as documented in the Metal Roofing Alliance’s 2020 Installation Best Practices Guide.
Is rust on a seam fixable with paint?
No. Rust indicates substrate damage. Light surface rust can be wire-brushed and treated with zinc-rich primer, but if pits or flaking exist, the panel section must be replaced. Paint alone won’t stop ongoing oxidation—and moisture will wick underneath.
A well-executed seam repair buys years—not months—of dry attic space and stable energy bills. But don’t mistake a quick patch for long-term security: schedule a professional inspection every 5 years, especially after hail or high-wind events. And remember—on steep or aged roofs, your safety is always worth more than the cost of a pro’s visit. For related guidance, see our shingle roof leak guide and flashing repair checklist.