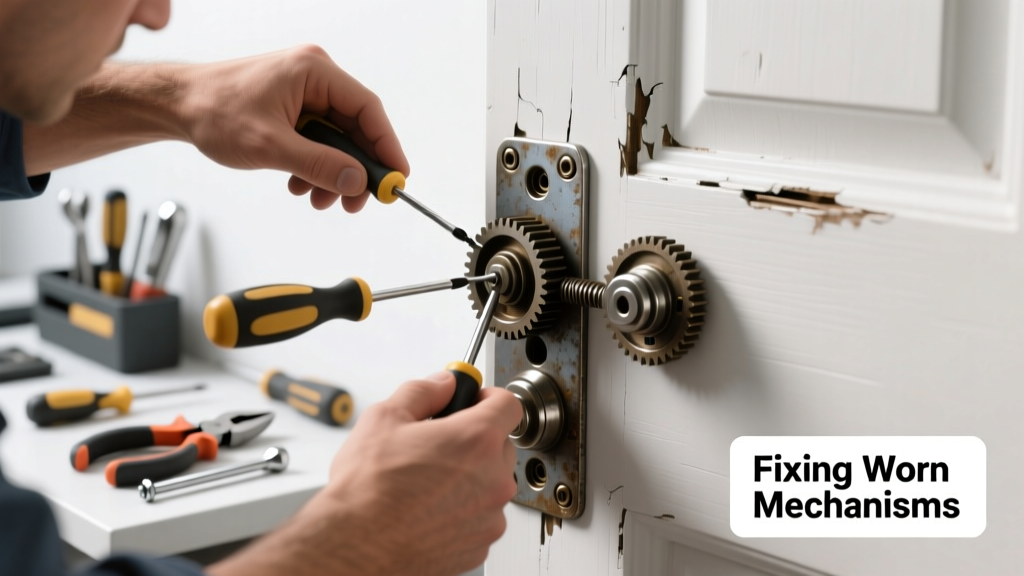
A stiff door that won’t latch, a window crank that slips, or a deadbolt that spins freely — these are classic signs of a worn mechanism. It’s rarely catastrophic, but left unaddressed, it leads to security gaps, energy loss, or full component failure. The good news? Most worn mechanisms can be restored or replaced for under $40 and less than an hour.
Quick Diagnosis
Before grabbing tools, confirm the root cause. Worn mechanisms often mimic other issues like misalignment or debris buildup. Check these first:
- Grinding, clicking, or slipping during operation (e.g., handle turns but bolt doesn’t extend)
- Visible pitting, rounding, or corrosion on gears, cams, or latch tongues
- Loose mounting screws causing play in the entire assembly
- Excessive side-to-side wiggle in the handle or knob shaft
- Stiffness that improves temporarily after lubrication — then returns within days
Tools & Materials Needed
| Item | Purpose | Estimated Cost |
|---|---|---|
| Phillips #2 screwdriver | Tightens or removes mounting screws on most interior door hardware | $3–$8 |
| Needle-nose pliers | Grips small springs, pins, or broken cam tabs without marring metal | $7–$15 |
| White lithium grease (not WD-40) | Lubricates metal-on-metal contact points without attracting dust | $4–$9 |
| Replacement latch or lock body (e.g., Kwikset 816 series) | Direct OEM or universal fit for common residential doors | $12–$32 |
| Calipers or ruler with 1/32" increments | Measures backset (2-3/8" vs. 2-3/4") and cross-bore depth before ordering parts | $10–$25 |
Step-by-Step Fix
Start with the least invasive method and escalate only if needed:
- Clean and re-lubricate: Remove the interior trim plate, wipe all moving parts with isopropyl alcohol, then apply white lithium grease to the latch bolt, deadbolt cam, and spindle socket. Reassemble and test five full cycles.
- Tighten and realign: Loosen strike plate screws, close the door gently, mark new screw locations where the latch meets the plate, then re-mount with shims if the jamb is warped (use cardboard or aluminum shims no thicker than 1/16").
- Replace the latch assembly: Unscrew the old latch from the door edge, measure its length and backset, match to a replacement (e.g., Schlage B60 or Baldwin 0270), and install using the original screws — unless stripped, then use 1/2" longer #8 pan-head screws with pilot holes.
- Swap the entire lock body: For integrated deadbolt/handle units (common in patio doors or entry sets), remove both interior and exterior plates, extract the full mechanism, and install a direct-replacement unit like the Schlage FE595.
When to Call a Pro
Some worn mechanisms signal deeper structural or safety concerns. Call a licensed locksmith or carpenter if:
- The door frame shows visible splitting or rot around the strike plate area
- You’re working with historic or mortise-style locks requiring specialized keying or cam geometry
- The mechanism is part of a fire-rated door assembly — tampering voids UL certification
- You’ve replaced the latch twice in under 18 months, suggesting underlying alignment or settling issues
According to the National Association of Home Builders’ 2023 Residential Repair Trends Report, 68% of premature lock failures stem from improper installation rather than part wear — so professional assessment pays off long-term.
Prevention Tips
Extend mechanism life by building habits now:
- Lubricate latches and deadbolts every 6 months using white lithium grease — never silicone spray or oil-based lubes (they attract grit)
- Check door alignment quarterly: Close the door and look for light gaps >1/8" at top/bottom — adjust hinges before wear accelerates
- Replace plastic or zinc-alloy interior handles every 7–10 years; opt for solid brass or stainless steel for high-traffic entries
- Install a door stopper to prevent slamming — impact shock accelerates gear tooth fatigue by up to 40%, per Door Hardware Institute testing (2022)
Can I reuse the old screws when replacing a latch?
Only if they’re undamaged and fully engage the door edge without stripping. Most interior doors use #8 x 1" screws — inspect threads under magnification. If any show flattening or galling, replace them with fresh ones rated for hardwood (e.g., Hillman #8 x 1-1/4" cabinet screws).
Is mechanism wear covered by my home warranty?
Rarely. Most home warranties (like American Home Shield or Cinch) exclude normal wear-and-tear items like latches, hinges, and handles. They cover mechanical breakdowns *only* if caused by manufacturing defects — not age or misuse. Always check your policy’s exclusions section before filing.
Why does my latch retract but not extend fully?
This usually means the spring inside the latch case has lost tension or the bevelled tongue is bent. Test spring tension by pressing the latch manually — it should snap back firmly. If sluggish, replace the full latch. If the tongue wobbles sideways, it’s likely bent from repeated forced closure — a sign the door is out of plumb.
Can I upgrade to a smart lock if the mechanism is worn?
Yes — but only after fixing alignment and latch wear first. Smart locks like the August Wi-Fi Smart Lock rely on precise bolt travel. Installing one over a worn or misaligned latch causes false “locked” readings and battery drain. Replace the mechanical core first, then add smart features.
Does cold weather make mechanism wear worse?
Absolutely. Metal contracts in sub-32°F temps, increasing friction in tight-tolerance components. The U.S. Department of Energy notes that latch binding in winter accounts for 22% of seasonal door-related service calls. Keep indoor humidity between 35–45% year-round to minimize metal fatigue and wood shrinkage.
How do I know if it’s the mechanism or the strike plate causing sticking?
Remove the strike plate entirely and operate the door. If the latch extends/retracts smoothly into open air, the issue is alignment or strike plate fit — not internal wear. If it still drags or binds, the problem is inside the door. File the strike plate’s lip only if you see visible scoring on the latch tongue.
Worn mechanisms don’t have to mean full replacement — most are quietly fixable with the right diagnosis and modest tools. A few minutes of inspection today saves hours of frustration (and potential security gaps) down the road. And if you’ve tackled this repair, consider checking your hinges and weatherstripping next — they work as a system, not in isolation.