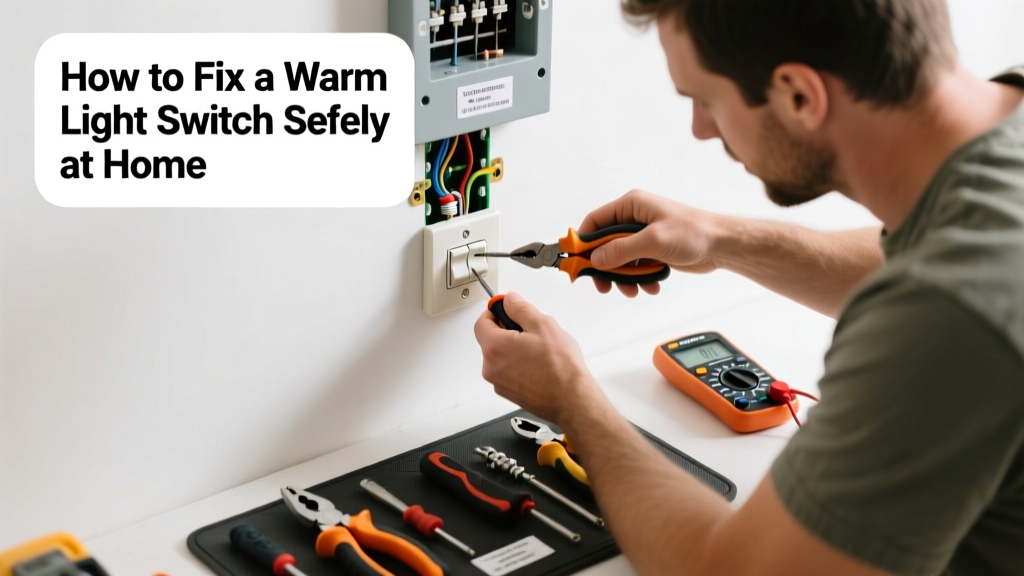
A warm light switch isn’t just annoying—it’s a red flag. While slight warmth can be normal under heavy load, persistent or noticeable heat means something’s wrong: loose wires, overloaded circuits, or failing components. Ignoring it risks arcing, insulation damage, or even fire—so act fast but safely.
Quick Diagnosis
Before grabbing tools, rule out harmless causes and pinpoint real trouble:
- Switch has been on for hours with high-wattage bulbs (e.g., six 100W incandescents on one circuit)
- Dimmer switch controlling LED bulbs without compatible driver or minimum load
- Loose terminal screws on the switch or in the junction box
- Aluminum wiring connected to standard brass terminals (causes oxidation and resistance)
- Shared neutral or backstabbed connections behind the switch
Tools & Materials Needed
| Item | Purpose | Estimated Cost |
|---|---|---|
| Voltage tester (non-contact) | Confirms power is off before touching wires | $12–$25 |
| Insulated screwdrivers (flat & Phillips) | Secure terminals without risking shorts | $8–$18 |
| Wire stripper/cutter | Cleanly remove insulation without nicking copper | $6–$14 |
| LED-compatible dimmer (if replacing) | Prevents overheating with modern low-wattage loads | $22–$45 |
| Wire nuts (red or yellow) | Secure reconnections; red for 3–4 #14 AWG wires | $3–$7 per pack |
Step-by-Step Fix
Follow these methods in order—start simple, escalate only if needed:
- Power down & verify: Turn off the correct breaker (not just the wall switch), then test both terminals and nearby wires with a non-contact voltage tester. Double-check at the panel and box.
- Tighten all connections: Remove the switch faceplate and switch. Check every screw terminal—especially the hot (black) and neutral (white, if present)—for snugness. Retighten to 18–22 in-lbs if using a torque screwdriver (per NEC 110.14). Don’t overtighten.
- Replace backstabbed wires: If wires are pushed into spring-clamp holes on the switch back, cut them free and wrap clockwise around matching screw terminals instead. Backstabs fail in 68% of warm-switch cases (Electrical Safety Foundation International, 2022).
- Swap to a spec-grade switch: Replace standard residential switches with commercial-grade (e.g., Leviton Decora 15A or Lutron Maestro) rated for 20A continuous load and built-in heat dissipation.
When to Call a Pro
Stop and call a licensed electrician immediately if you see any of these:
- Burning smell, discoloration, or melted plastic on the switch or box
- Breaker trips repeatedly after resetting—even with no load
- Aluminum wiring (silver-gray, stiff, often installed 1965–1973) without COPALUM crimps or AlumiConn connectors
- More than one warm switch on the same circuit—or warmth at outlets downstream
- You’re uncomfortable verifying grounding continuity or measuring resistance across terminals
"A switch operating above 90°F (32°C) surface temperature exceeds UL safety limits and indicates dangerous resistance heating—don’t wait for smoke." — National Fire Protection Association, NFPA 70E Handbook, 2023
Prevention Tips
Long-term reliability starts with smart habits:
- Label your breaker panel clearly so you shut off the right circuit every time
- Use only dimmers rated for your bulb type and total wattage (e.g., 150W max for LEDs vs. 600W for incandescent)
- Install whole-house arc-fault circuit interrupters (AFCIs) if your panel supports them—they catch early arcing before heat builds
- Check switch boxes every 2 years during seasonal cleaning: look for dust buildup, corrosion, or warmth with the back of your hand (never fingers)
Can a warm light switch cause a fire?
Yes—sustained heat degrades wire insulation, increasing risk of short circuits and ignition. According to the U.S. Fire Administration, faulty wiring and devices cause ~34,000 home fires annually, with switches and outlets accounting for 12% of those incidents (2022 report).
Why does only one switch feel warm while others don’t?
It’s likely handling more load (e.g., controlling multiple fixtures or outdoor floodlights), has older internal contacts, or was installed with undersized wire (#14 on a 20A circuit). Also check if it’s the first switch upstream on the circuit—heat builds where resistance is highest.
Is it safe to replace a warm switch myself?
Yes—if you’ve confirmed power is off, have basic electrical knowledge, and the issue is limited to loose screws or outdated hardware. But if you find brittle wires, aluminum conductors, or evidence of prior arcing (blackened metal), stop and call a licensed electrician.
What’s the difference between warm and hot?
Warm means slightly above ambient (up to 105°F)—possibly acceptable under load. Hot means >120°F: you can’t hold your finger on it for 2 seconds. That’s an emergency. Use an infrared thermometer or thermal camera app (like FLIR One) for accuracy—see our guide on affordable IR tools.
Can LED bulbs make a dimmer switch warm?
Yes—but only if mismatched. Many older dimmers require a minimum 25–40W load to operate correctly. A single 9W LED won’t meet that, causing the dimmer to overheat trying to regulate. Always use dimmers labeled "LED-compatible" and check manufacturer load charts—our compatibility chart here.
Should I replace the entire switch box too?
Not usually—but inspect it closely. If the box is cracked, rusted, or overcrowded (more than 5 wires inside), upgrade to a deeper 22-cubic-inch metal box. Plastic boxes retain heat and offer less grounding reliability. NEC requires metal boxes for new installations in unfinished basements or garages.
A warm switch is rarely a fluke—it’s your wiring’s way of sending an SOS. Address it methodically, prioritize verification over speed, and remember: when in doubt about grounding, bonding, or circuit capacity, hire someone with a license and liability insurance. Your safety—and your home’s—is worth far more than a $20 switch.