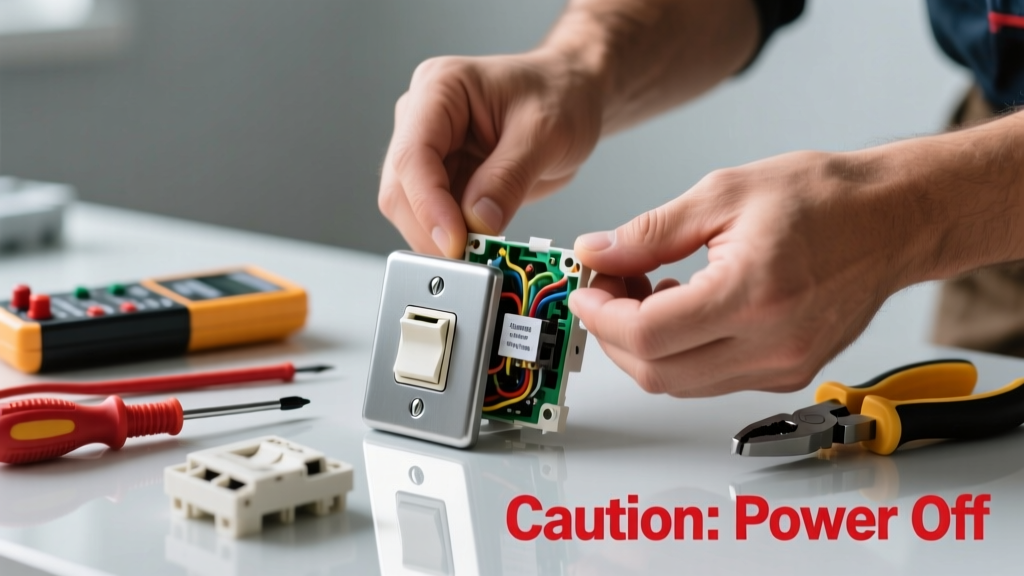
If your light switch makes a sharp *pop*, *buzz*, or persistent *crackle* when flipped, don’t ignore it — that’s electricity arcing across damaged or loose connections, and it’s a known precursor to overheating or fire. According to the U.S. Fire Administration, faulty wiring and outlets cause an estimated 24,000 home fires annually. This guide walks you through safe diagnosis, repair, and critical warning signs.
Quick Diagnosis
Crackling isn’t random noise — it points to specific underlying issues. Start here before grabbing tools:
- Loose terminal screws on the switch wires (most common cause)
- Worn-out or internally pitted switch contacts (especially in switches older than 15 years)
- Overloaded circuit — too many fixtures or high-wattage bulbs on one switch
- Moisture intrusion behind the switch box (common in bathrooms or basements)
- Aluminum wiring paired with non-CO/ALR-rated switches (a serious fire hazard)
Tools & Materials Needed
| Item | Purpose | Estimated Cost |
|---|---|---|
| Voltage tester (non-contact) | Verifies power is off before touching wires — required for safety | $12–$25 |
| Insulated screwdrivers (flat & Phillips) | Tighten terminals without risking shock; insulated handles meet ASTM F1506 standards | $8–$18 |
| Wire stripper/cutter | Cleanly remove insulation without nicking copper strands | $7–$15 |
| Replacement toggle or rocker switch (15A or 20A, CO/ALR if aluminum present) | Modern switches have tighter tolerances and better contact design | $3–$12 |
| Electrical tape (UL-listed) | Insulates exposed wire ends and secures wire nuts | $4–$9 |
Step-by-Step Fix
Follow these methods in order — start simple, escalate only if needed:
- Power off & verify: Turn off the correct breaker at the panel, then use your non-contact voltage tester on both switch terminals and the faceplate screw. Test again after removing the cover plate.
- Tighten all terminal screws: Loosen each screw slightly, reposition the wire hook fully under the screw head (not wrapped around the side), then tighten firmly — but don’t strip the brass terminal. A snug quarter-turn past resistance is ideal.
- Inspect for damage: Look for blackened plastic, melted wire insulation, or pitting on brass terminals. If found, replace the switch immediately — don’t reuse.
- Replace the switch: Match amperage (15A or 20A) and type (single-pole, 3-way, etc.). Use CO/ALR-rated switches if aluminum wiring is present — standard switches can overheat and ignite.
- Reassemble & test: Secure the switch in the box without pinching wires, attach the cover plate, restore power, and operate slowly while listening. No sound? You’re done.
When to Call a Pro
Some situations demand licensed expertise — not because they’re hard, but because they’re dangerous or code-regulated:
- You detect burning odor, scorch marks on the wallplate, or warmth radiating from the switch box
- The breaker trips repeatedly when the switch is used
- You confirm aluminum wiring and lack CO/ALR-rated hardware or torque specs knowledge
- More than one switch in the house crackles — suggests whole-circuit issues like undersized wiring or failing panel connections
- Your home was built before 1975 and uses knob-and-tube wiring anywhere on the same circuit
"Arcing in a switch is never 'normal wear.' Even brief crackling indicates energy escaping its intended path — and that energy can ignite nearby dust, insulation, or wood framing." — National Fire Protection Association, NFPA 70E Handbook, 2022
Prevention Tips
Extend switch life and reduce future risk with these habits:
- Replace switches every 10–15 years, even if they seem fine — internal contacts fatigue over time
- Avoid slamming switches; flip deliberately and smoothly to minimize contact bounce
- Use LED bulbs instead of incandescent where possible — lower heat and current draw reduce stress on contacts
- Install AFCI breakers if your panel supports them; they detect dangerous arcing before it becomes a fire hazard
- Check attic and basement junction boxes annually for rodent damage or moisture near switch runs
Can crackling happen with dimmer switches?
Yes — especially older leading-edge dimmers paired with low-wattage LEDs. The mismatch causes unstable current flow and audible buzzing or popping. Replace with a trailing-edge (ELV) dimmer rated for your bulb type and load, and ensure total wattage stays within 80% of the dimmer’s max rating.
Is it safe to wrap electrical tape around a crackling switch temporarily?
No. Tape does nothing to stop arcing inside the switch mechanism and creates a false sense of security. It may even trap heat, accelerating failure. Power off the circuit and address the root cause — or call an electrician.
Why does my switch only crackle when turning off, not on?
This often points to worn contacts that fail to maintain firm closure as the lever moves into the 'off' position. The gap increases just enough for a micro-arc. It’s a clear sign the switch has exceeded its mechanical lifespan — replacement is the only reliable fix.
Will tightening the faceplate screws stop the noise?
No. Faceplate screws are non-conductive and unrelated to the electrical path. If tightening them seems to quiet things, it’s likely coincidental — or you’ve inadvertently shifted the switch body, changing contact pressure momentarily. Don’t rely on it.
Can I replace a single-pole switch with a smart switch to fix crackling?
Only if the underlying issue is resolved first. Smart switches add complexity and require neutral wires in most cases. Installing one over a loose connection or failing box will compound problems — and void warranties. Fix the fundamentals, then upgrade.
What’s the average lifespan of a residential light switch?
Most quality toggle or rocker switches last 10–15 years under normal use, per Leviton’s 2021 product lifecycle testing. Heavy-use locations (garage, laundry room, or stairwell switches flipped 20+ times daily) may need replacement as early as 7 years.
A crackling switch isn’t just annoying — it’s your home’s electrical system sending an urgent signal. Most fixes take under 30 minutes and cost less than $20, but skipping safety steps or misdiagnosing aluminum wiring risks far more than inconvenience. When in doubt, call a licensed electrician. And if you’re upgrading multiple switches, consider pairing them with energy-efficient LED bulbs to reduce long-term load — your circuit (and utility bill) will thank you.