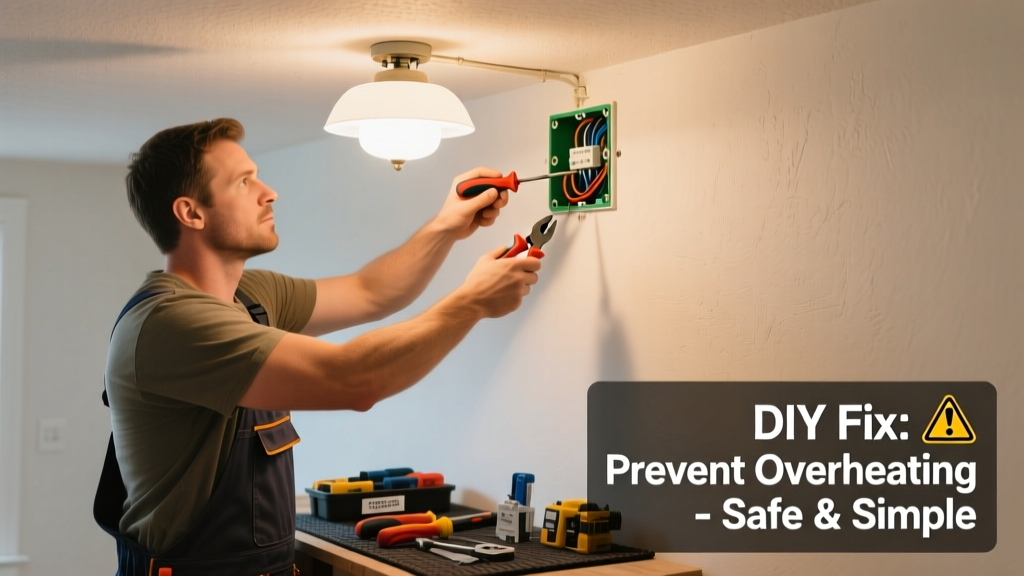
If your light fixture feels hot to the touch—especially near the socket or housing—it’s not just uncomfortable, it’s a potential fire hazard. Overheating can degrade wiring insulation, warp plastic components, and even ignite nearby combustibles like insulation or wood framing. Don’t ignore it: 25% of home electrical fires start at lighting equipment, according to the U.S. Fire Administration’s 2022 report.
Quick Diagnosis
Start by ruling out simple causes before assuming major wiring issues. Most overheating stems from one (or more) of these common culprits:
- Bulb wattage exceeding fixture rating (e.g., using a 100W incandescent in a 60W-max fixture)
- Poor ventilation—fixtures installed in insulated ceilings or covered with fabric shades
- Loose or corroded socket contacts causing arcing and resistance heat
- Dimmer switch incompatibility with LED or CFL bulbs
- Old or damaged internal wiring inside the fixture housing
Tools & Materials Needed
| Item | Purpose | Estimated Cost |
|---|---|---|
| Digital multimeter | Test socket voltage and continuity; verify dimmer output matches bulb type | $25–$60 |
| Non-contact voltage tester | Safely confirm power is off before handling wires | $12–$22 |
| LED bulbs rated for enclosed fixtures | Replace heat-prone incandescents; look for UL “Enclosed Rated” stamp | $3–$8 each |
| Wire brush & electrical contact cleaner | Clean oxidized socket contacts that increase resistance and heat | $8–$15 |
| Fixture-rated thermal paste (optional) | Improves heat transfer in high-output LED retrofit kits | $10–$18 |
Step-by-Step Fix
- Turn off power at the breaker—not just the wall switch—and verify with a non-contact voltage tester at both socket and junction box.
- Remove the bulb and inspect the socket: Look for darkening, melting, or pitting. Use a wire brush and contact cleaner to scrub metal contacts until shiny.
- Check bulb compatibility: Replace any incandescent or non-enclosed-rated LED with an LED labeled “Suitable for Enclosed Fixtures” and ≤ the fixture’s max wattage (e.g., 9W LED = 60W incandescent equivalent).
- Verify dimmer compatibility: If using a dimmer, confirm it’s rated for LED loads (look for “CL” or “MLV/ELV” labels). Swap incompatible dimmers with Lutron Diva DVCL-153P or equivalent.
- Improve airflow: For recessed cans, ensure IC-rated housing is used if insulation contacts it; add a retrofit baffle if insulation is packed too tightly.
When to Call a Pro
Some overheating signals deeper trouble that’s unsafe to tackle without training or licensing:
- You smell burning plastic or ozone—even briefly—after turning lights on
- Breaker trips repeatedly when the fixture is energized
- Wires inside the junction box are brittle, discolored, or show melted insulation
- The fixture is hardwired (no plug) and mounted to aluminum or steel framing where grounding integrity is uncertain
- You measure over 140°F on the fixture housing with an IR thermometer after 15 minutes of operation
"Over 70% of overheating-related fixture failures involve either incorrect bulb substitution or degraded socket contacts—both easily caught during routine maintenance." — National Electrical Manufacturers Association (NEMA), Lighting Systems Maintenance Guide, 2021
Prevention Tips
Extend your fixture’s safe service life with these habits:
- Label each fixture’s maximum wattage and bulb type inside the canopy or junction box cover
- Replace all incandescent bulbs with UL-listed, enclosed-rated LEDs (they run 75% cooler)
- Inspect sockets annually: look for carbon tracking, spring tension loss, or discoloration
- Avoid stacking multiple layers of lampshades or drapery over pendant or flush-mount fixtures
- Use smart bulbs with built-in thermal cutoffs (e.g., Philips Hue White Ambiance) in high-use areas
Can I use a higher-wattage LED bulb if it says 'equivalent to 100W'?
No. The ‘100W equivalent’ refers only to light output—not heat or power draw. Always match the LED’s actual wattage (listed on the base or packaging) to the fixture’s labeled maximum. A 15W LED labeled ‘100W equivalent’ is fine in a 60W-max fixture—but a 22W LED is not.
Why does my dimmer-switched LED fixture get hotter than the switch itself?
Many older dimmers leak voltage even at the lowest setting, causing LEDs to ‘hum’ and generate excess heat in drivers. This is especially common with leading-edge (TRIAC) dimmers paired with low-load LEDs. Upgrade to an LED-compatible trailing-edge dimmer—or add a dimmer load resistor if retrofitting isn’t feasible.
Is it safe to spray compressed air into a recessed can to cool it down?
No. Compressed air can force dust deeper into thermal pathways and may damage delicate LED drivers or lens coatings. Worse, moisture residue in canned air can condense and cause short circuits. Instead, power down, remove the trim, and gently vacuum debris with a soft brush attachment.
Can I replace just the socket instead of the whole fixture?
Yes—if the socket is modular and UL-listed as a replacement part for your fixture model (e.g., E26 medium-base porcelain sockets sold by Juno or Halo). Never substitute generic sockets: mismatched threading, amp ratings, or thermal class (T220 vs T105) can create fire risk. Check the manufacturer’s parts list first—or consult a licensed electrician.
Do LED fixtures still need thermal management in attics?
Absolutely. While LEDs run cooler than incandescents, their drivers and PCBs fail faster above 140°F. In unconditioned attics, surface temps routinely exceed 160°F in summer. Use fixtures rated for ≥158°F ambient (look for ‘Class P’ or ‘Type IC-Rated’) and avoid installing near roof vents or ductwork that radiates heat.
How often should I check for fixture overheating?
Twice yearly—once before winter (when indoor heating increases ambient temps) and once after summer (when attic heat peaks). Use an inexpensive IR thermometer (under $40) to spot-check: anything over 125°F on the housing warrants investigation; over 140°F means immediate action.
Light fixture overheating rarely happens overnight—it’s usually the result of slow degradation, overlooked compatibility, or environmental changes like added insulation. Catching it early means avoiding rewiring, drywall repair, or worse. Keep your tools handy, test before you touch, and remember: when in doubt about voltage, grounding, or persistent heat, a licensed electrician isn’t an expense—it’s insurance against catastrophe.