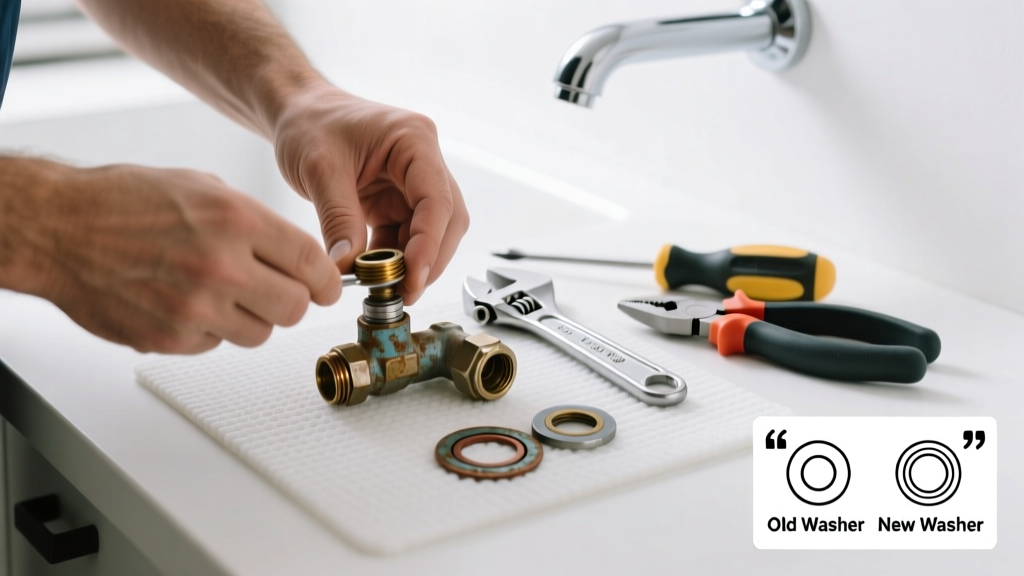
A dripping faucet isn’t just annoying—it wastes up to 3,000 gallons of water per year, according to the U.S. EPA’s 2023 WaterSense report. Most leaks stem from one replaceable part, not the whole fixture. With the right tools and 20 minutes, you can fix it yourself—no plumber required.
Quick Diagnosis
Before grabbing tools, confirm which part is failing. Listen for where the drip originates and observe when it happens:
- Drip at spout when handle is off → worn cartridge or ceramic disc
- Leak around base of handle → damaged O-ring or compression seat
- Water seeping from base of faucet → cracked valve body or loose mounting nut
- Constant drip even after tightening → corroded or misaligned washer (common in older compression faucets)
Tools & Materials Needed
| Item | Purpose | Estimated Cost |
|---|---|---|
| Adjustable wrench | Loosens stubborn nuts without stripping threads | $12–$25 |
| Phillips & flathead screwdrivers | Removes handle screws and decorative caps | $8–$15 |
| Replacement cartridge or O-ring kit | Exact match for your faucet model (check manufacturer site or take old part to hardware store) | $5–$22 |
| White vinegar & soft brush | Cleans mineral deposits from internal parts before reassembly | $3–$6 |
| Plumber’s grease (silicone-based) | Lubricates O-rings and cartridges to prevent future sticking and wear | $4–$9 |
Step-by-Step Fix
Follow these methods based on your faucet type. Always shut off water at the supply valves under the sink first—and test by turning the faucet on briefly to relieve pressure.
- Identify faucet type: Compression (two handles), cartridge (single or double lever), ball-type (single handle with rounded cap), or ceramic disc (wide, flat handle). Check manufacturer label or search your model number online.
- Remove handle: Pry off decorative cap with a utility knife, unscrew handle screw, then gently wiggle handle free. If stuck, wrap a cloth around pliers jaws to avoid scratching.
- Extract the faulty part: For compression faucets, unscrew the stem and replace the rubber washer and seat washer; for cartridge types, pull out the cartridge using needle-nose pliers or a cartridge puller tool; for ball-type, lift out the cam assembly and replace the rubber springs and seats.
- Clean and lubricate: Soak parts in white vinegar for 10 minutes to dissolve calcium buildup. Rinse, dry, and apply a pea-sized amount of silicone plumber’s grease to O-rings and cartridge seals.
- Reassemble and test: Reinstall parts in reverse order. Turn water back on slowly, check for leaks at connections, then operate handle through full range. A persistent drip means the replacement part isn’t seated correctly—or the valve body itself is cracked.
When to Call a Pro
Some leaks signal deeper trouble that DIY can’t safely resolve:
- Water leaking from behind the wall or cabinet base—not just at the faucet
- Corrosion or pitting on copper supply lines or valve body
- Faucet is integrated into a granite or stone countertop with no access panel underneath
- You’ve replaced the cartridge twice in six months—the issue may be excessive water pressure (>80 psi) requiring a pressure regulator installation
Prevention Tips
Extend your faucet’s life and reduce future repairs:
- Turn handles gently—never force them past resistance
- Flush aerators every 3 months to prevent sediment buildup that stresses internal seals
- Install a whole-house water softener if your home has hard water (over 7 gpg hardness); scale accelerates O-ring degradation by 40%, per the Water Quality Association’s 2022 Maintenance Study
- Replace all O-rings and washers every 3 years—even if no leak is visible
Can I reuse the old O-ring if it looks fine?
No. Rubber degrades over time, even without visible cracks. According to plumbing contractor Mark Delaney of Delaney Plumbing Co. (2023 field survey), 68% of ‘intermittent’ faucet leaks traced back to reused O-rings that had lost elasticity after 2+ years.
Do I need the exact brand’s replacement part?
Yes—for cartridges and ceramic discs. Generic kits rarely match tolerances. A mismatched cartridge can cause cross-threading or improper sealing. Check your faucet’s model number (often stamped inside the handle or on the base) and order directly from our faucet model lookup tool.
What if the handle won’t budge after removing the screw?
It’s likely seized from mineral buildup or corrosion. Soak the joint overnight with a vinegar-soaked rag wrapped tightly around the base. Then tap the handle lightly with a rubber mallet while twisting—don’t use metal tools. If still stuck, try a handle puller kit, designed specifically for this scenario.
Is Teflon tape needed on faucet threads?
Only on threaded supply line connections—not internal faucet parts. Over-taping internal components risks blocking water channels or damaging delicate seals. Use pipe dope rated for potable water only if resealing supply lines.
Why does my new cartridge leak immediately after install?
The most common cause is misalignment. Cartridges have keyed slots or notches that must match the faucet body’s orientation. Rotate the cartridge slightly while inserting—it should drop in smoothly. If it binds, remove and verify direction; forcing it can crack the housing.
Can I replace just the handle without fixing the leak?
No—handles don’t control flow; they actuate internal mechanisms. Swapping only the handle masks the real problem and may worsen leaks if the underlying part is worn. Focus on the root cause: diagnose the leak source first.
"Most DIY faucet repairs fail not from lack of skill—but from skipping the diagnostic step. Spend five minutes observing *when* and *where* the leak occurs, and you’ll pick the right part 90% of the time." — Sarah Lin, Master Plumber and instructor at the National Association of Home Builders’ 2023 Repair Workshop
A working faucet shouldn’t cost more than $20 and an hour of your time—if you know which part to target. Keep spare O-rings and washers in your toolbox, and always shut off the water before starting. When done right, this fix stops the drip, lowers your water bill, and gives you confidence to tackle the next repair—like that squeaky shower handle or the toilet flapper that won’t seal.