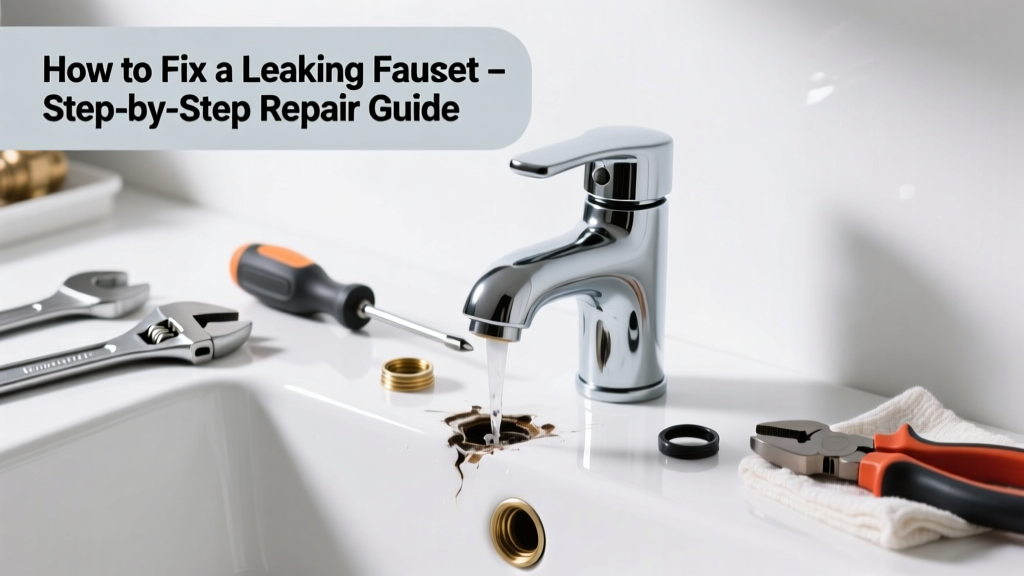
A dripping kitchen or bathroom faucet isn’t just annoying—it wastes up to 3,000 gallons of water per year, according to the U.S. EPA’s 2022 WaterSense report. That’s enough to fill a small swimming pool. And most leaks stem from simple, replaceable parts you can swap in under an hour.
Quick Diagnosis
Before grabbing tools, identify the leak source:
- Drip from spout when handle is off → worn cartridge, ceramic disc, or rubber washer
- Leak around base of handle → loose packing nut or degraded O-ring
- Water pooling under sink → corroded valve seat, cracked supply line, or failed compression fitting
- Constant drip even after full shutoff → failed cartridge or sediment-clogged inlet screen
Tools & Materials Needed
| Item | Purpose | Estimated Cost |
|---|---|---|
| Adjustable wrench | Tightens/loosens nuts without stripping threads | $12–$25 |
| Phillips & flat-head screwdrivers | Removes handle screws and trim plates | $8–$15 |
| Replacement cartridge or washer kit | Model-specific seal replacement (check manufacturer) | $5–$22 |
| Needle-nose pliers | Extracting small O-rings and retaining clips | $6–$14 |
| White vinegar & soft brush | Cleans mineral buildup from aerator and valve seats | $3–$5 |
Step-by-Step Fix
Follow these methods based on your faucet type. Always shut off water at the supply valves under the sink first—and test by turning on the faucet until no flow remains.
- Compression faucet (two handles, older style): Remove handle screw, lift off handle, unscrew packing nut, pull out stem, replace rubber washer and brass seat washer if pitted.
- Cartridge faucet (single or double handle, mid-1980s–2000s): Pop off decorative cap, remove handle screw, slide off handle, pull out cartridge with pliers, replace entire cartridge using OEM part number.
- Ceramic disc faucet (modern single-lever): Remove handle, unscrew mounting collar, lift out ceramic discs, clean grooves with vinegar-soaked cloth, replace discs if chipped or scored.
- Ball-type faucet (single handle with rounded cap): Remove cap and handle, unscrew collar, lift out ball assembly, inspect springs and rubber seals—replace all rubber parts in kit, not just the obvious leak source.
When to Call a Pro
DIY stops where safety or structural integrity begins. Call a licensed plumber if:
- You encounter corroded or frozen supply lines that won’t budge—even after penetrating oil and heat
- The leak originates from behind the wall or under the floor (sign of pipe joint failure)
- You’ve replaced washers/cartridges twice in six months—indicating misaligned or damaged valve body
- Your home has polybutylene pipes (gray, stamped 'PB'—banned in 1996; prone to sudden rupture)
"Over 70% of faucet leaks are resolved with under-$15 parts—but forcing a stripped valve stem can cost $300+ in cabinet or drywall repair." — Plumbing Contractor Magazine, 2023 Field Repair Survey
Prevention Tips
Extend your faucet’s life with routine care:
- Flush aerators every 3 months to prevent sediment-induced pressure imbalance
- Turn handles gently—don’t ‘crack’ them shut, which wears out internal seals faster
- Install a whole-house water softener if hardness exceeds 7 gpg (reduces scale buildup by 60%, per Water Quality Association 2021)
- Replace rubber O-rings annually during routine cleaning—even if no leak is visible
Can I use bleach on this?
No. Bleach degrades rubber washers, O-rings, and silicone seals—accelerating future leaks. Use white vinegar or citric acid solution instead for mineral deposits.
What if the handle won’t come off?
Try soaking the set screw with penetrating oil for 15 minutes. If it’s stripped, use a center punch and hammer to create a new grip point—or carefully drill out the screw with a 1/16" bit before extracting with an easy-out tool. Avoid prying, which cracks chrome plating.
Do I need Teflon tape on the threads?
Yes—for compression fittings and supply line connections. Wrap clockwise 3–4 times only. Over-wrapping causes cross-threading or uneven seating, leading to leaks downstream.
Why does my faucet leak only when hot water is on?
Heat expands rubber components—so a marginally worn washer or cartridge may seal cold but fail when heated. Replace the hot-side cartridge or washer specifically, and check for thermal expansion tank issues if other fixtures also behave erratically.
Is a leaking faucet covered by homeowners insurance?
Generally no—routine maintenance items like faucet parts aren’t covered. But if the leak leads to sudden, accidental water damage (e.g., rotted subfloor), some policies cover remediation. Document everything before repairs begin. For long-term protection, consider adding water leak detection systems to catch issues early.
How tight should I tighten the packing nut?
Tighten just until resistance increases—then stop. Over-tightening cracks plastic cartridges and crushes O-rings. A quarter-turn past snug is usually sufficient. If leakage persists, the issue is likely the seal itself—not torque.
Fixing a leaky faucet is one of the most satisfying DIY wins—it saves water, cuts utility bills, and sharpens your hands-on confidence. Even if you end up calling a pro, you’ll speak their language better and avoid unnecessary upsells. For related help, see our guides on unclogging a bathroom sink and restoring low kitchen faucet pressure.