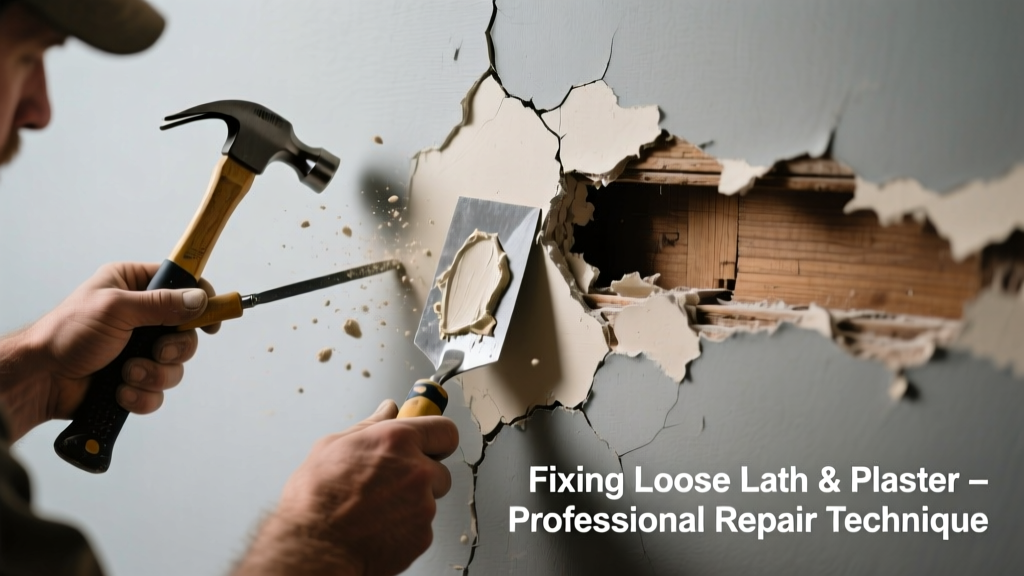
If your old house groans, cracks, or pops when you walk across the floor—or even when the heat kicks on—you’re likely hearing loose lath and plaster shifting. This isn’t just annoying; it’s a warning sign that structural integrity may be compromised.
Quick Diagnosis
Start here before grabbing tools. Unusual noise from lath and plaster usually points to one (or more) of these issues:
- Shrinkage gaps between plaster and wood lath due to age or humidity swings
- Loose nails or deteriorated wood lath pulling away from joists or studs
- Plaster delamination—where the plaster layer separates from the lath beneath
- Settling foundation or framing movement stressing the plaster system
- Water damage softening lath or causing rust on nails
Tools & Materials Needed
| Item | Purpose | Estimated Cost |
|---|---|---|
| Stud finder with deep-scan mode | Locates solid backing behind plaster to anchor repairs | $35–$65 |
| 1¼" drywall screws with plaster washers | Secures loose plaster without cracking surface | $8–$12 |
| Drill with clutch setting | Prevents overdriving screws into brittle plaster | $40–$90 |
| Utility knife & stiff putty knife | Cuts access slots and lifts plaster gently for injection | $5–$15 |
| Plaster bonding adhesive (e.g., Plaster-Weld) | Re-bonds plaster to lath where separation exists | $12–$20 |
Step-by-Step Fix
Choose the method that matches your noise source and access level. Most homeowners start with Method 1—it’s low-risk and effective for localized looseness.
- Locate and mark loose areas: Tap gently with a rubber mallet. Hollow sounds indicate detachment. Outline each zone with pencil.
- Secure with screws and washers: Drill pilot holes through plaster into solid lath or framing. Use plaster washers to distribute pressure. Tighten until plaster just contacts lath—don’t overtighten.
- Inject adhesive behind plaster: Cut a ½" slit in the plaster above the loose area. Inject bonding adhesive using a caulk gun with narrow tip. Clamp lightly overnight.
- Reinforce lath at framing: If lath is sagging between studs/joists, add blocking or screw lath directly to framing every 12"—but only if you can access from behind (attic or basement).
When to Call a Pro
Some situations demand expert intervention—not just for safety, but to preserve historic integrity. Call a plaster specialist if:
- The loose area exceeds 4 square feet or spans multiple studs/joists
- You see bulging, sagging, or visible cracks wider than ⅛"
- There’s evidence of active water intrusion or mold behind plaster
- Your home was built before 1940 and contains horsehair or lime-based plaster (requires specialty repair techniques)
According to the National Trust for Historic Preservation’s Plaster Repair Guidelines (2022), improper screwing or patching of historic plaster can reduce wall R-value by up to 30% and accelerate future failure.
Prevention Tips
Moisture and vibration are the top enemies of lath and plaster. Keep these habits in place:
- Maintain indoor humidity between 30–50% year-round using a hygrometer and dehumidifier/humidifier as needed
- Anchor heavy items like shelves or mirrors into studs—not just plaster—and use toggle bolts rated for hollow walls
- Inspect attic and basement framing annually for signs of settling, rot, or insect damage
- Avoid slamming doors near plaster walls—sudden impacts transmit shock through framing
Can I just glue the plaster back with construction adhesive?
No. Standard construction adhesives don’t bond well to aged, dusty plaster surfaces and lack flexibility. They’ll fail within months. Use only plaster-specific bonding agents like Plaster-Weld or Big Wally’s Plaster Magic—formulated to grip mineral surfaces and accommodate minor movement.
Will screwing into plaster cause new cracks?
Not if done correctly. Use plaster washers and set your drill clutch to low torque. Pre-drill with a 1/16" bit, and stop the moment the washer seats flush. Over-tightening is the #1 cause of new spiderweb cracks. Test on an inconspicuous spot first.
How do I know if the noise is coming from the floor above instead of the wall?
Tap the wall while someone walks overhead. If the noise syncs with footfalls, it’s likely floor joist movement transmitting through shared walls. Check for gaps between subfloor and joists upstairs—those often rattle against nail heads. A quick test: press firmly on the wall while walking; if pressure changes the sound, it’s wall-related.
Is this problem covered by homeowners insurance?
Rarely. Standard policies exclude wear-and-tear, gradual deterioration, or maintenance issues. However, if the noise stems from sudden damage—like a burst pipe behind plaster or storm-related framing shift—file a claim promptly with photos and contractor estimates. Document everything before repairs.
Can I paint over repaired plaster right away?
Wait at least 72 hours after adhesive injection or screwing, then prime with an oil-based or shellac primer (e.g., BIN or Kilz Original). Latex primers may reactivate residual adhesive or highlight uneven patches. Always sand lightly before priming—plaster dust clogs brushes and rollers.
What’s the average cost to professionally repair a 10' x 12' loose plaster ceiling?
Based on 2023 data from the National Association of Home Builders’ Remodeling Cost Report, full re-securing and skim-coating runs $1,800–$3,200, depending on accessibility and plaster type. DIY materials for the same area cost under $75—but labor savings assume you’ve practiced on scrap plaster first.
Fixing loose lath and plaster isn’t about perfection—it’s about stability and quiet. Even small interventions restore confidence in your walls and buy years before major renovation. If you catch it early and work methodically, most noise issues respond well to careful tightening and bonding—not demolition. For deeper guidance on preserving historic walls, see our guide on repair historic plaster walls or identify plaster vs. drywall.