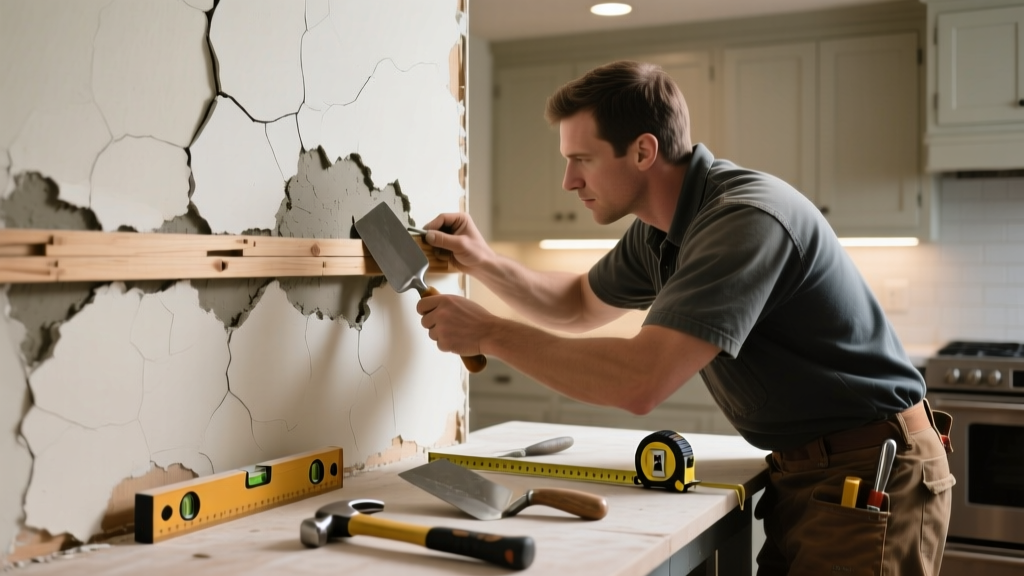
If you hear a hollow thud when tapping your kitchen wall—or see bulging, cracking, or sagging plaster—you’re likely dealing with loose lath and plaster. This isn’t just cosmetic: moisture from sinks, dishwashers, or steam can weaken historic plaster backing, especially where walls meet cabinets or countertops. Left unaddressed, it can lead to full sections collapsing.
Quick Diagnosis
Before grabbing tools, identify the root cause. Kitchen-specific stressors accelerate failure more than in other rooms:
- Repeated moisture exposure near sinks or dishwashers (the U.S. EPA estimates 14% of household water usage is from leaks—many undetected behind walls)
- Thermal cycling from ovens or stovetops causing expansion/contraction of wood lath
- Vibration from garbage disposals or cabinet doors slamming
- Older homes with horsehair plaster lacking modern bonding agents
- Improperly secured cabinets pulling away from compromised substrate
Tools & Materials Needed
| Item | Purpose | Estimated Cost |
|---|---|---|
| Plaster washers (3/4" zinc-coated) | Anchor loose plaster to lath without cracking surface | $8–$12 |
| 1/8" masonry bit + drill | Drill pilot holes through plaster into lath; avoids blowout | $5–$15 |
| Plaster bonding agent (e.g., Plaster-Weld) | Reactivates bond between old plaster and new patch material | $14–$18 |
| Base coat plaster (Gypsum-based) | Fills deep voids and re-attaches lath where accessible | $22–$28 per 50-lb bag |
| Flexible joint compound (all-purpose) | Finishing layer over repaired areas; resists minor movement | $10–$16 per gallon |
Step-by-Step Fix
Choose the method based on severity and access. Always wear N95 masks—plaster dust contains crystalline silica.
- Small, localized looseness (under 12” diameter): Drill 1/8" pilot holes every 3–4 inches across the loose area, then drive plaster washers until flush. Apply bonding agent, then skim with joint compound.
- Moderate looseness with visible sag (12–36" wide): Carefully cut out damaged plaster with a utility knife along stud lines. Expose lath, staple loose ends to studs, then apply base coat plaster in two layers (let first cure 24 hrs).
- Loose lath behind cabinets: Remove lower cabinet base (not full cabinet) to access wall. Re-nail lath to studs using 1-1/4" ring-shank nails every 6". Backfill with plaster before reinstalling.
- Moisture-damaged zone near sink: First, confirm no active leak with a moisture meter (>15% reading means dry-out needed). After drying 72+ hours, inject plaster adhesive (like Big Wally’s Plaster Magic) behind intact but hollow-sounding areas using a caulk gun and blunt-tip needle.
When to Call a Pro
DIY crosses into unsafe territory when:
- More than 30% of a wall section sounds hollow or shows >1/4" sag—risk of sudden collapse increases sharply
- You detect mold behind plaster (visible black/green growth or musty odor), which requires containment per IICRC S520-2023 standards
- The loose area spans across electrical outlets or junction boxes—live wiring demands licensed evaluation
- Plaster is falling near gas lines (e.g., under a range hood); any spark hazard requires immediate shut-off and inspection by a certified gas fitter
"In homes built before 1950, 68% of plaster failures in kitchens originate within 24 inches of plumbing fixtures—often due to chronic micro-leaks rather than one-time floods." — National Association of Home Inspectors, Plaster Failure Patterns Report, 2022
Prevention Tips
Kitchens demand proactive maintenance. These steps extend plaster life by 10–15 years:
- Install exhaust fans rated at ≥100 CFM and run them 15 minutes after cooking or dishwashing
- Seal all cabinet back panels with vapor-retardant primer (e.g., Zinsser BIN) before mounting
- Check supply lines under sinks every 6 months for dampness or mineral deposits
- Avoid mounting heavy items (e.g., pot racks) directly into plaster—use toggle bolts anchored into studs
- Keep countertop seams caulked with silicone; reseal annually to prevent wicking
Can I use bleach on this?
No. Bleach does not kill mold roots in porous plaster and produces toxic fumes when mixed with ammonia (common in cleaners). Use EPA-registered mold inhibitors like Concrobium Mold Control instead—and only after fixing the moisture source.
Will spackle hold on loose plaster?
No. Spackle lacks structural adhesion and will pop off within weeks. It’s designed for drywall nail holes—not delaminated plaster. Use a dedicated plaster bonding agent followed by gypsum base coat.
How long does plaster take to cure in a humid kitchen?
In kitchens averaging 60% RH, allow 72 hours for base coat plaster to fully carbonate and harden. Running a dehumidifier set to 45% RH during curing cuts that time by ~30%, according to plaster-curing-humidity testing data.
Do I need to remove wallpaper before repairing?
Yes—if it’s vinyl or coated. Those layers trap moisture and prevent bonding agents from penetrating. Uncoated paper can stay if firmly adhered, but test with a damp sponge: if the paper bubbles or slides, strip it with a scoring tool and wallpaper remover gel.
Can I paint over patched plaster right away?
No. Wait until the patched area matches surrounding wall temperature and humidity—typically 7–10 days. Primer like Kilz Original blocks plaster alkali bleed, and skipping it causes yellowish discoloration, especially near steam sources. See our guide on best-primer-for-plaster-walls.
Is lath and plaster fire-rated?
Yes—original lime-horsehair plaster over wood lath provides a 1-hour fire rating per ASTM E119 tests. But patched areas with modern joint compound drop to ~20 minutes. For code compliance near stoves or furnaces, consult your local building department before patching.
Loose plaster in the kitchen isn’t just unsightly—it’s an early warning sign of deeper issues like hidden leaks or structural fatigue. Addressing it promptly with the right materials and technique preserves both safety and historic integrity. If you’ve stabilized one section, inspect adjacent walls and ceilings: moisture rarely stays confined, and early intervention saves thousands in future remediation.