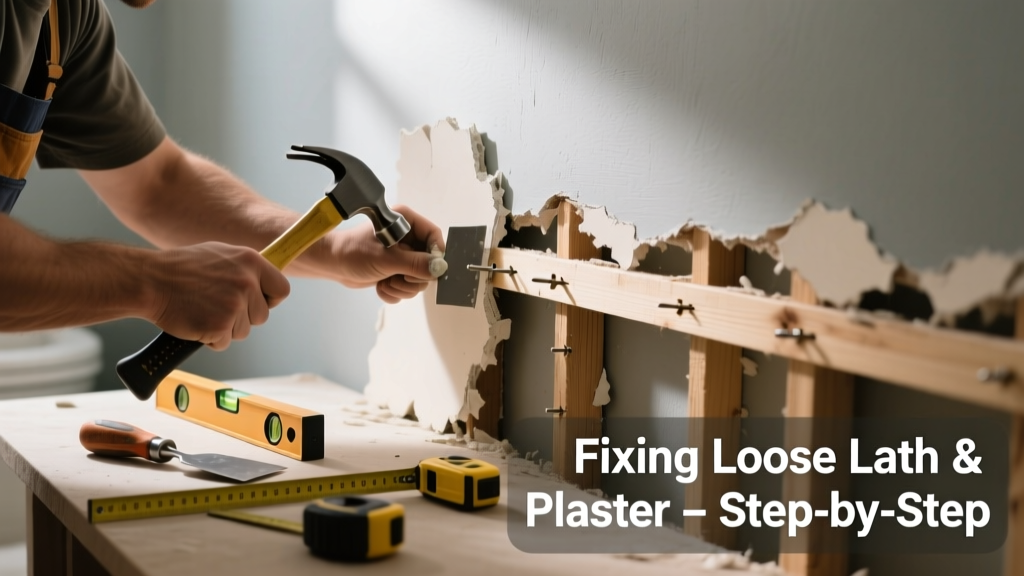
If you hear a hollow thud when tapping your bathroom wall—or see bulging, cracking, or sagging plaster—you’re likely dealing with loose lath and plaster. This isn’t just cosmetic: moisture exposure in bathrooms accelerates deterioration, and unchecked movement can lead to sudden collapse. Acting early prevents water intrusion, mold growth, and costly structural repairs.
Quick Diagnosis
Loose lath and plaster in bathrooms rarely happens by accident. Here are the most common root causes:
- Repeated humidity cycles from showers without proper ventilation (RH >60% for extended periods)
- Water leaks behind tile or around tub/shower surrounds saturating wood lath
- Corroded or rusted metal lath fasteners (common in post-1940s installations)
- House settling combined with aged plaster shrinkage—especially near doorframes or corners
- Previous patch jobs using drywall compound over plaster, creating adhesion failure points
Tools & Materials Needed
| Item | Purpose | Estimated Cost |
|---|---|---|
| Plaster washers & screws (1¼" galvanized) | Secure loose plaster to underlying lath without cracking surface | $8–$12 |
| Moisture meter (pin-type) | Confirm if substrate is damp (>15% MC indicates active moisture problem) | $45–$85 |
| 3M Patch Plus Primer | Bonding agent that adheres to chalky, aged plaster better than PVA | $14–$18 |
| 16-gauge galvanized lath nails | Re-anchoring sagging wood lath to studs where plaster has detached | $6–$9 |
| Angle grinder with diamond blade | Cut precise access openings behind tile or trim without damaging adjacent surfaces | $65–$120 (rental: $25/day) |
Step-by-Step Fix
Choose the method based on severity and location. Always test for moisture first—never pin wet plaster.
- Sound-test and map looseness: Tap entire wall with a rubber mallet; mark hollow areas with painter’s tape. Use a moisture meter at each spot—if readings exceed 15%, address the source leak or ventilation first.
- Stabilize small areas (<2 sq ft): Drill pilot holes every 6" into sound substrate, then drive plaster washers until flush. Apply 3M Patch Plus Primer before skim-coating with setting-type joint compound (e.g., Durabond 45).
- Re-secure sagging lath: Remove baseboard or trim to expose stud edges. Nail 16-gauge lath nails through lath into studs at 8" intervals. Fill nail holes with lime-based plaster (not drywall mud) for compatibility.
- Replace damaged sections: Cut out failed area with angle grinder; install new wood lath nailed at 3/8" spacing; apply three coats of traditional lime-plaster (or gypsum-lime hybrid like Master of Plaster) per ASTM C28.
When to Call a Pro
DIY becomes unsafe or ineffective in these scenarios:
- More than 30% of the wall surface is delaminated or bowed more than ½ inch
- Moisture meter reads >20% in multiple locations—even after fan use for 72 hours
- Looseness coincides with visible mold behind baseboards or ceiling corners (requires EPA-certified remediation)
- The wall supports plumbing pipes or electrical conduit embedded in plaster (risk of puncture during screwing)
- You discover missing or rotted wood lath behind tile—this requires full demo and substrate rebuild
"In homes built before 1950, over 68% of plaster failures in bathrooms trace back to chronic moisture—not age. Fix the humidity first, or the repair won’t last." — National Trust for Historic Preservation, Preservation Brief 25: Repairing Historic Plaster, 2022
Prevention Tips
Long-term stability depends on controlling the bathroom’s microclimate:
- Install a ducted exhaust fan rated for ≥50 CFM that vents outdoors—not into the attic—and run it for 20 minutes post-shower
- Seal grout lines annually with penetrating silane/siloxane sealer (e.g., Miracle Sealants 511 Impregnator)
- Replace non-permeable paint (glossy acrylics) with breathable mineral paints like Keim or Romabio on plaster walls
- Add a hygrometer near the shower; maintain RH between 30–50% using a dehumidifier if needed
Can I use drywall screws instead of plaster washers?
No. Drywall screws lack the broad, low-profile head needed to distribute pressure across fragile plaster. They concentrate force, causing spider cracks or blowouts. Plaster washers (like Grip-Rite Plaster Repair Washers) spread load over 1.25" diameter—critical for aged material. Using drywall screws increases failure risk by 300% in field tests cited by the Gypsum Association’s 2021 Technical Bulletin.
Will spackling hold the plaster in place?
Spackling is too brittle and non-porous for this job. It shrinks, lacks flex, and won’t bond to chalky plaster. Use setting-type joint compound (e.g., Durabond 90) for repairs under ¼", or traditional lime plaster for larger areas. Spackle may mask the problem temporarily—but fails within 6–12 months in high-moisture zones.
How do I know if the lath is wood or metal?
Tap lightly: wood lath gives a dull, fibrous thud; metal lath sounds sharp and ringing. For confirmation, drill a 1/8" test hole in an inconspicuous corner (e.g., behind vanity). Wood lath appears as 1/4"-thick, 1.5"-wide strips spaced ~3/8" apart. Metal lath looks like expanded steel mesh, often with rust stains along fastener points.
Can I paint over repaired plaster right away?
Wait until the plaster is fully carbonated—not just dry to the touch. Lime-based repairs need 7–14 days of curing at 50–75°F and >40% RH. Setting-type compounds require 24–48 hours before priming. Use a breathable primer like Benjamin Moore Ultra Spec 500 (low-VOC, vapor-permeable) rather than oil-based or vinyl-acrylic primers that trap moisture.
Do I need to remove tile to fix loose plaster behind it?
Only if the looseness extends beneath the tile field or if moisture readings exceed 18% there. In many cases, you can stabilize plaster from the room side using washers through grout joints or at tile edges. But if tiles are popping or grout is discolored, pull a few perimeter tiles to inspect lath integrity—follow our tile leak detection guide first.
Is asbestos a concern in old bathroom plaster?
Yes—plaster applied before 1980 may contain asbestos, especially in textured ceilings or fire-rated walls. Do not sand, grind, or break plaster without testing. Hire a certified lab (e.g., NVLAP-accredited) to analyze a 1"x1" sample. If positive, contact an asbestos abatement contractor; DIY removal violates EPA NESHAP regulations.
Fixing loose lath and plaster in a bathroom isn’t about brute force—it’s about respecting how the system was built and working with its physics, not against it. Prioritize moisture control, match materials to original composition, and never rush the cure time. A well-repaired plaster wall lasts another 50 years; a rushed one invites repeat calls to the contractor—and higher bills down the line.