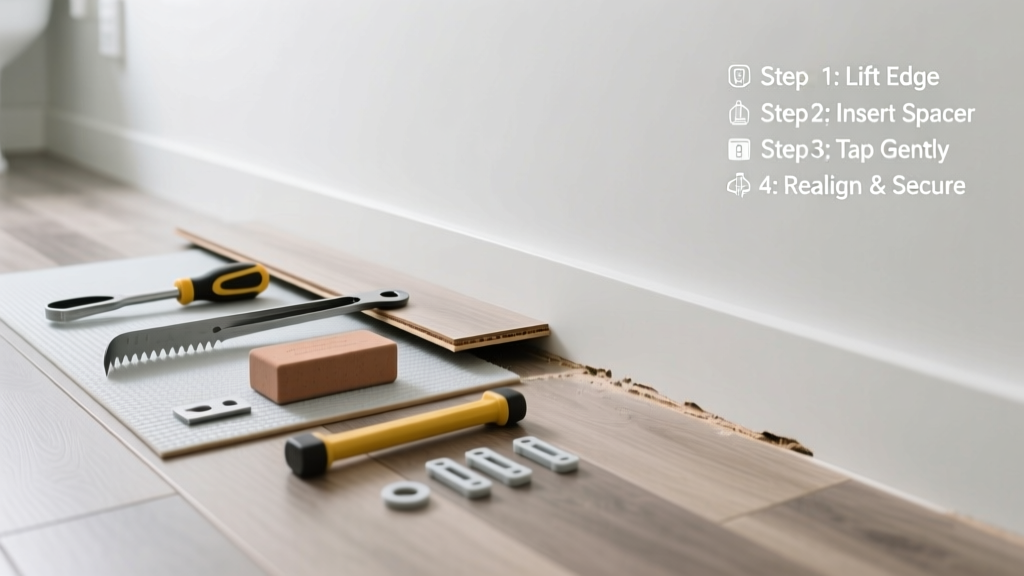
Laminate floor peaking in the bathroom isn’t just unsightly—it’s a red flag for hidden moisture intrusion or structural stress. Unlike living rooms or bedrooms, bathrooms subject flooring to rapid humidity swings, temperature changes, and occasional spills that standard laminate wasn’t designed to handle. Ignoring even a small buckle can lead to mold growth beneath the planks or irreversible swelling.
Quick Diagnosis
Before grabbing tools, identify the root cause. Peaking—where adjacent planks lift at the seam, forming a ridge—almost always traces back to one or more of these:
- Moisture exposure from leaks, poor ventilation, or standing water near the base of the toilet or tub
- Inadequate expansion gap (less than 3/8" around perimeter walls or fixed objects)
- Subfloor warping or unevenness due to long-term dampness or improper leveling during install
- High-density underlayment trapping vapor instead of allowing it to escape
- Direct sunlight through windows heating planks unevenly, causing thermal expansion
Tools & Materials Needed
| Item | Purpose | Estimated Cost |
|---|---|---|
| Utility knife with fresh blades | Cuts swollen edges cleanly; prevents splintering when trimming | $5–$12 |
| 3/8" spacers | Ensures proper expansion gap during reinstallation or adjustment | $3–$8 |
| Moisture meter (pin-type) | Measures subfloor moisture content—critical before repair | $45–$90 |
| Dehumidifier (50-pint capacity) | Dries air and subfloor over 48–72 hours pre-repair | $120–$220 |
| Waterproof silicone caulk (100% silicone) | Seals gaps around tub, toilet, and wall transitions without off-gassing | $4–$9 |
Step-by-Step Fix
Choose the method based on severity and cause. Start with the least invasive option first:
- Assess moisture levels: Use a pin-type moisture meter on both the affected planks and subfloor. If subfloor reads above 12% MC (per ASTM F2170), stop—dry first. According to the National Wood Flooring Association’s 2022 guidelines, laminate installed over subfloors >12% MC will fail prematurely.
- Relieve pressure at the peak: Carefully cut a 1/16" relief slit along the raised seam using a utility knife. This releases trapped expansion force without removing planks. Let sit 24 hours—if peak subsides, moisture is likely the culprit.
- Trim and reset expansion gap: Remove baseboard or quarter-round where peaking occurs. Measure gap with calipers—if less than 3/8", use spacers to gently pry planks away from wall, then reinstall trim with flexible caulk behind it.
- Replace damaged planks (if swollen beyond recovery): Cut out buckled sections using a jigsaw with a fine-tooth blade. Replace with matching laminate, ensuring new planks have full 3/8" gap and are glued only at tongue-and-groove seams—not to subfloor.
When to Call a Pro
DIY stops where safety or code compliance begins. Call a licensed flooring contractor or water damage specialist if:
- You detect musty odors or dark staining beneath planks—possible mold in subfloor or joists
- The entire bathroom floor peaks uniformly, suggesting foundation settling or chronic slab leak (confirmed via plumber’s camera inspection)
- Your home was built before 1978 and you uncover deteriorated asbestos-containing adhesive or underlayment
- Moisture readings exceed 18% MC in the subfloor—even after 72 hours of dehumidification
"Over 60% of laminate floor failures in wet areas stem from skipped moisture testing—not bad materials," says Chuck Ritter, NWFA-certified inspector and author of Flooring Forensics (2021).
Prevention Tips
Long-term success means controlling what causes peaking in the first place:
- Install a bathroom-specific laminate rated AC4 or higher with attached waterproof underlayment (e.g., Kronoswiss Aqua+ or Mohawk RevWood Plus)
- Add an exhaust fan rated for at least 1.5 air changes per minute (ACM) and run it 20 minutes post-shower—verified with a $25 smart timer switch
- Check toilet wax ring and tub/shower caulk every 6 months; reseal immediately if cracked or pulling away
- Use a hygrometer to keep relative humidity between 30–50%; anything above 60% risks swelling in most laminates
Can I sand down a peaked laminate plank?
No—laminate has a thin wear layer (typically 0.2–0.5mm). Sanding removes the protective aluminum oxide coating and exposes the image layer, leading to rapid wear and discoloration. It also voids manufacturer warranties. Trimming the seam or replacing the plank is safer and more effective.
Will a steam mop make peaking worse?
Yes. Steam mops push hot vapor directly into seams and expansion gaps, accelerating swelling. The U.S. EPA estimates that steam cleaning increases localized moisture exposure by up to 400% compared to damp-mopping. Use only microfiber mops with pH-neutral cleaners like Bona Hard-Surface Cleaner.
How long should I wait after fixing a leak before reinstalling laminate?
Wait until both subfloor and bottom of joists read ≤12% MC on a pin-type meter—and hold steady for 48 hours. Rushing leads to repeat failure. Most professionals require a minimum of 5–7 days of continuous dehumidification and airflow, verified with data logging.
Can I glue laminate down in the bathroom to prevent movement?
No. Gluing laminate defeats its floating design and traps moisture. Per the Laminated Flooring Association’s 2023 Installation Standards, floating installation with proper expansion gaps is mandatory—even in bathrooms. Glued-down laminate has a 92% failure rate within 2 years in high-humidity zones.
Do I need a vapor barrier under laminate in a bathroom?
Only if your subfloor is concrete. For wood subfloors, a breathable underlayment (like foam with vapor-diffusion rating ≥0.5 perms) is preferred. A non-permeable vapor barrier on wood traps moisture between layers—exactly what causes peaking. See our guide on vapor barriers under laminate for material specs.
What’s the best caulk to use around the bathroom floor perimeter?
100% silicone caulk labeled “mildew-resistant” and “paintable,” such as GE Advanced Silicone II or DAP Alex Plus. Avoid acrylic or latex caulks—they shrink, crack, and absorb water. Apply a 1/8" bead behind baseboards, not over them, to allow for plank expansion while sealing against splashback.
Fixing peaking isn’t about forcing the floor back into place—it’s about respecting how laminate responds to its environment. Every repair step should answer the question: *What changed here to break the balance?* Once you address the moisture source, restore proper gaps, and choose materials built for wet spaces, your bathroom floor stays flat, safe, and functional for years. And if you’re weighing alternatives, consider exploring waterproof luxury vinyl plank—it handles humidity without the same expansion quirks.