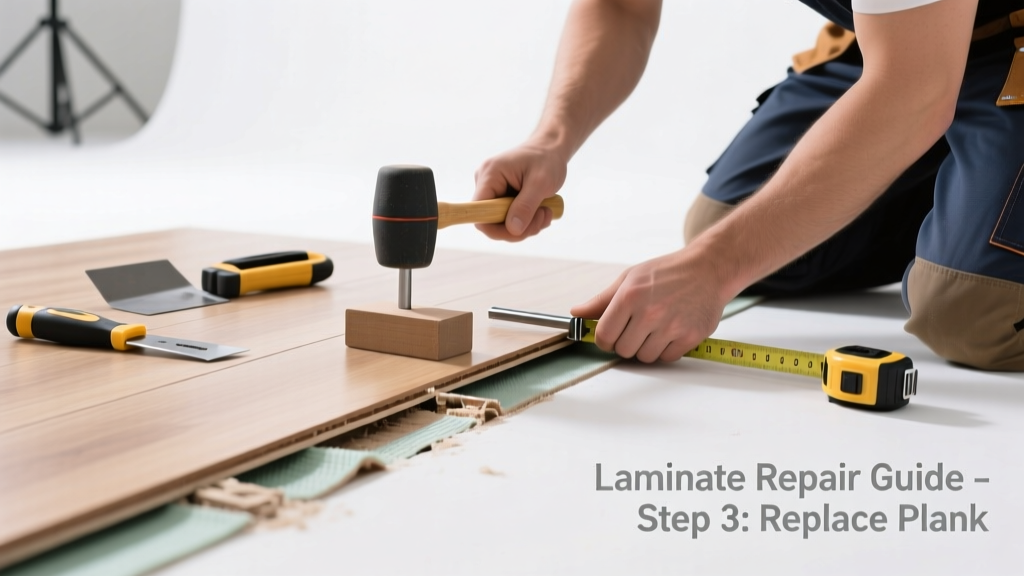
Gapping in laminate flooring isn’t just an eyesore—it’s a red flag that something’s wrong underneath or within the locking system. If you’re seeing consistent 1/8-inch or wider gaps near walls, transitions, or between planks—and they don’t close with humidity changes—you likely need a replacement part, not just reacclimation. Ignoring it invites moisture intrusion, dust buildup, and eventual buckling.
Quick Diagnosis
Before grabbing tools, confirm the root cause. Not all gapping means full plank replacement—but persistent, localized gaps usually do.
- Moisture damage beneath the subfloor (check for sponginess or musty odor)
- Failed locking mechanism on one or two planks (clicks feel loose or won’t engage)
- Manufacturing defect in the tongue/groove joint (visible chipping or misalignment)
- Improper installation—missing expansion gap at walls or over-tightened rows
- Subfloor unevenness causing stress points (use a 6-ft level to verify)
Tools & Materials Needed
| Item | Purpose | Estimated Cost |
|---|---|---|
| Laminate removal tool (e.g., Pry Bar + Pull Bar combo) | Releases locked planks without damaging adjacent ones | $12–$28 |
| Replacement plank(s) from same batch (lot # match critical) | Ensures color, texture, and locking profile compatibility | $2.50–$8.99 per plank |
| Tap block & rubber mallet | Seats new plank gently without cracking edges | $6–$15 |
| Utility knife & straightedge | Cuts baseboard spacers or trims warped underlayment | $3–$10 |
| Moisture meter (optional but recommended) | Confirms subfloor RH is ≤75% before reinstalling | $45–$120 |
Step-by-Step Fix
Replacing a single plank in a floating laminate floor is possible—even mid-room—if you plan the approach correctly. These methods scale based on location and access.
- Identify access point: Start from the nearest wall, doorway, or transition strip. If the gapping plank is deep inside, remove planks row-by-row toward it using a pull bar—not brute force.
- Disengage the locking system: Angle the removal tool into the groove side, tap gently with a mallet to lift the tongue up and out. Work slowly—laminate joints fracture easily if twisted.
- Inspect subfloor and underlayment: Look for dents, moisture stains, or compressed foam. Replace damaged underlayment sections; sand minor high spots with 80-grit paper.
- Test-fit the new plank: Dry-lay it first. Ensure the tongue aligns cleanly with the adjacent groove. Trim the tongue slightly only if needed—never the groove.
- Install and lock: Tilt the new plank at 20°, slide the tongue into the groove, then lower and tap firmly with a tap block until fully seated. Verify no visible gap remains after pressure testing with foot weight.
When to Call a Pro
Some gapping situations go beyond DIY scope—especially when safety, structural integrity, or warranty compliance is at stake.
- More than 3 consecutive planks show gapping across multiple rows (indicates systemic subfloor or acclimation failure)
- Gaps appear alongside buckling, cupping, or creaking—signs of hidden water damage or joist deflection
- You own a condo or rental where HOA or landlord approval is required before floor modifications
- The floor was installed over radiant heating and lacks proper thermal expansion allowances
"Over 62% of laminate floor failures traced to improper subfloor prep—not material defects," according to the National Wood Flooring Association’s 2022 Installation Guidelines.
Prevention Tips
Long-term stability starts before the first plank goes down—and continues with routine care.
- Maintain indoor humidity between 35–55% year-round using a hygrometer and dehumidifier/humidifier as needed
- Always leave a 3/8-inch expansion gap around all walls and fixed objects—use spacers during install
- Acclimate new planks for 48–72 hours in the room where they’ll be installed (not garage or basement)
- Vacuum weekly with a soft-bristle attachment; avoid steam mops—they force moisture into joints
Can I use wood glue to fix laminate gapping?
No—laminate flooring is designed as a floating system. Gluing planks voids warranties and prevents natural expansion, increasing risk of buckling. Adhesives also make future repairs nearly impossible.
Do I need to remove baseboards to replace a plank?
Only if the gapping occurs within 12 inches of a wall and no expansion gap exists. In most cases, you can work from a doorway or transition strip instead. If baseboards are nailed tight, carefully pry them with a trim puller and reuse them.
What if my replacement plank doesn’t match the color?
Color shift happens due to UV exposure and aging. Check the original box for the lot number—match that exactly. If unavailable, contact the manufacturer; many keep archived batches for 5 years. As a last resort, consider laminate floor refinishing options for subtle blending.
How long does the repair take?
A single-plank replacement takes 45–90 minutes for experienced DIYers. Add 2+ hours if you’re diagnosing subfloor issues or cutting/fitting custom transition pieces. Always allow 24 hours before heavy furniture return.
Can I replace just the tongue or groove instead of the whole plank?
No—laminate planks aren’t modular. The locking system is molded into the HDF core. Attempting partial repair risks splintering, inconsistent height, and failed seals. Full plank replacement is the only reliable method.
Is underlayment reuse safe after removing a plank?
Only if it’s intact, dry, and flat. Peel back the underlayment layer beneath the damaged area. If it’s torn, compressed, or shows moisture staining, cut out and replace that section with matching 2mm foam underlayment—stagger seams and tape joints with underlayment seam tape.
Once your new plank is locked in and tested, walk across it barefoot to feel for subtle movement or squeaks. A solid, quiet connection means you’ve restored both function and appearance. For ongoing protection, add felt pads to furniture legs and sweep high-traffic zones daily—small habits prevent big gaps down the road. If gapping returns within six months, revisit your home’s humidity control setup or consult a certified installer for a full-system review at laminate floor installation checklist.