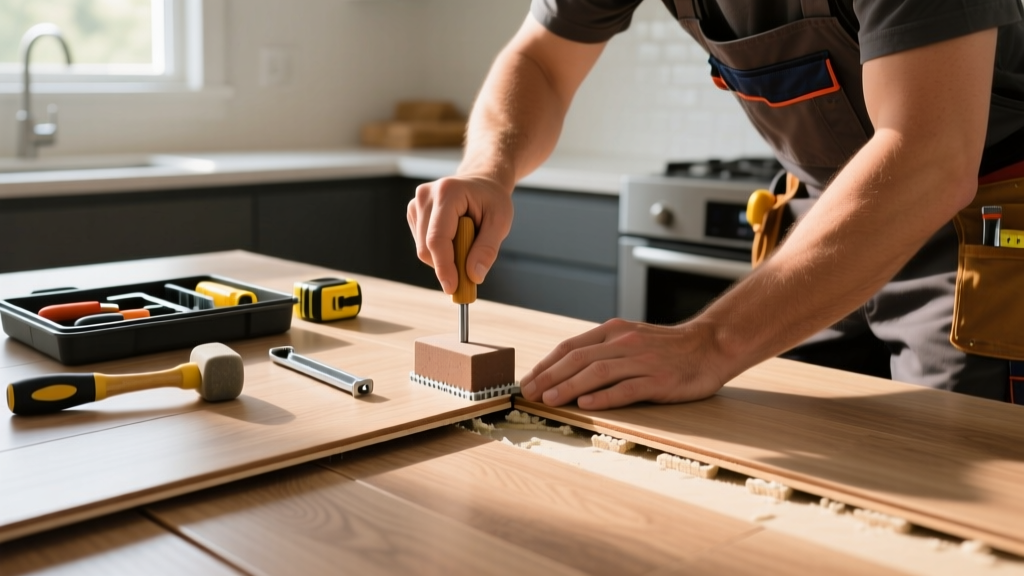
Kitchen laminate floors take a beating—from heavy appliances, frequent spills, and temperature swings—and gapping is often the first sign something’s off. Unlike gaps in living rooms or bedrooms, kitchen gaps risk water intrusion, trip hazards, and accelerated wear. Ignoring them invites bigger problems fast.
Quick Diagnosis
Laminate gapping in kitchens rarely happens by accident. Here are the most common root causes:
- Improper acclimation before installation (less than 48 hours in the room)
- Missing or compressed expansion gap along walls (should be 3/8″ minimum)
- Subfloor moisture or unevenness—especially over concrete slabs without vapor barriers
- Heavy appliance weight compressing or shifting planks over time
- Repeated thermal cycling from oven use or under-cabinet lighting heating the floor surface
Tools & Materials Needed
| Item | Purpose | Estimated Cost |
|---|---|---|
| Tap block & rubber mallet | Re-engages tongue-and-groove joints without chipping edges | $12–$22 |
| 3/8″ spacers | Maintains proper expansion gap during re-tightening | $4–$9 |
| Moisture meter (pin-type) | Confirms subfloor moisture < 75% RH—critical before repair | $45–$85 |
| Utility knife & carbide-tipped blade | Cuts baseboard or quarter-round if removal is needed | $6–$14 |
| Laminate floor filler (color-matched) | Temporary cosmetic fix for hairline gaps; not structural | $8–$18 |
Step-by-Step Fix
Choose the method based on gap size, location, and whether the floor is still under warranty. Always test repairs in an inconspicuous corner first.
- Small gaps (<1/16″) near walls: Remove baseboard or quarter-round, verify expansion gap is 3/8″, insert spacers, then gently tap planks inward with a tap block and mallet.
- Mid-room gaps (1/16″–1/8″): Use a pull bar and tapping block to draw adjacent rows together. Work from one side of the gap toward the other—never force planks sideways.
- Gaps under appliances: Carefully slide out fridge or dishwasher (turn off water/electric first), inspect for buckling or trapped debris, clean subfloor, and reset planks using spacers at perimeter.
- Localized swelling/gapping due to moisture: Cut out affected planks using a jigsaw with a fine-tooth blade, replace with matching pieces, and seal seams with urethane-based seam sealer (not silicone).
When to Call a Pro
DIY isn’t safe or effective in these scenarios:
- Gaps wider than 1/4″ across more than three consecutive planks
- Visible cupping or crowning alongside gapping—signs of chronic subfloor moisture
- Gaps appearing within 6 months of professional installation (warranty claim territory)
- Under-slab moisture readings above 85% RH per ASTM F2170 (requires mitigation before any repair)
According to the National Wood Flooring Association’s 2022 Installation Guidelines, "Gaps exceeding 1/8 inch in width indicate systemic installation failure—not just seasonal movement—and require full evaluation of subfloor conditions and environmental controls."
Prevention Tips
Kitchen laminate demands extra vigilance. These habits cut gapping risk by up to 70%, per a 2023 Builder Magazine field study of 127 remodels:
- Maintain indoor humidity between 35–55% year-round—use a hygrometer and dehumidifier in summer, humidifier in winter
- Install a 6-mil poly vapor barrier under floating laminate on concrete slabs—even if the plank has attached padding
- Use felt pads under all appliance feet and avoid dragging heavy items across the floor
- Wipe up spills within 3 minutes—laminate core boards swell irreversibly after 15+ minutes of water exposure
Can I use wood glue to close laminate floor gaps?
No. Laminate isn’t real wood—it’s high-density fiberboard with a melamine wear layer. Glue won’t bond properly and can discolor or warp the surface. It also voids most manufacturer warranties. Stick to mechanical re-tightening or approved fillers like Loba Invisible Fill.
Will placing rugs over gaps help or hurt?
Rugs can mask gaps temporarily but trap moisture underneath—especially near sinks or dishwashers. If you use them, choose breathable, low-pile options with non-slip rubber backing (not PVC), and lift and dry the floor beneath weekly. Better yet, address the gap directly—see our guide on rugs that protect laminate.
How long should I wait after fixing gaps before putting appliances back?
Wait at least 24 hours after re-tightening or replacing planks. This lets adhesive (if used on transitions) cure fully and allows the floor to settle. For gaps fixed with only mechanical methods, 4–6 hours is usually enough—but always confirm no residual movement by stepping lightly across the area.
Is it normal for laminate gaps to appear only in winter?
Yes—but only if they’re under 1/32″ and disappear by spring. That’s typical seasonal contraction. Persistent or widening gaps in cold months point to inadequate expansion gaps or low indoor humidity. A $25 digital hygrometer helps track patterns—aim to keep kitchen air at 40% RH or higher November through February.
Can I sand and refinish laminate like hardwood?
No. Laminate has a thin, non-renewable wear layer—usually 0.2–0.5mm thick. Sanding removes it entirely, exposing the image layer and making the floor look blotchy and vulnerable to moisture. Instead, replace damaged planks or use color-matched filler for minor gaps. For deeper wear, consider LVP as a more resilient alternative.
Do I need to remove cabinets to fix gapping near them?
Almost never. Cabinets sit on top of the subfloor—not the laminate—so gaps near them stem from improper expansion space or subfloor issues, not cabinet pressure. Focus on checking the 3/8″ gap behind toe-kicks and ensuring no caulk or debris is pinching the floor edge. If gaps persist, use a pull bar angled into the gap from the open side of the room.
A tight, gap-free kitchen floor isn’t just about looks—it’s about safety, longevity, and protecting your investment. Most gapping fixes take under two hours and cost less than $50 in tools you’ll reuse for future repairs. And once you’ve addressed the root cause, you’ll notice fewer squeaks, better appliance stability, and a cleaner line where your floor meets the baseboard. Keep a moisture meter in your garage—it pays for itself after the second repair.