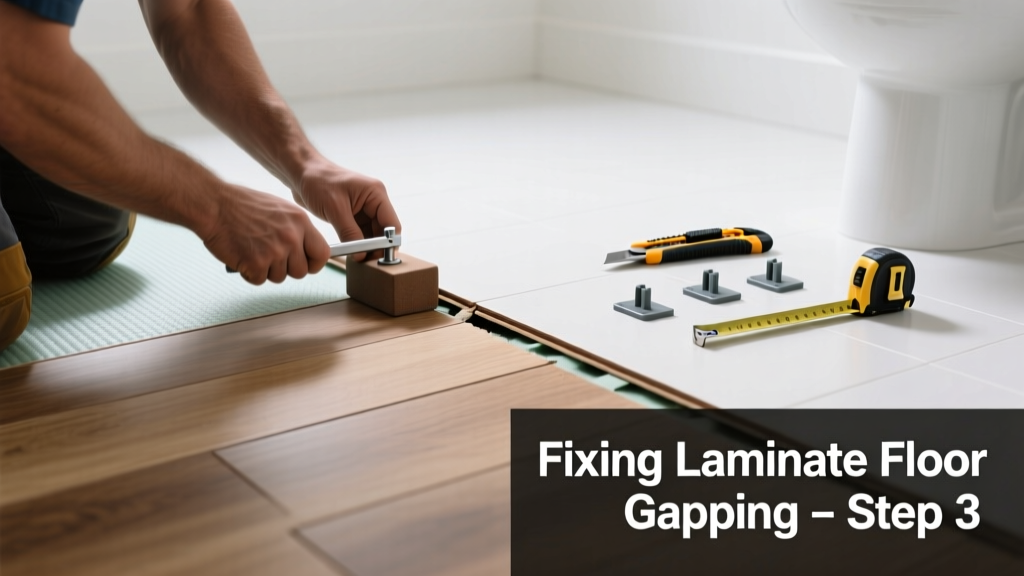
Waking up to a 1/8-inch gap between laminate planks near your shower? That’s not just unsightly—it’s a red flag. Bathroom laminate gapping almost always points to moisture intrusion, improper acclimation, or subfloor movement—and ignoring it risks mold growth or full-floor failure.
Quick Diagnosis
Laminate gapping in bathrooms rarely happens by accident. Here are the top culprits:
- Moisture seepage from leaks under the vanity or behind the toilet
- Subfloor swelling due to high humidity (RH >60% sustained)
- Insufficient expansion gap left during installation (less than 3/8")
- Temperature swings causing plank contraction (common with unheated bathrooms in winter)
- Undersized or warped underlayment compressing unevenly
Tools & Materials Needed
| Item | Purpose | Estimated Cost |
|---|---|---|
| Moisture meter (pin-type) | Verify subfloor moisture content—must be ≤12% for laminate | $45–$85 |
| 3/8" spacers | Maintain proper expansion gap during re-securing or replacement | $4–$9 |
| Laminate repair kit (with color-matched filler & applicator) | Fills small gaps temporarily; not structural but cosmetically effective | $12–$22 |
| Tap block & rubber mallet | Re-engages tongue-and-groove joints without damaging surface | $14–$28 |
| 100% silicone caulk (mildew-resistant) | Seals perimeter gaps where baseboard meets floor—critical in wet areas | $5–$11 |
Step-by-Step Fix
Choose the method based on gap size, location, and root cause:
- For hairline gaps (<1/16"): Clean thoroughly with isopropyl alcohol, then apply color-matched laminate filler using a putty knife. Wipe excess before drying. Let cure 24 hours before wet mopping.
- For gaps near walls or cabinets (1/16"–3/16"): Remove baseboard or quarter-round, check expansion gap with a ruler—if less than 3/8", carefully shave back drywall or casing to create space. Reinstall trim with silicone sealant at the floor line.
- For loose or lifting planks: Use a tap block and rubber mallet to gently drive planks back into alignment. If resistance occurs, lift the affected row, inspect underlayment for dampness or compression, replace if needed, and reinstall with fresh spacers.
- For recurring gaps at seams: Inject a bead of urethane-based adhesive (e.g., Bostik’s Best) into the joint using a fine-tip nozzle, then clamp with painter’s tape for 6 hours. Do not use PVA glue—it breaks down with humidity.
When to Call a Pro
DIY stops where safety and structure begin. Call a flooring contractor if:
- You measure >15% moisture in the subfloor with a pin-type meter (per ASTM F2170 standards)
- Gaps appear alongside buckling, discoloration, or musty odors—signs of hidden mold beneath the floor
- The entire floor shifts when walked on, indicating severe subfloor deflection or rot
- Your bathroom has a concrete slab with no vapor barrier—and you’ve confirmed hydrostatic pressure via a plastic sheet test (ASTM D4263)
Prevention Tips
Preventing recurrence means controlling what the bathroom throws at your floor:
- Run your exhaust fan for 20 minutes after every shower—and leave it on a timer if possible
- Check supply lines and shutoff valves under sinks quarterly for slow drips (the U.S. EPA estimates 14% of household water usage is from leaks… many invisible to the eye)
- Maintain indoor RH between 35–55% year-round using a hygrometer and portable dehumidifier if needed
- Never mop with standing water—use a near-dry microfiber mop and pH-neutral cleaner like Bona Hard-Surface Cleaner
- Install a waterproof underlayment rated for wet areas (e.g., Floor Muffler UltraSeal) beneath new laminate
Can I use bleach on this?
No. Bleach degrades laminate’s melamine wear layer and accelerates edge swelling. It also fails against mold roots embedded in the HDF core. Use hydrogen peroxide-based cleaners instead—or better yet, address the moisture source first.
Will wood filler work on laminate gaps?
No. Wood filler absorbs water, swells, and cracks away from the non-porous laminate surface. Only use products specifically formulated for laminate—like Roberts Laminate Repair Kit—which contain acrylic resins that bond and flex with the plank.
How long does laminate need to acclimate before bathroom install?
At least 72 hours in the room where it will be installed, at stable 65–75°F and 35–55% RH. According to the National Wood Flooring Association’s 2022 Installation Guidelines, skipping acclimation causes 68% of early-gap failures in humid zones.
Is glue-down laminate better for bathrooms?
No—glue-down isn’t recommended for standard laminate. It eliminates necessary expansion, increasing risk of buckling. If moisture resistance is critical, choose rigid core (SPC/WPC) vinyl instead, which handles humidity far better.
Can I sand and refinish gapped laminate?
No. Laminate isn’t real wood—it has a thin photographic layer over HDF. Sanding destroys the pattern and exposes the core, which swells instantly on contact with air moisture.
Does underlayment thickness affect gapping?
Yes. Underlayment thicker than 3mm compresses unevenly under foot traffic, especially on uneven subfloors. For bathrooms, stick to 2mm closed-cell foam or 1.5mm cork—both resist moisture and maintain stability.
"Laminate in bathrooms works only when treated as a 'managed environment'—not just a floor covering. If humidity isn't controlled, no product or technique overrides physics." — Sarah Lin, Certified Master Floor Inspector, NWFA, 2023
A tight, gap-free bathroom floor starts long before the first plank goes down—it begins with humidity control, precise installation, and honest assessment of whether laminate belongs in that space at all. If gaps return within 3 months despite repairs, it’s not a fix you’re missing—it’s a signal that your bathroom needs a more moisture-resilient solution, like waterproof luxury vinyl tile. Don’t force a material to do a job it was never designed for.