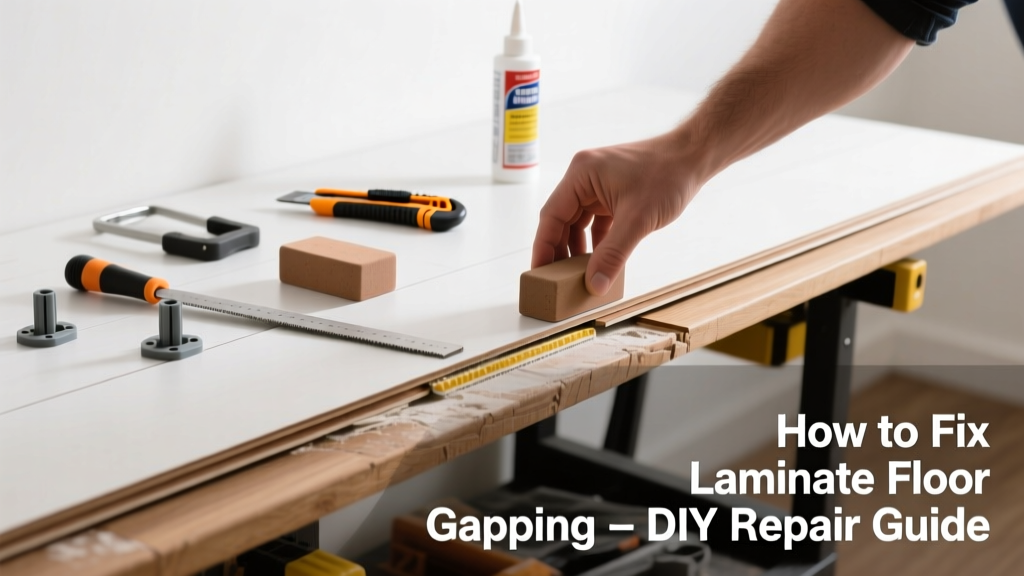
Laminate floor gapping—those unsightly gaps between planks—can appear overnight or creep in over months, especially near walls, doorways, or high-traffic zones. It’s more than cosmetic: gaps trap dust, invite moisture, and signal underlying installation or environmental issues. The good news? Most cases are fixable without ripping up your entire floor.
Quick Diagnosis
Gaps rarely appear without cause. Pinpointing the root helps you choose the right fix—and avoid repeating the mistake.
- Seasonal shrinkage (low winter humidity below 30% RH)
- Missing or inadequate expansion gap at walls (less than 3/8″)
- Subfloor unevenness causing plank lift or separation
- Improper locking mechanism engagement during install
- Moisture exposure swelling then shrinking planks (e.g., from spills or high basement humidity)
Tools & Materials Needed
| Item | Purpose | Estimated Cost |
|---|---|---|
| Wood glue (PVA, water-resistant) | Bonds separated edges without staining laminate surface | $8–$12 |
| Clamp blocks & bar clamps | Apply even pressure across multiple planks without denting | $15–$35 |
| Utility knife + fresh blades | Cut filler strips or trim baseboards if repositioning planks | $3–$7 |
| Hygrometer | Measure room humidity to confirm seasonal vs. moisture-related cause | $12–$25 |
| Laminate filler (color-matched) | Fills small gaps where relocking isn’t possible | $9–$16 |
Step-by-Step Fix
Choose the method based on gap size, location, and cause. Start with the least invasive option first.
- Humidity Reset: Run a humidifier for 72 hours at 40–50% RH. Monitor with a hygrometer. Up to 60% of minor gaps under 1/16″ close naturally within 3–5 days (per National Wood Flooring Association’s 2022 Field Guide).
- Re-engage Locks: For gaps along seams (not edges), gently tap planks together using a tapping block and rubber mallet. Work from one end toward the gap—never hammer directly on laminate.
- Glue & Clamp Method: For stubborn gaps >1/16″, apply thin bead of PVA glue along the tongue side, press planks together, then clamp across 3–4 boards for 24 hours. Wipe excess glue immediately with damp cloth.
- Filling as Last Resort: Use flexible, color-matched laminate filler only on static gaps <1/8″ wide. Apply with putty knife, scrape flush after 30 minutes, then buff with fine steel wool.
When to Call a Pro
Some gapping signals deeper structural or installation flaws that DIY attempts may worsen.
- Gaps wider than 1/4″ that persist after humidity stabilization
- Gapping concentrated over joist spans or near plumbing lines (possible subfloor sag or moisture intrusion)
- Multiple rows lifting or buckling—not just isolated gaps
- Visible cupping, crowning, or mold odor beneath baseboards
"If you see gaps opening and closing seasonally but widening year after year, the expansion gap was likely undersized or blocked by caulk or baseboard—this requires partial disassembly and correction, not patching." — Mike R., NWFA-Certified Installer since 2008
Prevention Tips
Fixing gapping once is smart. Stopping it from returning is smarter.
- Maintain indoor humidity between 35–55% year-round using a whole-house or portable humidifier/dehumidifier
- Always leave a 3/8″ expansion gap around all perimeter walls—and never caulk or nail baseboards over it
- Use underlayment rated for your subfloor type (e.g., moisture barrier for concrete slabs)
- Acclimate planks for 48–72 hours in the room before installing—unopened boxes, flat, at same temp/humidity
Can I use wood filler instead of laminate-specific filler?
No. Standard wood filler dries rigid and cracks when laminate expands. It also won’t match the embossed texture or sheen. Laminate fillers like ColorRite or Timbermate Flex are formulated to flex with movement and accept light sanding or touch-up stain.
Will nailing or screwing down loose planks help?
Absolutely not. Laminate floors float—they’re designed to move. Nails or screws restrict natural expansion, increasing stress on adjacent joints and often causing new gaps or chipped edges. This violates manufacturer warranties and accelerates failure.
Do I need to remove baseboards to fix gapping?
Only if the expansion gap is fully obstructed—check by sliding a credit card behind the baseboard. If it stops before hitting the floor, the gap is blocked. In that case, carefully pry off baseboards with a pull bar, reinstall with finish nails angled into wall studs (not the floor), leaving the gap open.
Can gapping lead to mold growth?
Yes—if gaps sit above a damp subfloor (e.g., unvented crawl space or leaky slab) and collect moisture long-term. According to the U.S. EPA’s 2021 Indoor Air Quality Guide, gaps >1/16″ can allow enough airflow to deposit spores and retain condensation—especially in basements. Inspect subfloor moisture with a pin-type meter before sealing.
Is it safe to use Gorilla Glue on laminate joints?
No. Gorilla Glue (polyurethane-based) foams as it cures, creating pressure that can warp planks or force adjacent seams apart. It also stains and is nearly impossible to clean from laminate surfaces. Stick to water-resistant PVA glues like Titebond III or Franklin 2122, which remain flexible and sandable.
How long does glued laminate take to cure before walking on it?
Wait at least 24 hours before light foot traffic. Full bond strength develops in 72 hours. Avoid dragging furniture or vacuuming until then—even gentle suction can shift uncured joints. Place felt pads under chair legs and use area rugs in high-use zones during the cure period.
Gapping doesn’t have to mean replacement—most cases respond well to targeted, informed intervention. Whether you reset humidity, relock seams, or fill selectively, the key is matching the fix to the cause. And if you’ve tried two methods with no improvement, don’t hesitate to consult a certified installer; sometimes the fastest repair is knowing when to hand it off. For related issues, see our guides on laminate floor buckling and squeaky laminate floors.