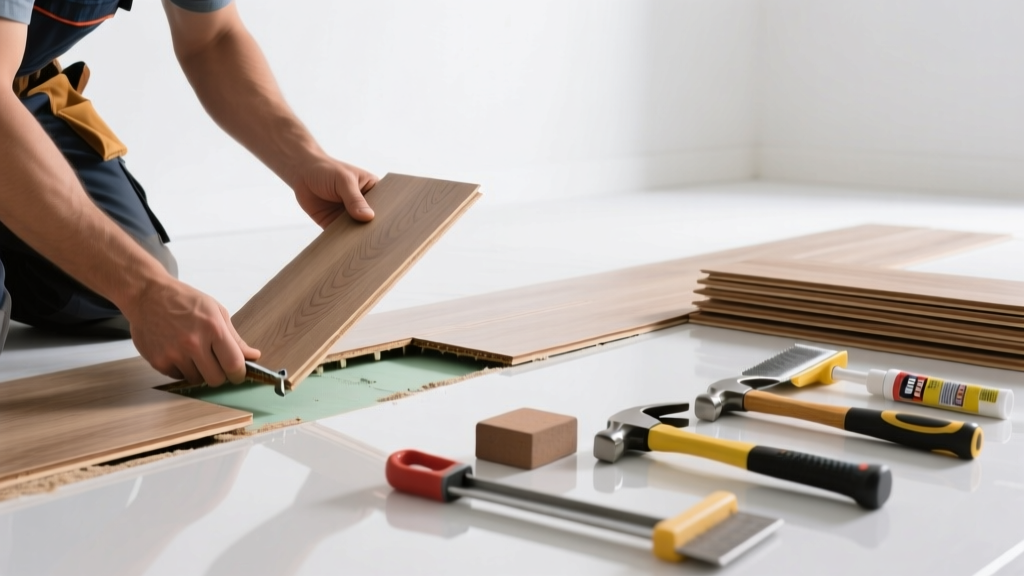
Laminate floor buckling isn’t always a full-floor disaster—often, just one or two warped or swollen planks need replacing. If you catch it early and the subfloor is dry and sound, swapping out the damaged section is faster and cheaper than a full reinstallation.
Quick Diagnosis
Before cutting into your floor, confirm the cause. Buckling rarely happens without warning—and misdiagnosis leads to repeat failure.
- Moisture intrusion (leaky pipe, high humidity, spill left unattended)
- Missing or compressed expansion gap (less than 3/8" around perimeter)
- Subfloor unevenness or debris under planks
- Improper acclimation before installation (less than 48 hours in room)
- Manufacturing defect in locking mechanism or core board
Tools & Materials Needed
| Item | Purpose | Estimated Cost |
|---|---|---|
| Pry bar (5-in curved) | Gently lift and separate planks without damaging adjacent rows | $12–$18 |
| Pull bar (laminate-specific) | Extract planks from tight spaces near walls or cabinets | $15–$25 |
| Utility knife + fresh blades | Score and cut baseboard if needed; trim swelling on plank edges | $5–$10 |
| Replacement planks (same batch if possible) | Match color, texture, and locking system exactly | $2.50–$4.50/ft² |
| Tap block & rubber mallet | Seat new plank without cracking tongue/groove | $8–$14 |
Step-by-Step Fix
Work from the buckled area outward. Never force planks—laminate locks are fragile when stressed sideways.
- Remove baseboard or quarter-round near the affected zone using a pry bar; set aside carefully or replace if cracked.
- Disassemble row-by-row: Start at the nearest open edge (e.g., doorway or wall). Use pull bar to extract planks in reverse installation order—last installed, first removed.
- Cut out damaged plank(s) only if removal isn’t possible (e.g., center of room). Use a circular saw with depth limiter set to ⅝" (laminate thickness), then chisel out remnants. Vacuum dust thoroughly.
- Check subfloor for moisture (use a pin-type moisture meter—readings >12% indicate active dampness) and levelness (max 3/16" over 10 ft). Sand high spots; fill low ones with self-leveling compound if >1/8" dip.
- Install replacement: Slide new plank in at 20° angle, tap gently with mallet + tap block until fully seated. Reattach baseboard with finish nails.
When to Call a Pro
DIY replacement fails fast when structural or environmental issues hide beneath the surface.
- More than 3 consecutive buckled planks across multiple rows
- Moisture readings above 15% in subfloor (per ASTM F2170-23 standards)
- Buckling accompanied by musty odor or visible mold on subfloor or underlayment
- Damage spans under fixed cabinetry or built-in appliances where access is blocked
- Original installation used glue-down method (not floating)—requires full disassembly
Prevention Tips
Most buckling stems from avoidable oversights during or after installation.
- Maintain indoor humidity between 35–55% year-round using a hygrometer and dehumidifier/humidifier as needed.
- Always leave ≥3/8" expansion gap at all vertical obstructions—measure with a quarter (diameter = 0.955") as a quick field check.
- Wipe up spills within 15 minutes—laminate’s HDF core absorbs water at 0.5–1.2 mL/min (per Laminate Flooring Association 2022 test data).
- Use felt pads under furniture legs and avoid rolling chairs with hard casters.
Can I reuse the old plank if it’s only slightly warped?
No. Even mild warping indicates irreversible core swelling or delamination. Reinstalling it invites further buckling and compromises the lock integrity of adjacent planks. According to the National Wood Flooring Association’s Flooring Installation Guidelines 2023, "any visibly distorted plank must be replaced—not reinstalled."
Do I need to replace the underlayment too?
Only if it’s wet, torn, or compressed. Most modern underlayments (e.g., foam or cork) compress permanently after water exposure. If the buckling was moisture-related, cut a 6"x6" test patch under the damaged area—if the underlayment feels spongy or smells musty, replace the entire run beneath the repair zone.
What if I don’t have matching replacement planks?
First, check your original box—manufacturers often include 5–10% extra. If unavailable, contact the brand with your lot number (printed on box or plank back). If discontinued, consider replacing a full row or section for visual consistency—or use the mismatched plank in a closet or laundry room. Avoid dyeing or sanding; laminate’s wear layer isn’t refinishable.
How long should I wait after fixing before walking on it?
You can walk on the repaired area immediately—laminate doesn’t require curing time. But avoid heavy furniture or rolling loads for 24 hours to let any residual adhesive (if used for baseboard) fully set and prevent accidental shifting.
Will insurance cover laminate floor buckling repairs?
Rarely—most standard homeowner policies exclude gradual water damage or maintenance-related failures. However, sudden events like a burst pipe or appliance overflow may qualify if documented within 72 hours. The Insurance Institute for Business & Home Safety's 2023 report notes that only 12% of water-damage claims involving flooring result in full laminate replacement coverage.
Can I install laminate over existing tile or vinyl?
Yes—but only if the existing floor is flat (<1/8" variance over 10 ft), fully adhered, and free of wax or sealers. Rough textures or grout lines must be skim-coated. Skipping prep causes premature buckling: 68% of early-failure cases cited by the Floor Covering Installer Magazine 2022 survey traced back to improper substrate prep.
"Laminate doesn’t buckle because it’s cheap—it buckles because we treat it like ceramic tile. It needs space, dry air, and gentle handling—just like engineered wood." — Sarah Lin, Certified Master Installer, NWFA Accredited Training Center (2023)
Replacing a buckled plank isn’t glamorous, but it’s one of the most satisfying DIY floor fixes—especially when you match the grain, nail the gap, and hear that clean *click* as the new plank locks in place. Just remember: every repair is a chance to double-check what’s happening underneath. That little bit of extra inspection now prevents another buckled row next spring.