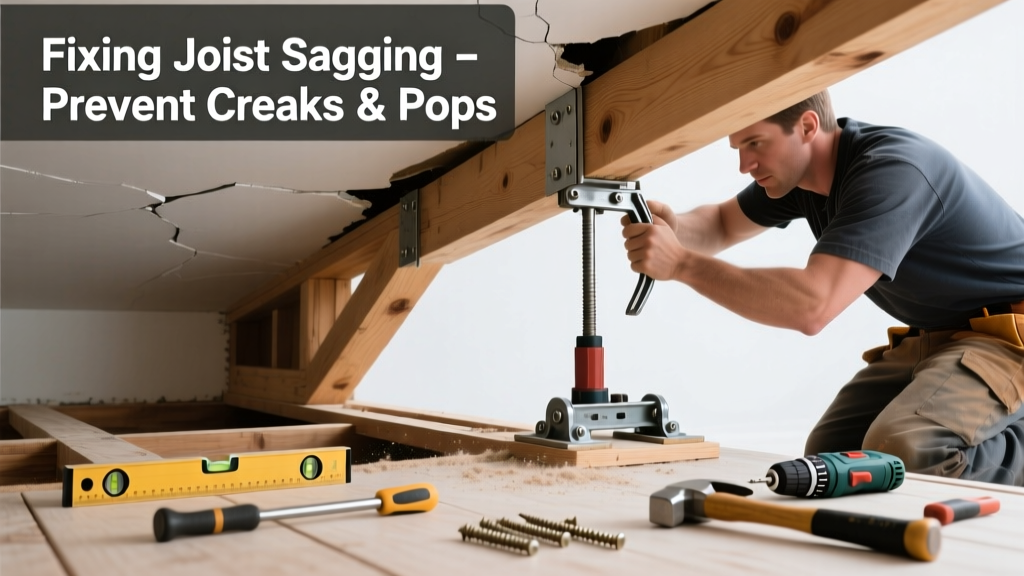
If your floor groans like a haunted house every time you walk across the living room—or if you hear sharp pops when the HVAC kicks on—you’re likely dealing with sagging floor joists. These noises aren’t just annoying; they’re early warnings of compromised structural integrity. Ignoring them can lead to uneven floors, cracked drywall, or even safety hazards down the line.
Quick Diagnosis
Start by ruling out superficial causes before assuming joist failure. Unusual noise paired with visible sagging points to deeper issues—but not all creaks mean danger. Here are the most common culprits:
- Seasonal wood shrinkage causing nail slippage (most frequent in homes built 1970–2005)
- Overloaded joists from added weight—like a heavy stone fireplace or stacked storage in an attic
- Moisture damage weakening wood fibers, especially near bathrooms or leaky roofs
- Improperly spaced or undersized joists (e.g., 2×8s spaced 24" on center in a 16'-span room)
- Loose subfloor-to-joist connections due to corroded or withdrawn nails
Tools & Materials Needed
| Item | Purpose | Estimated Cost |
|---|---|---|
| 4-ft level | Verifies vertical deflection and identifies low spots | $12–$25 |
| Jack post (adjustable steel) | Temporarily lifts sagging joists during repair | $45–$85 |
| 2×6 or 2×8 sister joist lumber | Reinforces existing joist; must match species and grade | $3.50–$6.25/ft |
| Construction adhesive (PL Premium) | Bonds sister joist to original; prevents future squeaks | $11–$15/tube |
| 3-inch structural screws (GRK RSS) | Prevents splitting and holds better than nails over time | $18–$24/box of 100 |
Step-by-Step Fix
Most sagging joist noise is fixable with targeted reinforcement—not full replacement. Prioritize methods based on severity and access:
- Sister the joist: Cut a new 2×6 or 2×8 to match the length of the sagging joist. Apply PL Premium adhesive along its full face, clamp it tight against the side of the old joist, then secure with 3" structural screws every 6" on both edges.
- Add blocking between joists: Install solid 2×6 blocks perpendicular between adjacent joists at mid-span (and at 1/3 and 2/3 points if span exceeds 12 ft). This stops lateral twisting that amplifies noise.
- Install a jack post support: In crawlspaces, place an adjustable steel jack post beneath the lowest point of the sag. Tighten gradually—no more than 1/8" per day—to avoid cracking plaster or shifting plumbing.
- Re-fasten subfloor: If noise originates from above, locate joist centers with a stud finder, then drive 2" coarse-thread screws every 6" along each joist line through the subfloor.
When to Call a Pro
DIY reinforcement works only if sag is ≤1/360 of the span (e.g., ≤½" for a 15-ft span) and there’s no rot, insect damage, or visible splitting. Stop immediately and call a structural engineer or licensed contractor if you observe any of these:
- Vertical deflection greater than 1 inch over a 12-foot span
- Soft, spongy flooring or visible water stains near joists
- Termite frass, mud tubes, or hollow-sounding wood when tapped
- Cracks wider than 1/8" radiating from walls into ceilings or floors
- Joists cut or notched >25% of depth (common near HVAC ducts or plumbing)
"Over 62% of structural repairs flagged during home inspections involve unaddressed joist sagging detected first by occupant-reported noise." — National Association of Home Inspectors (NAHI) 2022 Field Survey
Prevention Tips
Long-term stability starts with moisture control and load management. Here’s what actually works:
- Maintain crawl space humidity below 55% using a dehumidifier or vapor barrier (6-mil polyethylene)
- Avoid placing heavy furniture or appliances directly over unsupported joist spans—use load-distributing pads
- Inspect attic and crawlspace annually for leaks, mold, or pest activity near framing
- Ensure roof gutters direct water at least 5 ft away from foundation to prevent soil saturation and settling
How do I know if the noise is coming from joists or just loose floorboards?
Tap the floor with a rubber mallet while someone listens in the basement or crawlspace. If the sound echoes directly from a specific joist location—and intensifies when pressure is applied nearby—it’s joist-related. Loose boards usually squeak only when stepped on, not when tapped statically. For confirmation, try driving a screw through the subfloor into the joist where the noise occurs: if the squeak stops, it was a fastener issue—not sagging.
Can I sister a joist without removing flooring or ceiling drywall?
Yes—if you have basement or crawlspace access. You’ll need a reciprocating saw to notch around pipes or wires, and a helper to hold the sister joist in place while pre-drilling. Use construction adhesive and screws instead of nails to minimize vibration. If access is blocked (e.g., finished basement ceiling), consider installing LVL (laminated veneer lumber) beams alongside—though that requires professional engineering approval per IRC R502.3.3.
Will adding insulation between joists make the noise worse?
Only if installed incorrectly. Blown-in cellulose or fiberglass batts alone won’t cause noise—but compressing insulation too tightly against subfloor or forcing it into gaps can create friction points that squeak when wood expands. Always leave a 1/4" air gap between insulation and subfloor, and avoid stapling vapor barriers directly to joist sides.
How long does a properly sistered joist last?
When done with pressure-treated or naturally durable lumber (like southern yellow pine), structural adhesive, and corrosion-resistant screws, a sistered joist matches or exceeds the original joist’s service life—typically 50+ years. The U.S. Forest Products Laboratory notes that properly bonded sistering restores up to 97% of original bending strength (Wood Handbook, USDA FPL 2023, Ch. 5).
Do I need a permit to sister floor joists?
In most jurisdictions, yes—if the work alters structural capacity or involves load-bearing elements. Contact your local building department before starting. Permits ensure engineered calculations are reviewed and inspections verify proper fastener spacing and bearing surface contact. Skipping this step may void homeowner’s insurance coverage for future structural claims. Check requirements for your area via our building permit checklist.
What’s the difference between joist sagging and truss uplift?
Truss uplift affects roof framing—not floors—and appears as ceiling cracks or crown molding separation during winter months due to moisture differentials in top vs. bottom chords. Joist sagging shows as floor dips, stair-step cracks in drywall, and localized creaking under foot traffic. Confusing the two leads to misdiagnosis: truss uplift requires attic ventilation fixes, not joist reinforcement. For accurate identification, see our guide on ceiling cracks: truss uplift vs. joist sag.
Noisy floors rarely fix themselves—and waiting often turns a $300 DIY job into a $5,000 structural retrofit. Catching joist sag early means reinforcing, not replacing. Keep your eye on subtle signs: a door that sticks in summer but swings freely in winter, or a hallway rug that bunches slightly in one spot. Those aren’t quirks—they’re your home speaking. Listen closely, act deliberately, and reinforce with confidence.