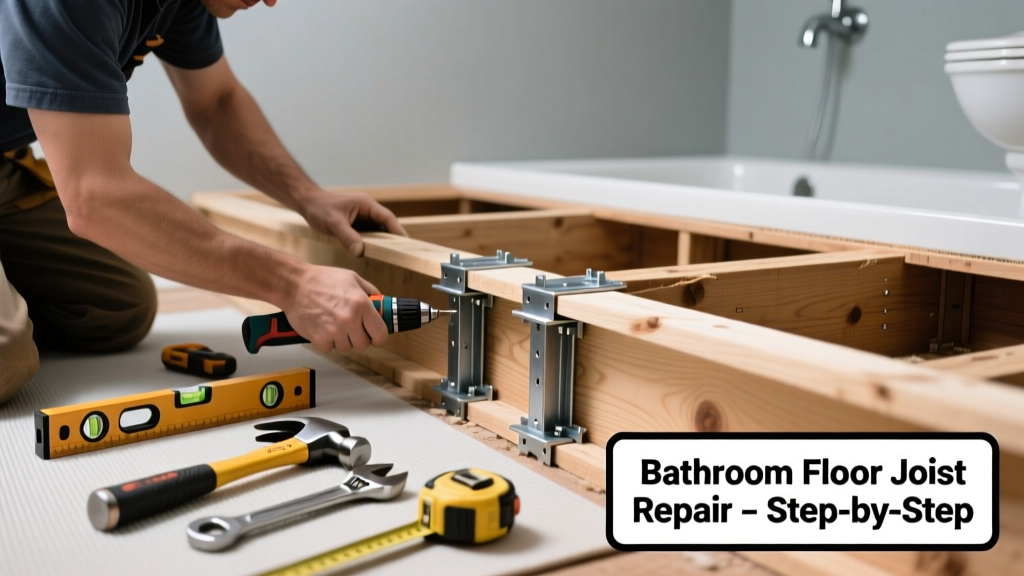
If your bathroom floor feels bouncy, slopes toward the shower, or makes creaking groans when you step near the toilet, sagging joists are likely the culprit. Unlike other rooms, bathroom joists bear extra weight from tile, plumbing fixtures, and moisture-swollen subflooring — making them prone to long-term deflection. Ignoring it risks cracked tiles, leaky drains, and even structural compromise.
Quick Diagnosis
Sagging isn’t always obvious at first glance. Watch for these telltale signs:
- Visible dip or slope in the floor (especially near tub or vanity)
- Cracks radiating from corners of tile or grout lines
- Doors that stick or won’t latch properly in adjacent hallway or bedroom
- Moisture stains on ceiling below bathroom (indicates prolonged flexing + water intrusion)
- Gaps between baseboard and floor along exterior walls
Tools & Materials Needed
| Item | Purpose | Estimated Cost |
|---|---|---|
| 4-ft level | Verify vertical alignment of joists and measure sag depth | $12–$25 |
| Jack post (adjustable steel) | Temporarily lift joists during repair; rated for ≥3,000 lbs | $45–$85 |
| 2×6 or 2×8 sister joists (pressure-treated) | Reinforce existing joists; match species and grade (e.g., #2 Southern Yellow Pine) | $3.20–$5.80/ft |
| Construction adhesive (PL Premium) | Bonds sister joist to original; prevents slippage and dampens vibration | $12–$18/tube |
| 16d galvanized sinker nails or 3-in structural screws | Secure sister joist; corrosion-resistant for high-moisture zones | $8–$15 |
Step-by-Step Fix
Choose one method based on sag severity and access (crawl space vs. finished ceiling):
- Temporary lift & brace (for minor sag ≤ ½ inch): Position adjustable jack post beneath lowest point of affected joist. Slowly raise until floor feels firm — never force beyond resistance. Leave in place while installing permanent reinforcement.
- Sister joist installation (most common DIY fix): Cut pressure-treated 2×6 or 2×8 to match joist length. Apply PL Premium adhesive to one face, then fasten with 3-in structural screws every 6 inches along both edges. Clamp until adhesive sets (24 hrs).
- Blocking and bridging (for multiple adjacent sags): Install solid 2×6 blocking between joists at mid-span and ends, plus diagonal bridging every 8 ft. Prevents lateral twist and distributes load across neighboring members.
- Subfloor stiffening (if sag is shallow but widespread): Add ½-in plywood over existing subfloor, glued and screwed every 6 in. Use exterior-grade plywood — not OSB — for moisture resistance.
When to Call a Pro
DIY repairs cross into dangerous territory when:
- The sag exceeds 1 inch over a 10-ft span (per IRC Table R502.3.1)
- You spot horizontal cracks in foundation walls or stair-step cracks in basement masonry
- Plumbing lines run through or under the affected joist — cutting or drilling could rupture supply lines
- There’s evidence of active rot: soft wood, fungal growth, or musty odor even after ventilation
"Over 68% of bathroom floor failures linked to joist sag involve undetected chronic moisture exposure — not just undersized lumber," says structural engineer Dr. Lena Cho in the American Society of Civil Engineers Journal (2022).
Prevention Tips
Stop future sag before it starts:
- Run bathroom exhaust fan for 20 minutes post-shower — reduces subfloor moisture absorption by up to 40% (U.S. EPA Indoor Air Quality Guide, 2021)
- Inspect crawl space vents twice yearly; keep relative humidity below 60% with dehumidifier if needed
- Avoid placing heavy freestanding items like cast-iron tubs or stone vanities directly over single joists — spread loads across ≥3 members
- Replace rotted insulation with closed-cell spray foam near plumbing penetrations to block condensation pathways
How much sag is too much for a bathroom joist?
More than ½ inch of deflection over a 12-ft span violates IRC residential standards and signals immediate need for evaluation. Even ¼-inch sag can worsen rapidly in humid environments due to cellulose degradation in framing lumber.
Can I sister a joist from above without removing tile?
No — effective sistering requires full contact along the entire length and secure fastening. Access from below (crawl space) or demolition of subfloor/tile is required. Attempting partial bonding from above creates uneven load transfer and may crack surrounding tile.
Will adding more subfloor thickness fix the sag?
Only superficially. Extra plywood stiffens the surface but doesn’t address root cause: weakened or overloaded joists. It may even worsen deflection by adding dead load. Always reinforce framing first.
How long does a proper sister joist repair last?
With pressure-treated lumber, structural screws, and construction adhesive, a correctly installed sister joist lasts 30+ years — matching or exceeding original framing life, per Forest Products Laboratory durability data (2020).
Do I need a permit for joist reinforcement?
Yes — most jurisdictions require a structural repair permit for any joist modification, especially in wet areas. Inspectors verify load paths, fastener schedules, and moisture mitigation. Skipping this voids homeowner insurance coverage for related failures.
Can I use hydraulic jacks instead of screw-type jack posts?
Avoid standard hydraulic jacks. They lack locking mechanisms and creep under sustained load. Only use UL-listed, screw-adjustable jack posts rated for continuous residential support — like those meeting ASTM A653 Grade G90 standards.
Fixing bathroom joist sag isn’t about brute force — it’s about restoring balanced load distribution and managing moisture at the source. Get the framing right, control humidity, and your floor will stay level, quiet, and safe for decades. And if you’re unsure whether the dip you see is cosmetic or critical, err on the side of caution: a $300 structural inspection beats a $12,000 rebuild later.