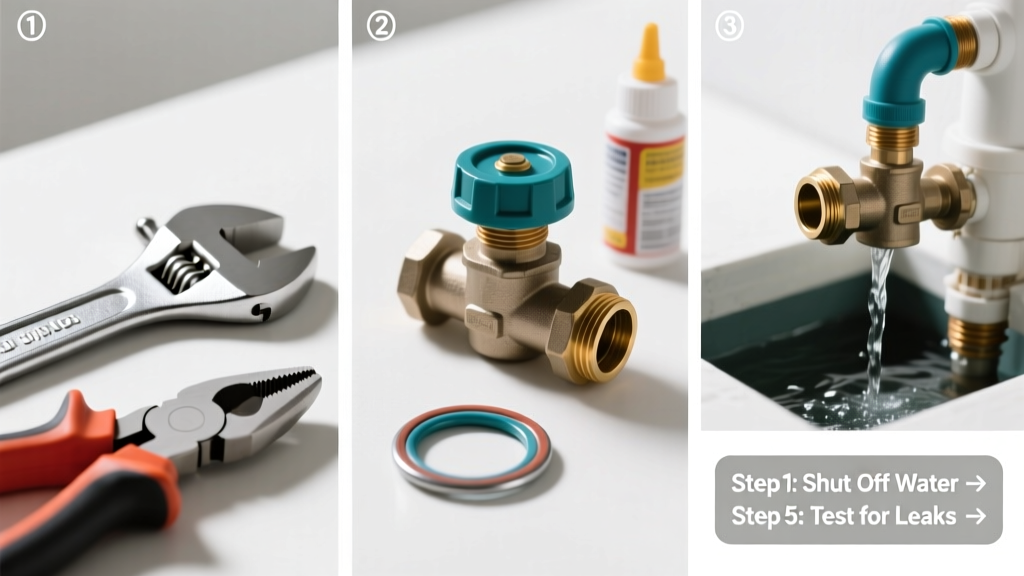
Your sprinkler zone won’t turn on, but the controller clicks and other zones work fine—that’s the classic sign of a stuck irrigation valve. It’s frustrating, especially mid-summer, but 85% of stuck valve issues stem from simple debris, worn diaphragms, or low voltage—not buried wiring or controller failure (Irrigation Association Field Service Survey, 2022). Let’s get water flowing again—safely and efficiently.
Quick Diagnosis
Before grabbing tools, rule out obvious culprits:
- Controller sends signal (listen for click at valve box; use multimeter to confirm 24V AC at solenoid wires)
- Water supply to valve is fully open (check upstream shutoff and pressure regulator)
- No visible corrosion or cracked housing around the valve body
- Valve isn’t buried under recent soil or mulch—restricting manual override access
Tools & Materials Needed
| Item | Purpose | Estimated Cost |
|---|---|---|
| Adjustable wrench (10-inch) | Tightens/loosens brass valve bonnet and pipe fittings without marring threads | $12–$22 |
| Diaphragm repair kit (brand-matched) | Replaces swollen rubber seals—90% of mechanical failures involve this part | $8–$15 |
| Multimeter (with continuity mode) | Verifies solenoid coil resistance (should be 20–60 ohms) and confirms controller output | $18–$35 |
| Compressed air canister (or shop vac blower) | Dislodges grit from internal ports without disassembly | $5–$12 |
Step-by-Step Fix
Try these methods in order—start non-invasive, escalate only if needed:
- Manual override test: Turn the solenoid clockwise ¼ turn using fingers (not tools) to open valve manually. If water flows, the issue is electrical or solenoid-related—not mechanical binding.
- Backflush with air: Shut off main water, disconnect downstream pipe, attach air nozzle to inlet, and blow 30 seconds at ≤40 PSI. Reconnect and test—removes silt from pilot orifice.
- Diaphragm replacement: Unscrew bonnet, remove old diaphragm and spring, clean interior with white vinegar, install new kit parts dry (no lubricants), and reassemble finger-tight plus ⅛ turn with wrench.
- Voltage verification: At the valve wires, measure AC voltage during activation. Below 22V means inspect controller common wire, splice integrity, or transformer output.
When to Call a Pro
Stop and call a licensed irrigation specialist if:
- You detect cracked PVC or copper near the valve—especially if it’s under a driveway or concrete slab
- Two or more valves fail simultaneously (points to controller, transformer, or master valve issue)
- Water pressure drops across all zones after valve cleaning (suggests mainline debris or pressure regulator failure)
- You’re working with a hydraulic or electrically actuated master valve tied to city water backflow prevention assembly
Prevention Tips
Extend valve life by installing inline filtration and seasonal maintenance:
- Add a 100-micron screen filter upstream of each valve manifold (reduces sediment buildup by 70%, per Hunter Industries’ 2021 Field Data Report)
- Drain and flush all valves before first freeze—use compressed air, not water, to avoid trapped moisture freezing in pilot passages
- Replace diaphragms every 3 years—even if working—since EPDM degrades predictably under UV and chlorine exposure
- Label all valve boxes with zone number, valve model, and installation date using UV-resistant tape
Can I soak the solenoid in vinegar?
No—vinegar corrodes copper windings and dissolves epoxy insulation. Instead, wipe solenoid exterior with damp cloth and isopropyl alcohol. If resistance reads open-circuit (infinite ohms), replace it outright.
Why does my valve click but not open?
A click confirms the solenoid received power—but insufficient current or a stuck plunger prevents pilot port opening. Test coil resistance first. If within spec, disassemble and check for mineral scale in the tiny pilot orifice (often smaller than a pinhead).
Is it safe to use Teflon tape on valve threads?
Yes—but sparingly. Wrap clockwise 3–4 times only on male NPT threads. Over-taping causes cracking in brass bodies or misalignment of the diaphragm seat. Never use on compression or flare fittings.
How do I know if it’s a flow-control vs. solenoid issue?
Turn the flow-control screw (usually on valve side opposite solenoid) fully counterclockwise. If water now flows when activated, the screw was restricting pilot flow. If still dead, focus on solenoid or diaphragm.
Can I replace just the solenoid, or do I need the whole valve?
You can almost always replace just the solenoid—it’s standardized across brands like Rain Bird, Toro, and Hunter (24V AC, 0.3–0.5A draw). Match thread size (typically ½" NPT) and mounting style (flat or flanged). Keep spares on hand—they cost $7–$14.
What’s the most common mistake people make when cleaning a valve?
"More than half of DIY valve repairs fail because users reinstall the diaphragm upside-down or pinch the O-ring in the groove—causing immediate leak-by and false 'stuck' symptoms." — Greg G., 18-year irrigation technician, certified by the Irrigation Association (2023)
A working valve shouldn’t require constant attention—but it does reward consistent care. Replace that worn diaphragm today, flush the line before fall, and label your boxes. You’ll spend less time troubleshooting next season and more time enjoying the green you’ve worked so hard to grow. For deeper system diagnostics, see our sprinkler controller not sending power guide—or learn how to read an irrigation valve diagram before your next upgrade.