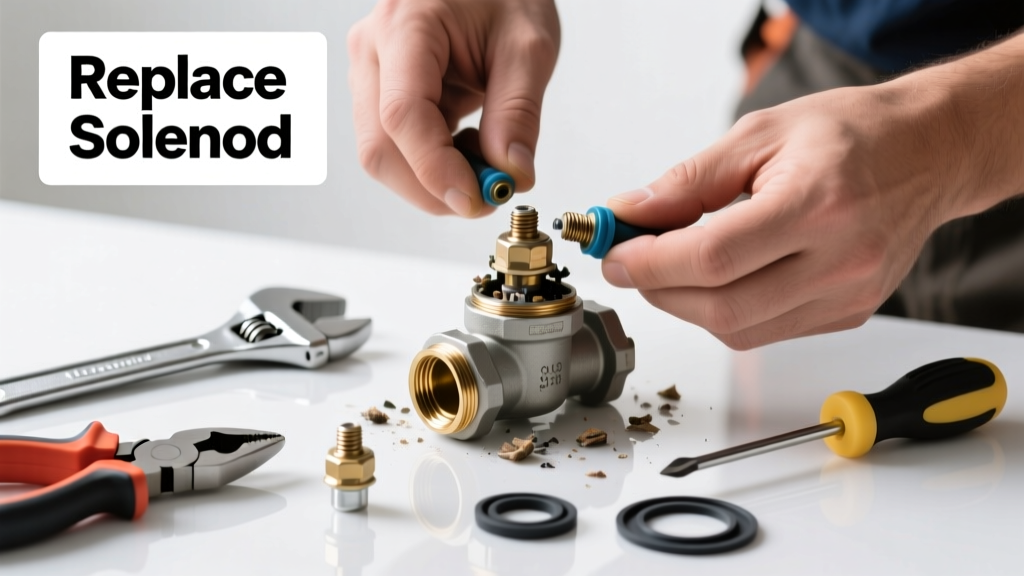
Your sprinkler zone won’t shut off—or won’t turn on at all—and you’ve traced it to a stuck irrigation valve. Before replacing the whole valve, check whether just the solenoid or diaphragm needs swapping. Most stuck valves fail due to one of two replaceable parts, not the entire assembly.
Quick Diagnosis
Start here to confirm which part is faulty before disassembling:
- The valve hums but doesn’t open—solenoid is likely seized or burnt out
- Water leaks continuously from the valve box—even when the controller is off—diaphragm is torn or debris-blocked
- Valve opens manually (with bleed screw) but not electrically—solenoid coil resistance reads open-circuit on multimeter (0 or OL)
- Valve clicks but water flow is weak or delayed—debris lodged under diaphragm or worn rubber seal
Tools & Materials Needed
| Item | Purpose | Estimated Cost |
|---|---|---|
| Adjustable wrench (10-inch) | Loosens brass valve body nuts without stripping threads | $12–$22 |
| Digital multimeter | Tests solenoid coil continuity (should read 20–60 Ω) | $18–$45 |
| Replacement solenoid (e.g., Rain Bird 1800 series) | Direct OEM replacement; matches voltage and thread size | $14–$28 |
| Diaphragm kit (includes rubber seal + spring) | Replaces degraded elastomer seals that lose elasticity after UV/water exposure | $7–$15 |
| Food-grade silicone lubricant | Lubricates new diaphragm edges without degrading EPDM rubber | $5–$9 |
Step-by-Step Fix
Work with power and water supply OFF. Shut off main irrigation line and unplug controller or disconnect common wire.
- Remove the solenoid: Unscrew the hex nut holding the solenoid to the valve top. Pull straight up—don’t twist. Test coil resistance: 0 Ω = shorted; OL = open circuit = replace.
- Inspect the diaphragm chamber: Remove the bonnet (4–6 screws). Lift out the diaphragm assembly. Check for grit, calcium scale, or cracks in the rubber dome. Rinse all parts in clean water—not vinegar or acid cleaners.
- Install new diaphragm: Place new rubber seal over the center post, seat spring correctly, and reassemble bonnet. Tighten screws evenly in star pattern to avoid warping.
- Swap solenoid: Thread new solenoid onto valve body by hand first, then snug with wrench (do not overtighten—brass strips easily). Reconnect wires using waterproof wire nuts.
When to Call a Pro
Don’t risk DIY if any of these apply:
- You’re on a pressurized municipal line above 80 PSI without a pressure regulator installed upstream
- The valve body itself is cracked or leaking at the inlet/outlet ports—not just at the bonnet seam
- You have a multi-zone manifold buried deeper than 18 inches with no access box
- Your controller shows error codes indicating wiring faults across multiple zones (could indicate grounding or transformer issues)
Prevention Tips
Extend valve life with simple habits:
- Flush each zone for 30 seconds monthly during active season to clear sediment
- Replace solenoids every 5 years—even if working—since internal coils degrade silently
- Install inline filter (100-micron) upstream of valves if your water has high iron or sand content
- Use a rain sensor or smart controller like Rachio 3 to reduce unnecessary cycling
Can I use vinegar to clean the diaphragm chamber?
No. Vinegar’s acidity degrades EPDM rubber seals faster than mineral buildup does. Use only clean water and a soft nylon brush. According to the Irrigation Association’s 2022 Maintenance Handbook, acidic cleaners reduce diaphragm service life by up to 60%.
Why does my valve click but not open?
A click means the solenoid received power and actuated—but insufficient water pressure or a swollen diaphragm prevents full lift. Check static pressure at the valve (should be ≥30 PSI) and inspect the diaphragm for bulging or hardening.
Do I need to replace the entire valve if the plastic housing is cracked?
Yes—if the crack is on the valve body (not just the cover), replace the full unit. Cracks compromise structural integrity under pressure and can worsen rapidly. The U.S. EPA estimates that 14% of household water usage is from leaks—including failed irrigation valves—so don’t delay.
Is it safe to reuse old O-rings?
Rarely. O-rings compress permanently after 2+ years and lose sealing ability. Always install new ones included in your diaphragm kit—or order viton O-rings rated for chlorinated water.
How do I know which solenoid model fits my valve?
Look for the part number stamped on the solenoid’s metal housing (e.g., "RBAS100" for Rain Bird). Match voltage (24 VAC), thread type (usually 3/4" NPT), and mounting style (top-entry vs. side-mount). If faded, cross-reference with your valve model on the manufacturer’s site—like Rain Bird’s compatibility chart.
What’s the most common mistake during reassembly?
Over-tightening the bonnet screws. Uneven torque distorts the diaphragm seating surface and causes immediate leakage. As irrigation technician Marco Ruiz told Irrigation Today (2023): “Three foot-pounds max on those screws—use a torque screwdriver if you own one. Finger-tight plus quarter-turn is safer than guessing.”
“Three foot-pounds max on those screws—use a torque screwdriver if you own one. Finger-tight plus quarter-turn is safer than guessing.” — Marco Ruiz, certified irrigation technician, Irrigation Today, 2023
Once reassembled, restore power and water. Test manually via controller or bleed screw before scheduling automatic runs. Monitor for 48 hours—especially at startup—to catch slow leaks or delayed shutoff. If the issue persists, double-check wiring polarity and verify your controller’s output voltage isn’t dropping below 22 VAC under load.