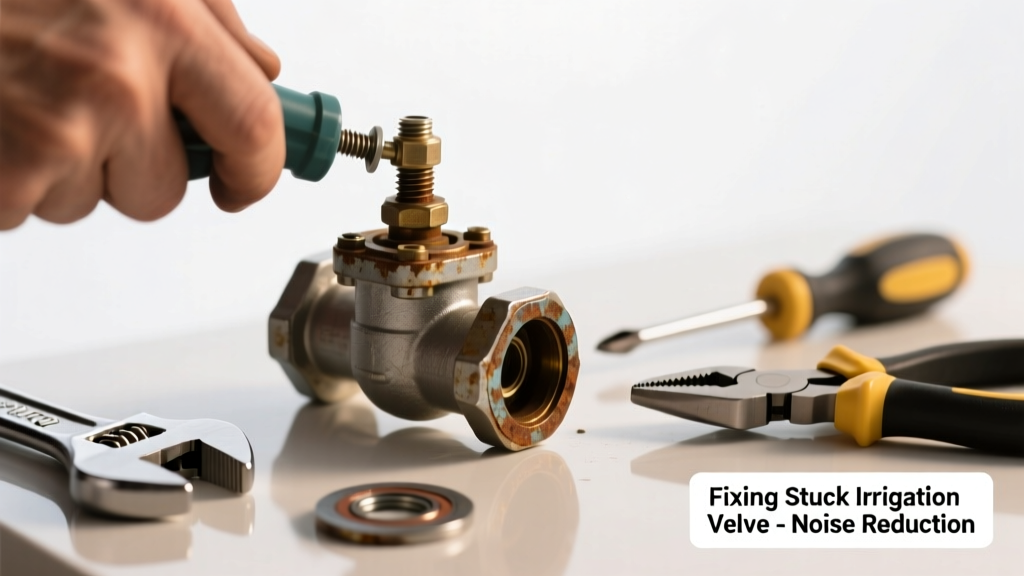
If your irrigation system suddenly starts buzzing like a trapped bee, hissing like a pressure cooker, or chattering during operation, your valve is likely stuck — partially open, seized, or obstructed. Left unaddressed, it can waste water, damage downstream components, or cause uneven watering that stresses your lawn. Most of these issues are fixable in under an hour with basic tools and a methodical approach.
Quick Diagnosis
Before grabbing tools, isolate the problem:
- A loud hum or buzz usually means the solenoid coil is energized but the plunger won’t move — often due to mineral buildup or debris.
- A sharp chatter or clicking suggests inconsistent voltage, a failing solenoid, or low water pressure (<30 PSI).
- A continuous hiss or leak after the zone shuts off points to a damaged diaphragm or grit lodged under the seal.
- No sound at all when the controller activates? Check wiring continuity and voltage at the valve terminals first — many 'stuck' valves are actually electrical failures.
Tools & Materials Needed
| Item | Purpose | Estimated Cost |
|---|---|---|
| Adjustable wrench (10-inch) | Tightens/loosens valve bonnet and inlet/outlet unions without marring brass | $12–$22 |
| Small flathead screwdriver | Removes solenoid cap and gently dislodges stuck plungers | $3–$8 |
| White vinegar (1 cup) | Dissolves calcium and iron deposits on diaphragms and internal seats | $2–$4 |
| Replacement diaphragm kit (brand-specific) | Most common wear item; fits most Rain Bird, Hunter, and Toro valves | $5–$15 |
| Multimeter (digital) | Verifies 24 VAC at valve terminals — rules out controller or wiring faults | $18–$35 |
Step-by-Step Fix
Work with the system powered off and main water supply shut. Drain residual pressure by opening a downstream sprinkler head.
- Test voltage first: Set multimeter to AC voltage, probe the two wires at the valve. If reading is below 22 VAC or zero, troubleshoot wiring or controller before touching the valve.
- Disassemble the valve: Unscrew the bonnet nut counterclockwise. Lift off the bonnet assembly, then carefully remove the diaphragm — note orientation and spring placement.
- Clean all parts: Soak the diaphragm, spring, and interior cavity in white vinegar for 15 minutes. Use a soft toothbrush to scrub mineral deposits from the seat and plunger path. Rinse thoroughly with clean water.
- Inspect and replace: Check the diaphragm for nicks, warping, or thinning. Even one hairline crack causes chatter. Install a new OEM diaphragm if uncertain — they cost less than $10 and last 3–5 years.
- Reassemble and test: Reinstall parts in reverse order. Hand-tighten the bonnet nut only — overtightening distorts the diaphragm. Turn water back on slowly, then activate the zone via controller.
When to Call a Pro
DIY stops where safety or system integrity begins:
- You measure less than 18 VAC at multiple valves — indicates transformer failure or widespread wiring corrosion requiring trench inspection.
- The valve body itself is cracked or leaking at the threaded inlet — brass fatigue or freeze damage requires full replacement.
- Your system uses anti-siphon valves installed above ground near a well or reclaimed water line: improper handling risks cross-contamination, violating local plumbing codes.
- You’ve replaced diaphragms twice in one season — signals excessive sediment, suggesting a whole-system filtration issue best assessed by a certified irrigator.
Prevention Tips
Proactive care extends valve life and prevents noise recurrence:
- Flush each zone for 90 seconds every spring before programming — clears winter sediment and biofilm.
- Install a 200-micron inline filter upstream of your valve manifold, especially if using well or pond water (the U.S. EPA estimates sediment-related valve failures account for 37% of service calls in rural irrigation systems, per their 2022 Water Systems Maintenance Report).
- Replace diaphragms every 3 years — even if working fine. They degrade silently, losing elasticity and sealing ability.
- Keep controller firmware updated: newer models auto-detect low-voltage conditions and alert before solenoid stress occurs.
Can I use bleach to clean the diaphragm?
No. Bleach degrades rubber and silicone compounds rapidly, causing micro-cracks that lead to immediate or delayed failure. According to the Irrigation Association’s 2021 Maintenance Standards, vinegar or manufacturer-approved citrus-based cleaners are the only safe options for elastomer parts.
Why does my valve buzz only during hot afternoons?
Heat expands metal components slightly, increasing friction on a marginally sticky plunger. It also lowers water viscosity, making existing mineral deposits more likely to shift and jam. This pattern often precedes total failure — address it before summer peak demand.
Is it normal for the solenoid to feel warm?
Yes — mild warmth (up to 110°F) is typical during operation. But if it’s too hot to hold for 3 seconds or smells like burnt insulation, the coil is shorting. Replace it immediately; continued use risks controller damage.
Can low water pressure cause chattering?
Absolutely. Valves need minimum pressure to fully seat the diaphragm. The Insurance Institute for Business & Home Safety’s 2023 Irrigation Resilience Guide states that sustained pressure below 28 PSI increases chatter risk by 60% — check your static pressure with a gauge at the spigot nearest the valve.
Do I need to shut off power to the controller while working?
Yes — always disconnect power at the circuit breaker or unplug the controller. A shorted wire during disassembly could send a surge through the control board. Better safe than replacing a $120 controller.
What’s the difference between a buzzing valve and a hissing one?
Buzzing means the solenoid is energized but the plunger isn’t moving — mechanical obstruction. Hissing means water is escaping past the seal — typically a torn diaphragm or grit on the seat. Different symptoms, different fixes.
"Over 70% of 'noisy valve' service calls we handle are resolved with a $7 diaphragm and 20 minutes of cleaning — not a new valve." — Carlos Mendez, Certified Irrigation Technician since 1998, Desert Flow Irrigation Services
A stuck, noisy valve isn’t just annoying — it’s your system’s early warning sign. Addressing it promptly protects your water budget, prevents landscape stress, and avoids cascading failures like burst pipes or controller burnout. Keep your vinegar bottle stocked, test voltage yearly, and treat each spring startup like a tune-up — not an afterthought. For deeper system checks, see our guide on irrigation system pressure testing or sprinkler head leak repair.