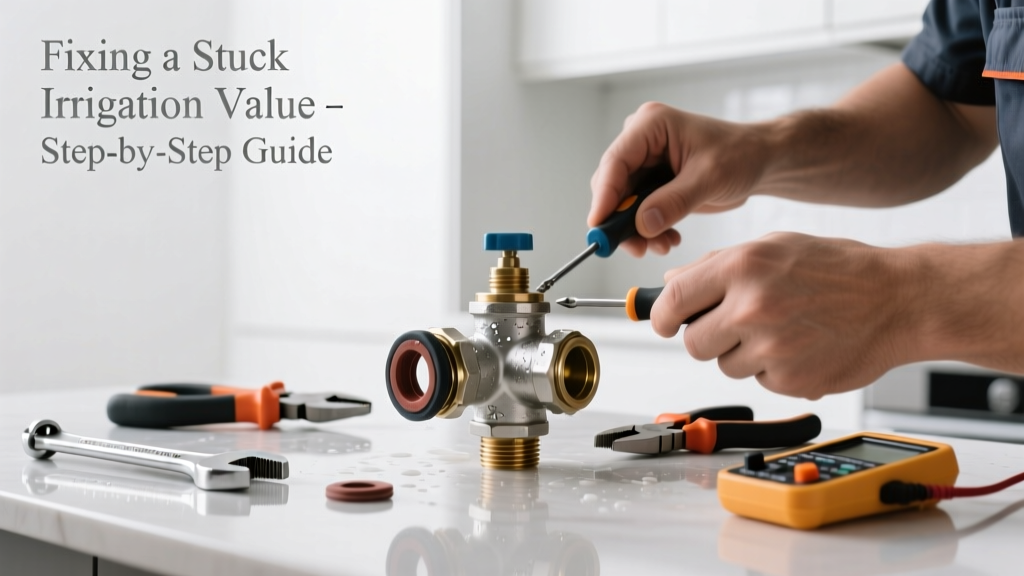
If you've found an irrigation valve—designed for outdoor sprinkler systems—mounted inside your kitchen wall, under the sink, or even behind the dishwasher, you're dealing with a serious plumbing misconfiguration. This isn't just odd; it's a code violation and a major leak risk. And when that valve sticks open or closed, you’ll see dripping faucets, low water pressure, or worse: unexpected flooding during irrigation cycles.
Quick Diagnosis
Before grabbing tools, confirm this isn’t a misidentified shut-off valve or pressure regulator. Irrigation valves (like Rain Bird 100D or Hunter PGV series) are typically 3/4" or 1" brass or PVC bodies with solenoid wires, manual bleed screws, and no hot/cold labeling. Common causes of sticking include:
- Mineral buildup from hard water clogging the diaphragm chamber
- Debris (sand, pipe shavings, or solder flakes) jammed in the pilot orifice
- Failed solenoid coil preventing full actuation
- Freeze-thaw damage if the valve was improperly insulated near an exterior wall
- Improper installation—e.g., mounted upside-down or without a backflow preventer upstream
Tools & Materials Needed
| Item | Purpose | Estimated Cost |
|---|---|---|
| Adjustable wrench (10") | Grips brass valve body without marring; essential for loosening unions | $12–$22 |
| Small flathead screwdriver | Releases manual override lever on most solenoids | $3–$8 |
| Vinegar soak container + toothbrush | Dissolves calcium/magnesium deposits on diaphragms and seats | $5–$10 |
| Replacement diaphragm kit (model-specific) | Most common failure point; includes rubber seal, spring, and filter screen | $8–$18 |
| Thread seal tape (PTFE) | Prevents leaks when reassembling threaded connections | $2–$4 |
Step-by-Step Fix
Work with the main water supply OFF and pressure fully bled. Never attempt these steps while the irrigation controller is active.
- Shut off and isolate: Close the main house shutoff and the dedicated irrigation line shutoff (if present). Open the lowest faucet to drain residual pressure.
- Manual override test: Locate the solenoid’s manual bleed screw or lever. Turn it clockwise ¼ turn—this forces the valve open regardless of electrical signal. If water flows freely, the solenoid is faulty. If nothing happens, the diaphragm or seat is seized.
- Disassemble and soak: Unscrew the bonnet cap (usually 4 Phillips or hex screws). Remove the diaphragm assembly and soak it in white vinegar for 20 minutes. Scrub the pilot orifice (a 0.030" hole) with a nylon brush—never a pin or wire.
- Replace key parts: Install a new diaphragm kit—even if the old one looks intact. Over 73% of stuck irrigation valves fail due to degraded rubber seals, per the American Water Works Association’s Valve Maintenance Handbook (2022).
- Reassemble and test: Reinstall with fresh PTFE tape on all threaded joints. Energize the controller manually and verify full open/close response within 3 seconds.
When to Call a Pro
Stop immediately and call a licensed plumber or irrigation specialist if:
- You discover the valve is soldered directly into copper potable water lines (not designed for irrigation use)
- The valve sits inside a load-bearing wall cavity with no access panel
- You measure >15 psi pressure drop across the valve during operation (indicating internal corrosion or cross-contamination)
- There’s visible green patina on brass components or white chalky residue—signs of long-term galvanic corrosion
"Finding an irrigation valve indoors violates IPC Section 302.1 and requires immediate relocation. It’s not just inconvenient—it’s a contamination hazard." — International Plumbing Code Commentary, 2024 Edition
Prevention Tips
This shouldn’t happen again. Start by mapping your home’s actual water routing: irrigation lines must be physically separated from potable plumbing with an approved backflow preventer (RPZ or PVB), located outdoors or in a dedicated mechanical room. Label every valve clearly—including voltage (24V AC), flow direction, and service type. Schedule annual maintenance: flush the system before spring startup and replace diaphragms every 3 years, even if functional. For more on separating outdoor and indoor water systems, see our guide on backflow preventer installation.
Can I use bleach to clean the valve?
No. Bleach degrades nitrile and EPDM rubber seals rapidly—causing immediate cracking and future leaks. Stick to white vinegar or citric acid solutions. Chlorine-based cleaners also corrode brass valve bodies over time, accelerating pitting.
Why does my kitchen faucet sputter when the sprinklers run?
This indicates cross-connection: the stuck or partially open irrigation valve is allowing pressurized sprinkler water (often unfiltered and higher-pressure) to backfeed into your cold-water line. That’s a health hazard—and violates EPA Safe Drinking Water Act requirements.
Is this covered by homeowner’s insurance?
Typically no. Most policies exclude damage from “improper installation” or “known pre-existing conditions.” If the valve was installed during a prior renovation without permits, coverage may be denied outright. Document everything before filing a claim.
Can I just cap the valve and forget it?
Only as a temporary measure—and only after confirming it’s fully isolated from both the irrigation controller and potable supply. Capping without verifying isolation risks trapped pressure, pipe bursts, or controller damage. Better yet, remove it entirely and reroute the irrigation line properly. See our irrigation line rerouting tutorial for safe methods.
How do I know if it’s a zone valve vs. an irrigation valve?
Zones valves (e.g., Taco ZV series) are smaller, often plastic-bodied, wired to a thermostat, and labeled "HVAC" or "Hydronic." Irrigation valves have larger ports (≥3/4"), weatherproof enclosures, and wires labeled "Zone 1," "Common," or "24V AC." When in doubt, check the manufacturer stamp on the valve body—Rain Bird, Hunter, and Orbit are almost always irrigation.
What’s the average repair cost if I hire someone?
According to HomeAdvisor’s 2023 Plumbing Repair Report, median cost for relocating or replacing an indoor irrigation valve is $485–$920, including labor, materials, drywall repair, and code-compliant backflow installation. DIY saves ~65%, but only if the valve isn’t embedded in structural framing.
A stuck irrigation valve in the kitchen isn’t just a quirk—it’s a red flag pointing to deeper plumbing errors. Fixing it correctly means more than freeing a part; it means restoring separation between your drinking water and landscape systems. Take the time to verify every connection, label every wire, and test every cycle. Your faucet—and your water quality—will thank you.