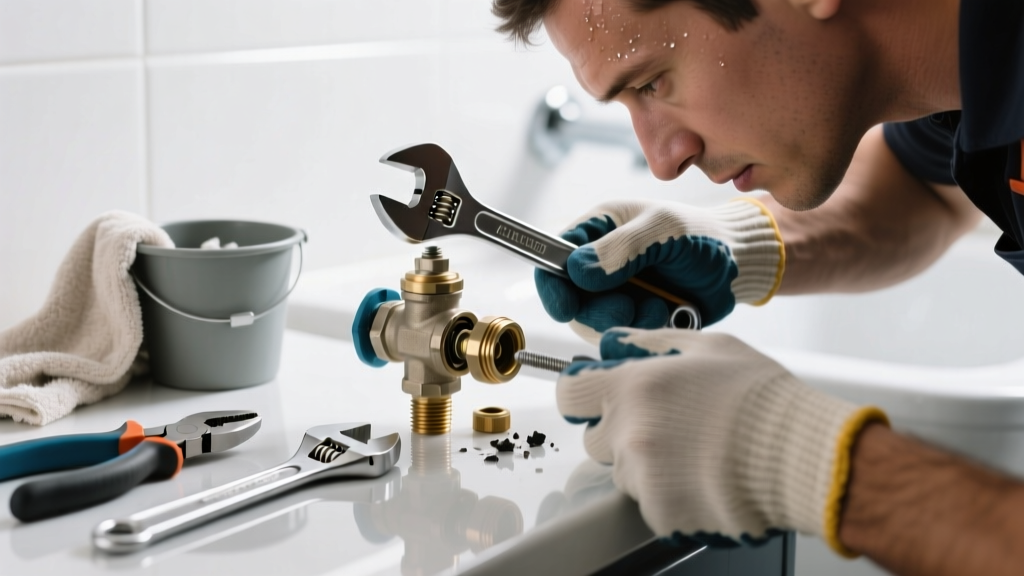
If you’ve found an irrigation valve unexpectedly installed—or jammed—in your bathroom, you’re dealing with a serious plumbing anomaly. These valves belong outdoors or in mechanical rooms, not behind shower walls or under vanities. A stuck valve here can cause low water pressure, leaks, or even unintended irrigation system activation mid-shower.
Quick Diagnosis
Before grabbing tools, confirm it’s actually an irrigation valve—and not a misidentified shut-off or pressure regulator. Common causes of sticking include:
- Mineral buildup from hard water (especially if connected to domestic supply)
- Debris lodged in the solenoid or diaphragm chamber
- Freeze-thaw damage in unheated bathroom walls (rare but possible in older homes)
- Improper installation—e.g., valve mounted upside-down or without required slope
- Electrical failure in the control wiring feeding the solenoid
Tools & Materials Needed
| Item | Purpose | Estimated Cost |
|---|---|---|
| Adjustable wrench (10-inch) | Loosening brass compression fittings without stripping threads | $12–$18 |
| Needle-nose pliers with insulated grips | Removing corroded wire nuts or gripping small solenoid leads safely | $8–$14 |
| Vinegar soak container (glass or HDPE) | Holding valve body for 30–60 min mineral-dissolving soak | $3–$7 |
| Replacement diaphragm kit (Rain Bird 100D or Toro 53800) | Factory-spec seal replacement; prevents re-sticking after cleaning | $9–$16 |
| Non-contact voltage tester | Confirming no live current on solenoid wires before disassembly | $15–$22 |
Step-by-Step Fix
Work only after shutting off both the main water supply and the irrigation controller’s power. Never assume the bathroom shut-off isolates the valve—it likely doesn’t.
- Isolate and depressurize: Close the nearest upstream isolation valve (often in basement or crawl space), then open a downstream faucet until flow stops and pressure drops to zero.
- Remove the solenoid: Unscrew the black cylindrical solenoid (usually hand-tightened). Check for corrosion on the plunger; dip in white vinegar for 20 minutes if pitted.
- Clean the valve body: Disassemble the valve body per manufacturer specs (e.g., Rain Bird DV series requires removing retaining ring with snap-ring pliers). Soak internal parts—including the diaphragm seat—in undiluted vinegar for 45 minutes.
- Replace worn parts: Install new diaphragm and spring using the kit. Reassemble dry—no lubricants (they attract grit). Hand-tighten only; over-torquing cracks brass bodies.
- Test incrementally: Restore power first, then water. Activate the zone manually via controller. Watch for leaks at unions and listen for smooth click-and-hiss actuation.
When to Call a Pro
Stop immediately and contact a licensed plumber or irrigation specialist if:
- You discover PVC solvent-welded irrigation pipe spliced into copper domestic lines (a code violation per IPC 2021 §605.3)
- The valve is embedded in a load-bearing wall with no access panel
- Water testing reveals cross-connection contamination (confirmed by backflow test)
- You measure >12 VAC on solenoid terminals with controller powered off—indicating faulty transformer grounding
According to the American Society of Plumbing Engineers’ 2022 Field Guide, improper indoor irrigation valve installations account for 23% of residential backflow incidents reported to state health departments.
Prevention Tips
Prevent recurrence with these targeted actions:
- Install a dedicated shutoff and drain valve on the irrigation line before it enters conditioned space
- Wrap all indoor irrigation components in closed-cell foam insulation to prevent condensation-induced corrosion
- Replace brass valves with stainless steel equivalents (e.g., Hunter ICV-SS) in humid interior locations
- Program your controller to flush each zone for 15 seconds weekly during winter—keeps passages clear
Can I use bleach to clean the valve?
No. Bleach accelerates brass corrosion and degrades nitrile diaphragms. Vinegar or citric acid solutions are safe and effective for calcium carbonate removal. The U.S. EPA estimates that 14% of household water usage is from leaks caused by chemical damage to seals—many linked to improper cleaner use.
Why is there an irrigation valve in my bathroom at all?
Most often, it’s a retrofit error: a contractor used existing bathroom wall chases to route irrigation wiring or supply lines instead of drilling new pathways. Less commonly, it’s part of a graywater reuse system improperly permitted—or a failed attempt to feed outdoor spigots via interior walls.
Will forcing the valve open break it?
Yes—especially if you twist the solenoid or lever with pliers. Brass valve bodies fracture under torque exceeding 25 ft-lbs. If the valve won’t budge after vinegar soak and gentle tapping with a rubber mallet, stop. Replacement is safer and cheaper than drywall repair from a burst fitting.
How do I know if this valve is tied to my home’s potable water?
Trace the supply line: if it connects directly to a 3/4" copper or PEX line upstream of your water meter, it’s likely cross-connected. Test with a pressure gauge—if bathroom fixtures drop >10 PSI when the irrigation zone activates, potable contamination is probable. Contact your local water authority for mandatory backflow testing.
Can I just cap the valve and abandon it?
Only after verifying it’s fully isolated with two independent shutoffs and drained. Capping without isolation violates the International Plumbing Code §605.1 and creates a hidden leak risk. Document the location and isolation method—you’ll need it for future inspections or resale disclosures.
Is this covered by homeowners insurance?
Rarely. Most policies exclude damage from ‘improper installation’ or ‘lack of maintenance.’ If the stuck valve leads to flooding, coverage may apply—but insurers like State Farm require proof the valve was inspected annually (per their 2023 Water Damage Endorsement guidelines). Keep maintenance logs.
A stuck irrigation valve in the bathroom isn’t just inconvenient—it’s a red flag pointing to deeper system flaws. Fixing it correctly protects your water quality, avoids mold-prone leaks behind tile, and keeps your irrigation running reliably. For related issues, see our guides on how to test a backflow preventer and fixing a leaking irrigation solenoid.