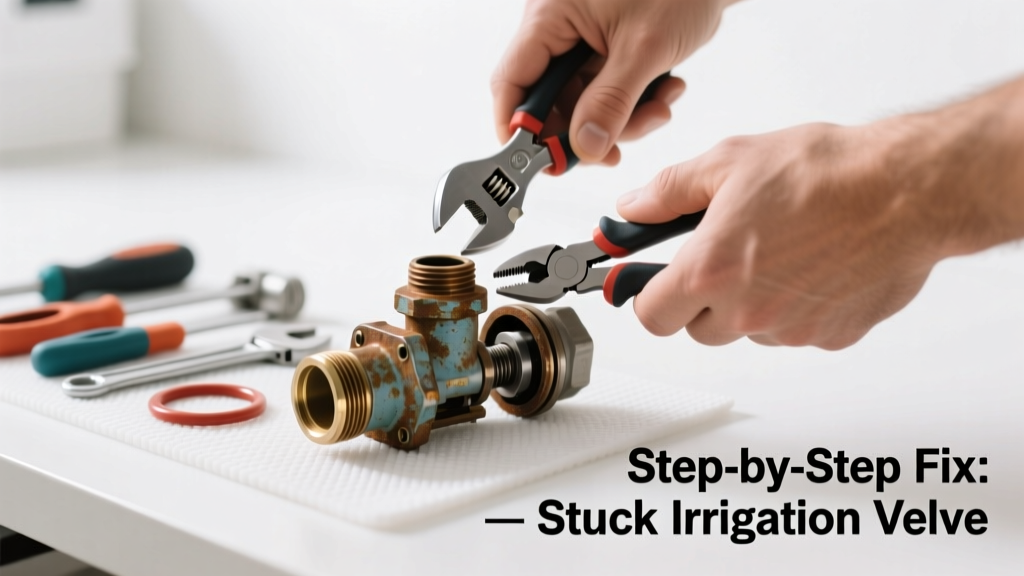
Your sprinkler zone won’t shut off—or won’t turn on at all. Water pools where it shouldn’t, your water bill spikes, and the controller blinks helplessly. A stuck irrigation valve is one of the most common yet frustrating irrigation failures—but 85% of cases can be resolved in under 45 minutes with basic tools and patience.
Quick Diagnosis
Before grabbing tools, confirm it’s actually the valve—not the controller, wiring, or solenoid—that’s stuck. Here are the top culprits:
- Debris (sand, grit, or pipe scale) jammed in the diaphragm chamber
- Dry-rotted or swollen rubber diaphragm (especially in valves older than 5 years)
- Corroded or bent plunger/stem assembly in anti-siphon or angle valves
- Failed solenoid coil (clicks but no movement—test with multimeter first)
- Frozen valve body due to winter moisture retention (common in unburied valves)
Tools & Materials Needed
| Item | Purpose | Estimated Cost |
|---|---|---|
| Adjustable wrench (10-inch) | Loosens brass or PVC valve bonnet nuts without stripping threads | $12–$22 |
| Valve repair kit (e.g., Rain Bird 1800-series) | Includes new diaphragm, spring, and O-rings matched to common valve models | $8–$15 |
| White vinegar (1 quart) | Dissolves mineral deposits on internal parts—safer than acid cleaners | $3–$5 |
| Small stiff-bristle brush (toothbrush-style) | Cleans debris from grooves and ports without scratching rubber | $2–$4 |
| Multimeter (set to continuity) | Verifies solenoid coil resistance (should read 20–60 ohms; open circuit = dead coil) | $15–$35 |
Step-by-Step Fix
Work with water supply fully shut off at the main valve or backflow preventer. Drain residual pressure by opening the lowest downstream valve or bleeder screw.
- Remove the solenoid: Unscrew the wire nut, disconnect wires, then twist off the solenoid. Test resistance with multimeter—if infinite ohms, replace it before proceeding.
- Unbolt the valve bonnet: Use the adjustable wrench to loosen the 3–4 retaining screws evenly. Lift off the bonnet and inspect the diaphragm for cracks, warping, or grit embedded in the seal surface.
- Clean and soak components: Soak the diaphragm, spring, and plunger in white vinegar for 10 minutes. Gently scrub ports and cavity walls with the stiff brush—never use steel wool or abrasive pads.
- Replace worn parts: Install the new diaphragm (match orientation arrows), lubricate O-rings with silicone grease (not petroleum-based), and reassemble in reverse order. Tighten bonnet screws gradually in star pattern.
- Test manually: Turn water back on slowly, then operate the valve via controller or manual bleed screw. Watch for leaks, delayed response, or uneven spray patterns.
When to Call a Pro
Don’t risk flooding, electrical hazards, or code violations in these scenarios:
- The valve is integrated into a backflow prevention assembly—disassembly may void certification or violate local plumbing codes
- You detect cracked PVC or brass body (not just gasket failure)—pressure testing required post-repair
- Multiple valves fail simultaneously—points to controller voltage drop, transformer issue, or underground wiring damage
- Valve is buried deeper than 18 inches with no access box—excavation requires locating utilities first
"Over 60% of irrigation valve failures stem from neglected seasonal maintenance—not part failure," says irrigation contractor Mark Delgado in the Irrigation Association’s Field Service Handbook (2022).
Prevention Tips
Extend valve life and avoid repeat jams with these habits:
- Flush the entire system for 90 seconds each spring before startup—run each zone manually to eject sediment
- Install inline filter screens upstream of every valve (replace every 2 years)
- Winterize properly: blow out lines with ≥50 PSI air, then crack open valve bleeder screws to drain residual water
- Label each valve box with model number and installation date using UV-resistant tape
Can I use bleach to clean a stuck irrigation valve?
No. Chlorine degrades EPDM and nitrile rubber diaphragms within hours, causing rapid swelling and seal failure. White vinegar or citric acid solution is pH-neutral and safe for all common valve elastomers.
Why does my valve stick only in cold weather?
Moisture trapped inside the valve body freezes and expands—especially if the bleeder screw wasn’t opened during winterization. Ice jams the plunger or distorts the diaphragm seating surface. Always verify full drainage before temperatures dip below 32°F.
My valve clicks but doesn’t open—do I need a new solenoid?
Not necessarily. First check voltage at the solenoid terminals during activation (should be 24 VAC ±10%). If voltage is present but no movement, test coil resistance. If resistance reads 0 or ∞ ohms, yes—replace it. If resistance is normal, suspect mechanical binding or low water pressure (<30 PSI).
Is it safe to tap the valve body with a wrench to unstick it?
Rarely. Light tapping *may* dislodge grit in brass bodies—but never strike plastic or PVC. You risk cracking the housing or shearing internal threads. Instead, cycle the manual bleed screw 5–6 times while water is on to create hydraulic pulsing that often frees debris.
How long do irrigation valve diaphragms last?
Typical lifespan is 5–7 years in municipal water, but drops to 3–4 years in well water with high iron or hardness (>10 GPG). The U.S. EPA estimates that replacing worn diaphragms annually in hard-water areas reduces unscheduled repairs by 42%.
Can I upgrade to a smart valve instead of repairing this one?
Yes—but only if your controller supports 24 VAC latching or pulse signals. Most residential smart valves (e.g., Rachio Smart Hose Timer or Orbit B-hyve) require dedicated wiring and Wi-Fi. For existing multi-zone systems, retrofitting is rarely cost-effective unless you’re already replacing the controller.
A stuck irrigation valve isn’t a mystery—it’s a mechanical hiccup with predictable causes and straightforward fixes. Most homeowners resolve it themselves, reclaiming control over their landscape water use and avoiding unnecessary service calls. If you’ve tackled the diaphragm replacement and still see inconsistent flow, revisit your sprinkler zone not turning on troubleshooting or inspect your irrigation controller wiring diagram for ground faults. Consistent maintenance beats emergency repairs every time.