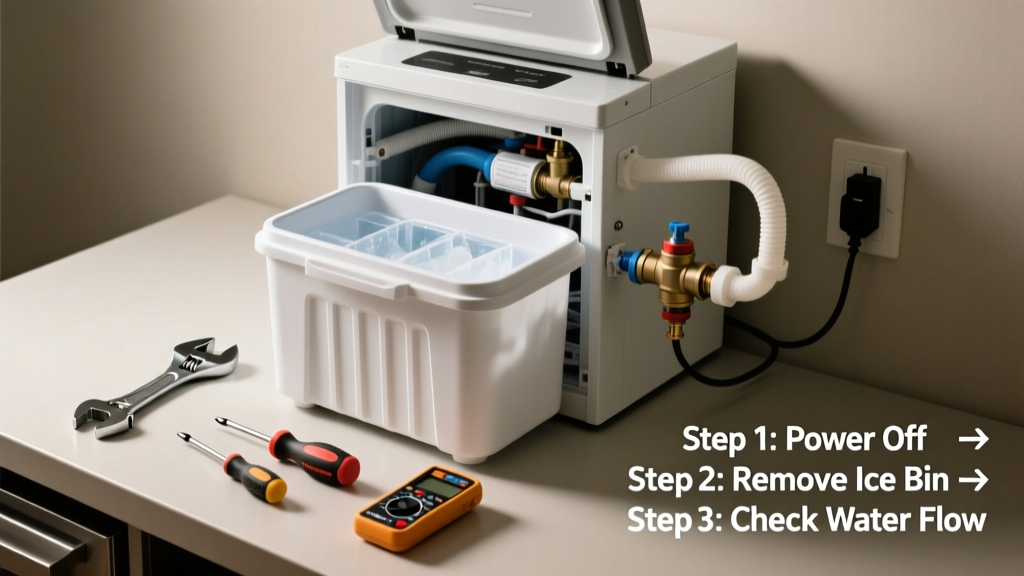
Waking up to an empty ice bin—and realizing your ice maker hasn’t dropped a single cube in days—is frustrating, especially mid-summer or before guests arrive. Most ice maker failures aren’t due to catastrophic breakdowns but simple, fixable issues like frozen fill tubes or misaligned shutoff arms. With basic tools and 20 minutes, you can often restore ice production without calling a technician.
Quick Diagnosis
Before grabbing tools, rule out these five most common culprits:
- The ice maker is turned off (check the wire shutoff arm or control panel switch)
- Freezer temperature is above 0°F (ice makers won’t cycle if it’s too warm)
- Water supply valve is closed or partially obstructed
- Fill tube behind the freezer wall is frozen solid
- Water filter is clogged or overdue for replacement (common in GE, Whirlpool, and Samsung models)
Tools & Materials Needed
| Item | Purpose | Estimated Cost |
|---|---|---|
| Adjustable wrench | Tighten or open water supply valve and line connections | $12–$25 |
| Heat gun or hair dryer | Thaw frozen fill tubes safely (no open flame) | $20–$60 |
| Replacement water filter (model-specific) | Restores flow if current filter is clogged (e.g., EveryDrop EDR3RXD1) | $18–$35 |
| Digital thermometer | Verify freezer temp is ≤ 0°F—critical for reliable cycling | $8–$15 |
Step-by-Step Fix
Work through these methods in order—they address ~90% of no-ice cases:
- Check the shutoff arm and power switch: Ensure the metal or plastic arm isn’t stuck in the "up" (off) position. On newer models, confirm the ice maker toggle on the control panel is set to "On."
- Verify freezer temperature: Place a digital thermometer between frozen food packages for 12 hours. If it reads above 0°F, lower the thermostat and wait 24 hours before testing ice production again.
- Inspect and thaw the fill tube: Remove the ice maker assembly (unplug fridge first), locate the rubber or plastic fill tube entering the back of the unit, and gently apply heat with a hair dryer for 2–3 minutes. Do not use sharp objects—puncturing the tube causes leaks.
- Replace the water filter: Locate the filter (often in the grille at the bottom front or inside the fridge), twist counterclockwise to remove, and install a certified replacement. Run 3–4 gallons of water through the dispenser afterward to flush air from the line.
When to Call a Pro
Stop DIY if you encounter any of these:
- No water reaches the fill tube—even with the supply valve fully open and filter bypassed
- You hear a loud buzzing or clicking from the ice maker but no movement (indicates failed motor or gear assembly)
- Leaking water around the ice maker housing or behind the rear panel
- Your model uses an electronic control board (common in LG and high-end Bosch units) and error codes appear on the display
According to the U.S. EPA, 14% of household water usage is from leaks—including those caused by DIY attempts on pressurized water lines. When in doubt, a licensed appliance technician costs $120–$220 average, but prevents costly flood damage.
Prevention Tips
Maintain consistent ice production with these habits:
- Replace water filters every 6 months—even if the indicator light hasn’t activated
- Keep freezer temperature at −2°F to 0°F year-round (not just during summer)
- Run the ice maker’s self-test mode quarterly (consult your manual—Whirlpool and Maytag models have dedicated test buttons)
- Leave 3 inches of clearance behind the refrigerator to ensure proper ventilation and prevent compressor overheating
Why does my ice maker only make ice after I reset it?
This points to a failing thermostat or intermittent electrical connection. The reset temporarily restores continuity—but the underlying issue (often a cracked bimetal switch or loose wiring harness) will recur within days. Check for corrosion at the ice maker’s plug-in connector; clean with electrical contact cleaner and a soft brush.
Can I use bleach to clean the ice maker mold?
No—bleach damages stainless steel components and leaves residues that affect taste and safety. Use a 50/50 vinegar-water solution instead, followed by three full cycles of fresh water. For stubborn mold, follow our mold-specific cleaning guide.
Is it safe to pour hot water into the fill tube to thaw it?
Avoid pouring water—especially boiling water—into the fill tube. It can warp plastic fittings, crack seals, or cause steam burns. A hair dryer or heat gun on low setting is safer and more controlled. Always unplug the refrigerator before accessing internal components.
How do I know if the water inlet valve is bad?
If the valve hums when the ice maker calls for water but no water flows—and the supply line is confirmed open—the solenoid coil is likely faulty. Test continuity with a multimeter: a reading of infinity (OL) means the coil is open and the valve needs replacement. Our full valve replacement guide walks through disassembly and safety checks.
Will a clogged drain cause the ice maker to stop working?
No—clogged defrost drains affect freezer humidity and frost buildup but don’t interrupt ice maker operation. However, excessive frost on the evaporator coil (caused by poor door seals or infrequent defrosting) can raise freezer temps enough to halt cycling. Check door gaskets for gaps using the dollar bill test.
Do I need to replace the entire ice maker if the ejector blades are broken?
Not always. Many models (including Whirlpool W10780129 and Samsung IM102) offer replacement ejector assemblies for $22–$38. Replacing just the blades avoids buying a $120+ full unit. Confirm part compatibility using your fridge’s model number on AppliancePartsPros.com or RepairClinic.com.
Most ice maker failures stem from overlooked basics—not broken parts. Staying on top of filter changes, freezer temps, and visual inspections keeps your system running smoothly for years. If you’ve walked through each step and still get silence instead of clinking cubes, it’s time to consult a technician—or consider whether your unit is nearing its typical 8–10 year lifespan. For related help, see our guides on fridge not cooling enough and water leaking from fridge bottom.