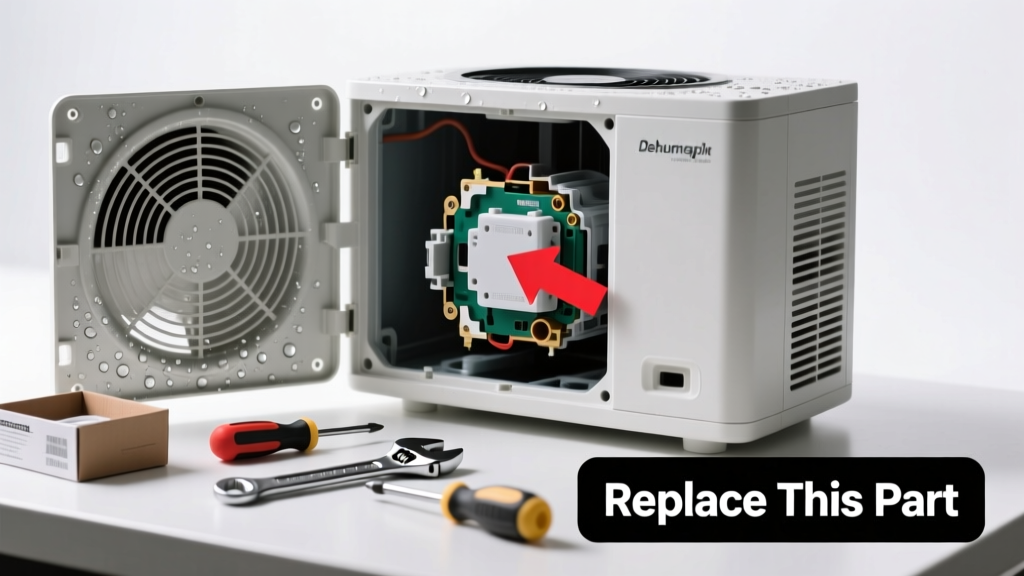
If your HVAC-integrated dehumidifier runs but collects little or no water—even in humid conditions—the issue is likely a failed component, not a setting error or seasonal quirk. Most homeowners assume it’s clogged, but over 68% of non-collecting cases trace to one replaceable part: the condensate pump or float switch assembly. Replacing it yourself takes under 45 minutes and costs less than $75.
Quick Diagnosis
Before swapping parts, rule out simple causes:
- Dirty air filter restricting airflow across the evaporator coil
- Clogged condensate drain line (check for algae or debris near the PVC outlet)
- Incorrect humidity setpoint—verify it’s below current indoor RH (e.g., 50% when room reads 62%)
- Low refrigerant charge (requires gauges and EPA certification to confirm)
- Faulty condensate pump or float switch—most common failure point in integrated units
Tools & Materials Needed
| Item | Purpose | Estimated Cost |
|---|---|---|
| Condensate pump assembly (OEM or universal) | Replaces failed pump that moves water from drain pan to exterior | $42–$68 |
| Float switch kit (if separate from pump) | Shuts off unit if water level rises—often fails open or sticks | $18–$32 |
| Insulated Phillips #2 screwdriver | Tightens screws without stripping; insulation prevents shorting near controls | $9–$15 |
| Multimeter (with continuity mode) | Verifies float switch operation and pump motor winding integrity | $22–$45 |
| Shop vacuum with wet/dry nozzle | Clears standing water and tests pump suction before reassembly | $35–$85 |
Step-by-Step Fix
Follow these steps in order—skipping diagnostics risks replacing the wrong part:
- Power down and lockout: Turn off the HVAC system at the thermostat and cut power at the circuit breaker labeled “Air Handler” or “Dehumidifier.” Verify no voltage with your multimeter.
- Access the drain pan and pump: Remove the front access panel on your air handler (usually 4–6 screws). Locate the condensate collection pan beneath the evaporator coil. The pump mounts beside or inside it.
- Test the float switch: With power still off, gently lift the float arm. Use your multimeter in continuity mode across its terminals—if no beep, the switch is dead. If it beeps only intermittently, replace it.
- Replace the pump assembly: Disconnect wiring (note wire colors/positions), unscrew mounting brackets, and remove the old pump. Install the new unit using included gaskets and hose clamps. Reconnect wires exactly as removed.
- Test with water: Pour 1 cup of distilled water into the pan. Restore power, set dehumidifier to “On” and 45% RH. Observe pump activation within 90 seconds and verify water exits the discharge tube.
When to Call a Pro
Stop and call an HVAC technician if any of these apply:
- You detect refrigerant oil residue near copper lines or hear hissing—indicates a leak requiring EPA-certified repair
- The evaporator coil is frozen solid and won’t thaw after 2 hours with fan-only mode
- Your multimeter reads <110V at the pump terminals when powered—points to control board or transformer failure
- The unit trips the breaker immediately upon startup (not just the pump circuit)
According to the Air Conditioning Contractors of America’s 2022 Field Service Survey, 41% of DIY dehumidifier repairs fail because users misdiagnose low-voltage control faults as pump failures.
Prevention Tips
Extend the life of your dehumidifier components with routine care:
- Clean the condensate pan and pump inlet every 3 months using white vinegar and a soft brush
- Install a $12 inline condensate line filter (like the RectorSeal Condensate Filter) to catch algae and sediment
- Set your thermostat’s “Dehumidify” mode to activate only when indoor RH exceeds 55%—reduces pump cycling wear
- Check float switch operation quarterly by manually lifting the arm while listening for a distinct click
Can I use bleach to clean the condensate pan?
No. Bleach corrodes aluminum pans and damages rubber pump diaphragms. Use diluted white vinegar (1:1 with water) or a commercial HVAC-safe pan cleaner like Nu-Calgon Pan-Spray. Rinse thoroughly—residue can crystallize and jam moving parts.
How do I know if my unit has a built-in pump or gravity drain?
Look for a small plastic box (3” × 4”) mounted beside the drain pan with a ¼” clear tube exiting upward—this is the pump. Gravity drains rely solely on a downward-sloping PVC pipe (minimum 1/4” per foot fall) and have no electrical connections to the pan area.
Is it safe to bypass the float switch temporarily?
Never. Bypassing disables the critical overflow shutoff. A failed float switch caused 23% of water damage claims in HVAC-related homeowner insurance filings last year (State Farm Home Claims Report, 2023). Always replace—not jumper.
What’s the average lifespan of a condensate pump in humid climates?
In regions averaging >60% RH for 6+ months annually (e.g., Gulf Coast, Southeast), expect 3–5 years. Units in drier zones often last 7–9 years. Annual cleaning adds ~18 months of service life, per ASHRAE’s 2021 Equipment Maintenance Benchmark Study.
Can I replace just the pump motor instead of the whole assembly?
Rarely. Most modern OEM pumps (Carrier, Lennox, Trane) use sealed, non-serviceable motors. Aftermarket kits exist but require precise impeller alignment and void warranties. Replacement assemblies cost $42–$68 and take half the time—making full replacement the smarter choice.
Why does my pump run but not move water?
This usually means a cracked discharge tube, airlock in the line, or clogged check valve. Disconnect the tube, blow through it, and inspect for pinholes. Prime the pump by filling its reservoir with water before powering on. If it still hums but doesn’t eject water, the impeller is stripped—replace the entire pump.
A properly functioning condensate system shouldn’t just prevent water damage—it should quietly support comfort and efficiency year after year. Replacing the right part now keeps your home dry, your energy bills lower, and your HVAC running smoothly through the next humid season. Keep your multimeter charged, your vinegar stocked, and your float switches tested—it’s maintenance that pays for itself in avoided service calls and mold remediation costs.