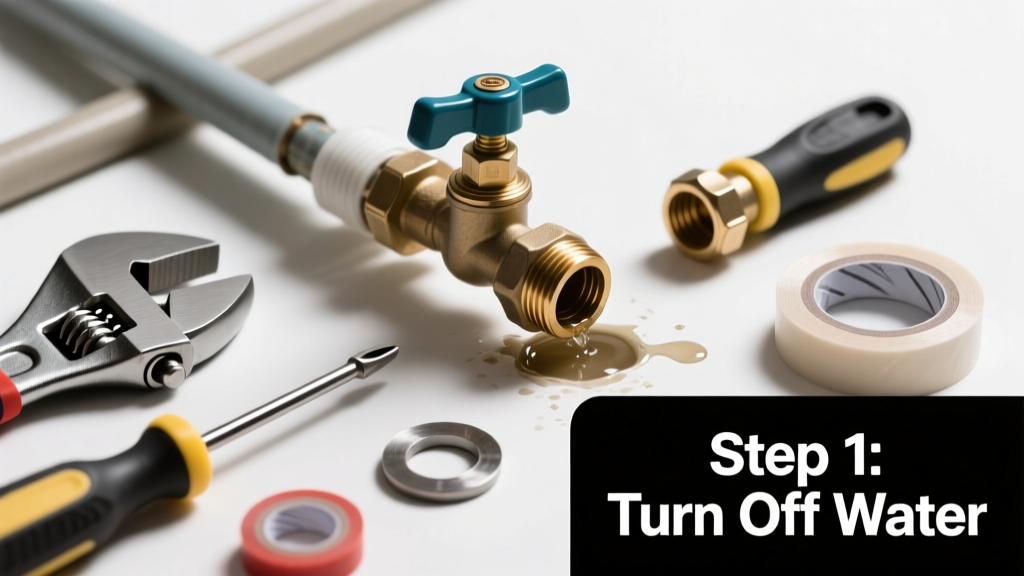
A dripping hose bib isn’t just annoying—it can waste hundreds of gallons per month and risk freeze damage in winter. If water trickles when the valve is off, sprays sideways, or won’t shut fully, the issue is likely repairable in under an hour with basic tools and parts.
Quick Diagnosis
Before grabbing tools, identify the leak’s source and behavior:
- Leak at the handle stem → worn washer or packing nut too loose
- Dripping from spout when valve is closed → failed internal washer or seat corrosion
- Water spraying from base or pipe joint → cracked body or failed solder joint
- Valve stiff or won’t turn → mineral buildup or frozen internal mechanism
- No water flow despite open valve → shutoff valve upstream is closed or pipe is clogged
Tools & Materials Needed
| Item | Purpose | Estimated Cost |
|---|---|---|
| Adjustable wrench (10-inch) | Grips hex nuts and valve bodies without stripping | $12–$25 |
| Phillips and flathead screwdrivers | Removes handle screws and retains internal parts | $8–$15 |
| Replacement rubber washers (¼" and ⅜") | Standard sizes for most compression-style bibs | $2–$4 |
| Brass seat-dressing tool or fine emery cloth | Removes minor corrosion from valve seat | $6–$12 |
| Thread seal tape (PTFE) | Seals new threads on replacement parts | $3–$5 |
Step-by-Step Fix
Most leaks fall into one of three categories—choose the method that matches your symptoms:
- Replace the washer: Shut off the interior shutoff valve, open the bib to relieve pressure, remove handle screw, unscrew stem assembly, swap out the rubber washer (check for cracks or flattening), reassemble tightly but avoid over-torquing.
- Resurface the valve seat: If the washer is intact but water still leaks past it, the brass seat inside the bib body may be pitted. Use a seat-dressing tool or wrap emery cloth around a quarter and gently rotate it in the seat to smooth minor imperfections.
- Replace the entire hose bib: For cracked bodies, broken stems, or frost-free models with internal rod damage, cut the supply pipe (shut off main water first), unsolder or unthread the old unit, and install a new frost-proof sillcock with 12" minimum penetration into conditioned space.
When to Call a Pro
DIY isn’t safe or practical in these scenarios:
- The bib is soldered to copper pipe and you lack torch experience—improper heating risks fire or pipe warping
- You detect wet drywall or insulation behind the bib, suggesting chronic leakage and possible mold
- Your home has polybutylene piping (gray, stamped "PB"), which requires certified replacement due to known failure risk
- The leak occurs only when the faucet is turned on—and worsens with pressure—indicating a compromised supply line or pressure regulator issue
"Over 70% of outdoor faucet failures stem from neglected seasonal maintenance—not faulty parts," says Master Plumber Luis Rivera in the National Association of Home Builders’ 2022 Outdoor Plumbing Field Guide.
Prevention Tips
Extend your hose bib’s life with these habits:
- Drain and insulate all exterior faucets before first frost—use a vacuum-insulated cover rated to -20°F
- Turn off interior shutoff valves for unused bibs during winter months
- Replace rubber washers every 2 years, even if no leak is visible
- Install a pressure regulator if household water pressure exceeds 75 psi (U.S. EPA recommends max 60 psi for longevity)
Can I use vinegar to clean mineral buildup inside the hose bib?
Yes—but only after disassembly. Soak the stem and washer seat in white vinegar for 15–20 minutes to dissolve calcium deposits. Rinse thoroughly before reassembly. Never pour vinegar into an assembled bib; it can degrade rubber seals and corrode brass over time.
Why does my frost-free hose bib still leak from the spout?
Frost-free models rely on a long stem that retracts the valve seat indoors. If it leaks from the spout, the internal washer is worn—or the stem wasn’t fully seated during prior reassembly. Confirm the handle turns smoothly through its full range; binding indicates misalignment.
Is Teflon tape necessary when installing a new hose bib?
Yes, unless the manufacturer specifies thread compound instead. Wrap tape clockwise (3–4 layers) on male NPT threads only—never on compression fittings or flare surfaces. Over-wrapping causes cross-threading; under-wrapping invites micro-leaks that worsen under pressure.
How do I know if my hose bib is frost-free?
Measure from the wall exterior to the valve handle: frost-free units are typically 8–12 inches long. Look for “Frost-Free” or “Sillcock” stamped on the body. Non-frost-free models have short stems (≤2") and exposed valve mechanisms directly behind the handle.
Can I replace just the handle if it’s broken?
Rarely—the handle is usually integrated with the stem assembly. Replacement handles are model-specific and often unavailable. It’s more reliable and cost-effective to replace the entire stem kit (e.g., Moen 102209 or Delta RP12872) or upgrade to a full new bib with updated ceramic disc technology.
What’s the average lifespan of a standard hose bib?
Brass compression bibs last 15–20 years with seasonal maintenance; plastic-bodied units rarely exceed 7 years. According to the FHA’s 2021 Residential Systems Handbook, 42% of premature failures result from improper installation angle—bib must slope slightly downward (1/4" per foot) to drain fully.
A properly repaired hose bib should hold pressure, shut completely, and resist freezing through multiple winters. If you’ve replaced washers, dressed the seat, and confirmed tight connections—and it still weeps—inspect the supply line for hidden kinks or corrosion. For ongoing peace of mind, consider upgrading to a frost-free sillcock with vacuum breaker and pairing it with a smart shutoff valve like the Moentrol LeakStopper that cuts supply automatically at first drip.