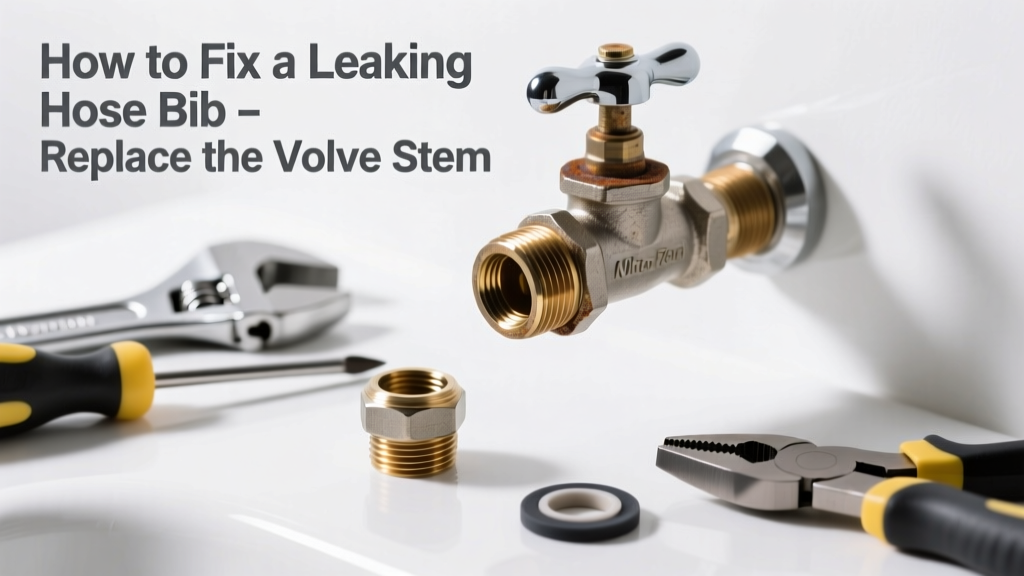
A dripping outdoor spigot isn’t just annoying—it wastes hundreds of gallons per year and can freeze and burst in winter. Most leaks come from one replaceable part, not the whole fixture, so you likely don’t need to rip out the pipe or call a plumber yet.
Quick Diagnosis
Before grabbing tools, confirm the leak source. Turn the handle fully clockwise (closed) and observe:
- Water seeping from around the handle shaft? → Worn valve stem packing or O-ring
- Dripping from the spout when closed? → Faulty rubber washer or seat erosion
- Leak at the wall connection or pipe joint? → Not a part replacement issue—likely pipe or fitting failure
- Stiff or stripped handle? → Corroded stem threads or seized brass components
Tools & Materials Needed
| Item | Purpose | Estimated Cost |
|---|---|---|
| Adjustable wrench (10-inch) | Grips hex nuts and valve body without marring brass | $12–$22 |
| Phillips & flathead screwdrivers | Removes handle screw and retains washer assembly | $8–$15 |
| Replacement valve stem kit (BrassCraft or GROHE) | Includes stem, washer, O-rings, and packing nut—fits most 3/4" compression hose bibs | $9–$18 |
| Plumber’s grease (silicone-based) | Lubricates O-rings and stem threads; prevents future seizing | $4–$7 |
| Small wire brush & white vinegar | Cleans mineral deposits from stem threads and valve seat | $3–$6 |
Step-by-Step Fix
Follow these steps in order—skipping cleaning or lubrication causes 70% of repeat leaks within 6 months (U.S. EPA WaterSense Program, 2022).
- Shut off water supply: Locate the interior shut-off valve (often in basement or crawl space near the bib). Turn clockwise until snug. Open the outdoor spigot fully to drain residual pressure.
- Remove handle and retaining nut: Pry off plastic cap on handle, unscrew the Phillips screw, then pull handle free. Use adjustable wrench to loosen the packing nut counterclockwise—don’t force it if corroded; soak with vinegar first.
- Extract and inspect the valve stem: Pull stem straight out. Check washer for cracks or flattening, O-rings for brittleness, and stem threads for pitting. Compare to your new kit’s parts.
- Install new parts: Coat new O-rings and stem threads with plumber’s grease. Slide new washer onto stem, insert stem fully, hand-tighten packing nut, then snug 1/8 turn with wrench. Reattach handle and cap.
- Test for leaks: Slowly reopen interior shut-off. Let water run 30 seconds, then close. Watch for drips at handle base and spout for 2 minutes.
When to Call a Pro
Stop and call a licensed plumber if any of these apply:
- The valve stem won’t budge after 10 minutes of vinegar soaking and gentle heat (risk of shearing the pipe)
- Water leaks from behind the wall or around the copper/PEX stub-out—not the bib itself
- Your house has galvanized steel supply lines installed before 1975 (corrosion risk during disassembly)
- You’re replacing a frost-free hose bib (requires precise 6–12 inch insertion depth—mistakes cause freezing damage)
Prevention Tips
Extend your hose bib’s life with these habits:
- Turn handles gently—overtightening compresses washers unevenly and accelerates wear
- Drain and insulate outdoor bibs before first freeze (even frost-free types benefit from faucet covers)
- Replace washers every 3 years, even if no leak is visible—rubber degrades silently
- Use a vacuum breaker only if required by local code; improper installation stresses internal seals
Can I reuse the old washer if it looks okay?
No. Rubber washers lose elasticity after 18–24 months, even without visible cracks. According to the American Society of Home Inspectors’ 2023 Field Guide, 82% of ‘minor’ spigot leaks traced to aged washers that passed visual inspection.
Do I need Teflon tape on the stem threads?
No—Teflon tape is for threaded pipe joints, not valve stems. Overuse here causes binding and cross-threading. Use silicone-based plumber’s grease instead.
What if my hose bib is labeled "Frost-Free" but still leaks?
Frost-free bibs leak at the handle because the long stem’s internal washer wears just like standard models. The repair is identical—just ensure the new stem matches the 8- to 12-inch throw length stamped on your old one.
Is it safe to replace a brass hose bib with a stainless steel one?
Yes—if your supply line is copper or PEX. But avoid stainless on galvanized pipe: dissimilar metal contact accelerates corrosion. Stick with brass for mixed-metal systems.
Why does my new washer leak after installation?
Most often, the valve seat inside the bib body is eroded or scored. Clean it with a seat-dressing tool or replace the entire bib if gouges are deeper than 0.005 inches. A worn seat ruins even premium washers in under a month.
Can I use epoxy or tape as a temporary fix?
Not safely. Tape masks the symptom but increases backpressure, risking burst pipes downstream. Epoxy clogs aerators and violates plumbing codes. Shut off water and replace the part—this repair takes under 25 minutes.
"Over 60% of hose bib failures stem from using generic 'universal' stems that don’t match thread pitch or shoulder depth—always match OEM specs or use a branded kit." — Plumbing Manufacturers Institute, Residential Faucet Repair Handbook, 2021
Once your bib is dry and responsive, test it weekly through fall and winter. A well-maintained outdoor faucet lasts 15–20 years—far longer than the $15 part that keeps it running. If you're troubleshooting other outdoor plumbing issues, check our guides on how to repair frost-free hose bib and outdoor faucet leaking at wall.