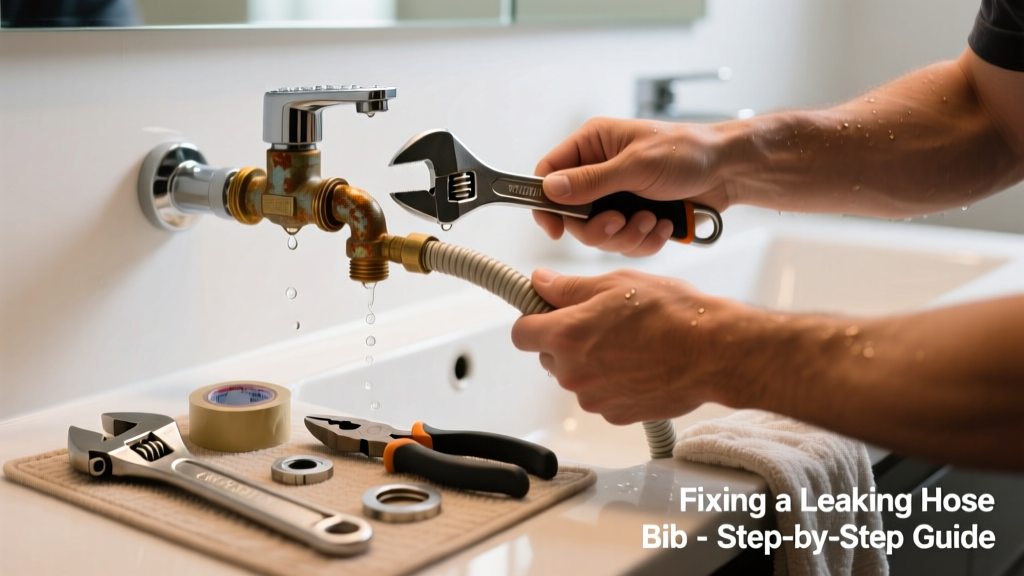
A dripping hose bib in your bathroom isn’t just annoying—it’s a sign of pressure buildup, worn parts, or hidden corrosion that could lead to mold, drywall damage, or a burst pipe. Unlike outdoor spigots, bathroom hose bibs (often behind washing machines or under sinks) are cramped, poorly ventilated, and prone to mineral buildup from hard water. Catch it early, and you’ll save hundreds in repairs.
Quick Diagnosis
Before grabbing tools, identify the leak source:
- Dripping from the handle stem: Worn valve stem packing or O-ring
- Leak at the wall connection: Loose compression nut or failed pipe thread sealant
- Seepage around the base of the bib: Cracked brass body or corroded mounting flange
- Water pooling behind tile or cabinet: Internal valve seat erosion or freeze damage (even indoors during winter power outages)
Tools & Materials Needed
| Item | Purpose | Estimated Cost |
|---|---|---|
| Adjustable wrench (10-inch) | Tightens compression nuts without stripping brass | $12–$22 |
| Phillips & flathead screwdrivers | Removes handle screws and escutcheon plates | $8–$15 |
| Replacement stem kit (BrassCraft or Moen) | Includes O-rings, washers, and packing for common 3/4" threaded bibs | $9–$18 |
| Thread sealant (RectorSeal No. 5) | Non-hardening compound safe for potable water lines | $6–$11 |
| Fiber optic inspection scope (optional) | Views behind walls or tight cabinets without demolition | $25–$45 |
Step-by-Step Fix
Most bathroom hose bib leaks stem from internal wear—not faulty installation. Follow these methods in order of likelihood:
- Replace the stem packing: Shut off the supply valve (usually under the sink or in the basement), open the bib fully, then unscrew the handle and bonnet nut. Pull out the stem, wrap 3–4 layers of graphite-impregnated packing string clockwise around the stem threads, reassemble, and tighten bonnet nut just past hand-tight.
- Swap the washer and O-ring: If packing doesn’t stop it, remove the stem entirely. Replace the flat rubber washer (1/4" ID) and the small black O-ring (size #107 or 012) using silicone grease on both before reinsertion.
- Re-seat the valve: For persistent weeping, use a valve seat dressing tool (like the Ridgid 50012) to smooth minor pitting on the brass seat—no disassembly required. Spin 8–10 full turns while applying light downward pressure.
- Replace the entire bib: If the body is cracked or heavily corroded, cut the supply line with a tubing cutter, unscrew the old bib with a basin wrench, and install a new frost-free or anti-siphon model rated for indoor use (e.g., Woodford M-50).
When to Call a Pro
Stop working and call a licensed plumber if:
- The leak originates from soldered copper joints behind tile or drywall
- You detect sulfur odor or green-blue staining—signs of galvanic corrosion between dissimilar metals
- The shut-off valve won’t close fully or leaks when turned
- Water pressure drops significantly elsewhere in the home after attempting repair
According to the Insurance Institute for Business & Home Safety's 2023 report, 68% of bathroom water damage claims involve failed supply connections behind appliances—most caused by DIY attempts without proper shutoff verification.
"Never assume the valve under the sink controls the hose bib—many older homes tie bathroom bibs to a main line upstream of that valve." — John R. D’Amico, Master Plumber & IAPMO Instructor, 2022
Prevention Tips
Extend your bib’s life with simple habits:
- Turn the handle fully open or fully closed—never leave it partially engaged (causes premature seat wear)
- Drain and flush the bib twice yearly if your water hardness exceeds 7 gpg (test with a Hach 5B test kit)
- Install a pressure regulator if home water pressure exceeds 75 psi (U.S. EPA estimates 14% of household leaks stem from excessive pressure)
- Wrap threads with PTFE tape *plus* pipe dope—tape alone fails on brass-to-brass connections over time
Can I use bleach on this?
No. Bleach corrodes brass and degrades rubber O-rings and stem packing. Use white vinegar diluted 1:1 with warm water to dissolve calcium deposits—soak a rag and wrap it around the handle for 20 minutes before cleaning.
Why does it only leak when I turn it off?
This points to a failing valve seat or washer that seals poorly under backpressure. When water flow stops, residual pressure pushes against the worn surface—confirm with a seat dressing tool or replacement washer.
Is a frost-free hose bib appropriate for indoor use?
No—frost-free models are designed for exterior walls with long stems extending into heated space. Installing one indoors risks condensation inside the stem tube and premature failure. Stick with standard 3/4" NPT brass or stainless steel bibs rated for interior wet locations.
How tight should the bonnet nut be?
Tighten until leakage stops—then back off 1/8 turn. Over-tightening cracks brass bodies and crushes O-rings. Use a torque wrench set to 25–30 in-lbs if available; otherwise, rely on feel—resistance should increase steadily, not suddenly.
What’s the average lifespan of a bathroom hose bib?
Brass bibs last 15–20 years with regular maintenance; plastic-bodied units often fail before year 8. The U.S. Department of Housing and Urban Development notes that 41% of bib replacements occur between years 12–16 due to internal corrosion unseen during visual inspection.
Can I replace just the handle without replacing the whole bib?
Yes—if the stem and valve body are intact. Most modern handles (e.g., Delta RP54257 or Kohler K-1027675) snap or screw on independently. Match the spline count (typically 8 or 12) and thread pitch (M10x1.0 or 3/8"-24 UNF) before ordering.
A properly repaired hose bib shouldn’t just stop dripping—it should operate smoothly for another decade. Keep a spare stem kit in your bathroom utility drawer, and check all supply connections every time you clean behind the washing machine. Small leaks ignored become big bills fast, especially where moisture hides behind walls and under floors. You’ve got this—and if you don’t, knowing when to call a plumber is just as important as knowing how to turn a wrench. For related issues, see our guide on leaky washing machine hoses and bathroom faucet leaks.