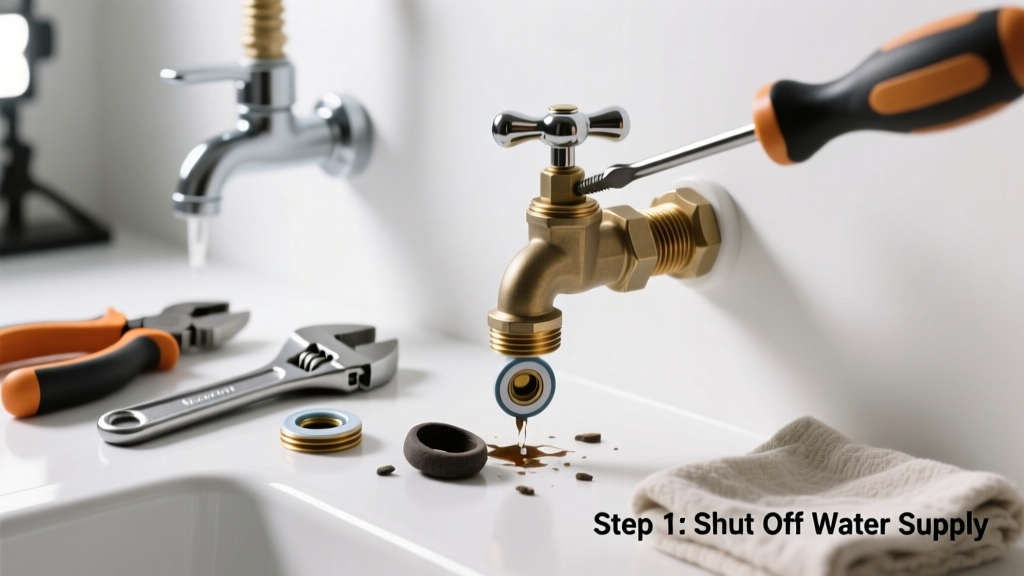
A dripping outdoor spigot isn’t just annoying—it wastes hundreds of gallons per year and can lead to frozen pipe bursts in winter. Most leaks stem from simple wear or improper winterization, and 80% are fixable in under 30 minutes with basic tools. Let’s stop the drip—and save your water bill.
Quick Diagnosis
Before grabbing tools, identify where the leak is happening:
- At the handle stem — worn washer or O-ring inside the valve
- From the spout when faucet is off — failed internal washer or seat corrosion
- Behind the bib (wall or siding) — cracked body or loose mounting nut
- Dripping only after shutting off — common with frost-free models; may indicate internal valve misalignment or debris
Tools & Materials Needed
| Item | Purpose | Estimated Cost |
|---|---|---|
| Adjustable wrench | Grips hex nuts and valve bodies without stripping | $12–$25 |
| Phillips & flat-head screwdrivers | Removes handle screws and retains internal parts | $8–$15 |
| Replacement washer kit (rubber + neoprene) | Fits most standard and frost-free bibs; includes multiple sizes | $4–$9 |
| Seat wrench (deep socket style) | Removes corroded valve seats without damaging threads | $10–$18 |
| Plumber’s grease (silicone-based) | Lubricates O-rings and threads; prevents future seizing | $5–$12 |
Step-by-Step Fix
Most leaks fall into one of three categories—choose the method that matches your diagnosis:
- Stem leak (drip at handle): Shut off water supply, remove handle screw, unscrew packing nut, pull out stem, replace rubber washer and O-ring, reassemble with light plumber’s grease on threads.
- Spout leak (drip when closed): Same shutoff and disassembly, but inspect the brass valve seat for pitting or grooves. Use a seat wrench to remove and replace it—or lightly lap it smooth with valve-grinding compound if minor.
- Frost-free bib leak (drip from spout or wall): Turn off main water, open spigot to drain, unscrew entire unit from interior shut-off box, check for cracked vacuum breaker or bent actuator rod. Replace full assembly if body is cracked—don’t attempt epoxy repair.
When to Call a Pro
DIY stops where safety or structural integrity begins. Call a licensed plumber if:
- The leak originates behind the wall or inside the home’s shut-off box
- You detect wet drywall, mold, or rot near the bib mounting point
- Your house has galvanized steel supply lines older than 1975 (risk of crumbling threads)
- The bib is soldered directly to copper pipe and you lack torch experience
According to the Insurance Institute for Business & Home Safety's 2023 report, 62% of burst pipe claims linked to exterior faucets involved DIY repairs gone wrong due to improper shut-off or over-torquing.
Prevention Tips
Extend your hose bib’s life and avoid repeat leaks with these habits:
- Drain and insulate all exterior faucets before first freeze—use a foam cover and shut off interior isolation valve
- Replace rubber washers annually—even if no leak is visible
- Never force a stiff handle; lubricate stem threads every two years with silicone grease
- Install a pressure regulator if household water pressure exceeds 75 psi (common cause of premature washer failure)
Can I use Teflon tape on the hose bib threads?
Yes—but only on the male threads connecting the bib to the supply pipe during installation or replacement. Do not use tape on internal valve stem threads; it can interfere with washer compression and cause leaks. Use pipe dope rated for potable water instead for threaded joints inside walls.
Why does my frost-free hose bib still leak after replacing the washer?
Frost-free models rely on a long stem that seals deep inside the house. If the washer is replaced but the leak persists, the issue is likely a damaged or misaligned internal plunger, a cracked vacuum breaker, or debris lodged in the valve chamber. Disassemble fully and inspect the actuator rod for bends.
Is it safe to tighten the packing nut to stop a stem leak?
Light tightening (¼ turn max) may help temporarily—but overtightening crushes the O-ring or strips the brass nut. If the leak continues after gentle adjustment, replace the O-ring and stem washer immediately. Over-torquing is the #1 cause of irreparable stem damage.
How do I know if my hose bib is frost-free?
Frost-free models have a long (6–12 inch) stem extending into heated space, and the handle is usually perpendicular to the wall—not parallel. Look for “Frost-Free” stamped on the base or check if the valve shuts off 6+ inches back from the exterior surface. If you see only a short stub protruding, it’s a standard bib.
Can I replace a hose bib without cutting drywall?
Yes—if your home uses an interior access panel or shut-off box behind the bib. Many newer builds include a removable cover plate inside the basement or crawlspace. If not, you’ll need to cut a small 6×6-inch access hole in drywall, patch afterward with a drywall repair kit. Always locate studs and pipes with a stud finder first.
What’s the average lifespan of a hose bib?
Standard brass hose bibs last 15–20 years with seasonal maintenance; plastic-bodied units often fail by year 7. Frost-free models last 10–15 years but suffer faster wear if left unprotected in freezing temps. The U.S. EPA estimates that 14% of household water usage is from leaks—including drips from aging exterior faucets.
Fixing a leaking hose bib isn’t about perfection—it’s about catching small issues before they become soaked insulation or a $2,000 plumbing emergency. Keep your tools organized, replace washers proactively, and don’t ignore that first drip. For persistent issues or hidden damage, consult a pro early—your water meter (and wallet) will thank you. See our guide on how to winterize outdoor faucets to protect them next season.