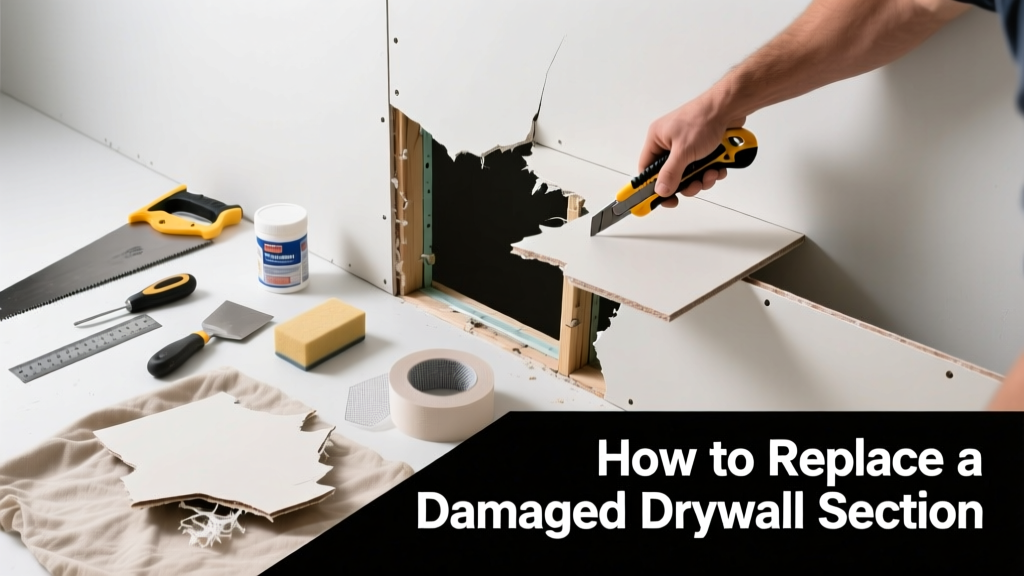
If your drywall has a hole larger than 6 inches across—or the surrounding area is soft, crumbly, or water-stained—you likely need to replace the entire damaged section, not just patch it. Skipping full replacement risks future cracking, poor paint adhesion, and hidden moisture issues behind the wall. This guide walks you through the precise process used by contractors for clean, lasting repairs.
Quick Diagnosis
Before cutting, confirm whether partial replacement is truly necessary. Here are the most common causes of damage requiring full section replacement:
- Impact damage from furniture, doors, or dropped tools that crushed the gypsum core and paper facing
- Water intrusion from roof leaks or plumbing failures causing sagging, discoloration, or mold growth behind the surface
- Previous poorly executed patches where tape lifted, joint compound cracked, or substrate delaminated
- Electrical box or plumbing penetration installed without proper backing, leading to unsupported drywall edges
Tools & Materials Needed
| Item | Purpose | Estimated Cost |
|---|---|---|
| Drywall saw or oscillating tool | Cuts clean, straight lines into existing drywall without damaging studs or wiring | $18–$45 |
| 3/8" or 1/2" drywall sheet (cut to size) | Replacement panel matching existing thickness and fire rating | $12–$22 |
| Construction adhesive & drywall screws | Secures new panel to framing; adhesive prevents screw pops over time | $8–$15 |
| Mesh tape & all-purpose joint compound | Bridges seams and fills screw dimples; use setting-type for first coat if time-critical | $10–$18 |
| 12-inch drywall knife & sanding pole | Smooths compound flush; pole reduces wrist fatigue on ceiling or high walls | $14–$26 |
Step-by-Step Fix
Follow these four methods depending on your hole’s location and cause:
- Measure and square the cutout: Use a level and pencil to extend the damaged area into a perfect rectangle—minimum 16" wide to span two studs. Mark 1/4" beyond stud edges so new drywall lands fully on framing.
- Cut and remove: Score along lines with a utility knife, then plunge-cut with a drywall saw. Check for wires or pipes before cutting deeper. Pry out debris and vacuum dust thoroughly.
- Install backing (if needed): For holes between studs, screw 1×3 furring strips horizontally across the backside of the opening. These act as nailing surfaces for the new panel’s unsupported edges.
- Hang and finish: Apply construction adhesive to stud faces, lift panel into place, and secure with 1-1/4" drywall screws every 8" along edges and 12" in field. Tape seams, apply three thin coats of joint compound, and sand smooth before priming.
When to Call a Pro
Don’t risk injury or code violations—call a licensed contractor if any of these apply:
- The hole spans more than two adjacent studs (over 32") or affects structural header areas above doors/windows
- You find black mold covering >10 sq. ft. behind the drywall, or active water leakage during inspection
- Electrical wiring is severed, spliced outside a junction box, or lacks GFCI protection in bathrooms/kitchens
- The wall is load-bearing and you’re uncertain about temporary shoring or header reinforcement
"Over 70% of DIY drywall repairs fail within 18 months due to improper backing or insufficient taping technique—not material choice." — National Association of Home Builders, Drywall Installation Standards 2022
Prevention Tips
Extend the life of your drywall with these practical habits:
- Use wall protectors (bumpers or rubber pads) on furniture legs and door hinges in high-traffic zones
- Always locate studs with a reliable electronic stud finder before mounting shelves, TVs, or heavy mirrors
- Fix leaky faucets or roof flashings within 48 hours—U.S. EPA estimates 14% of household water usage is lost to undetected leaks
- Apply primer-sealer like Kilz Restoration before painting over repaired areas to block stains and ensure uniform sheen
Can I reuse the old drywall piece I cut out?
No—once drywall is scored, bent, or exposed to moisture, its structural integrity is compromised. Even if it looks intact, the compressed gypsum core won’t hold screws reliably. Always use fresh, factory-cut drywall matching your wall’s thickness and type (e.g., Type X for garages or hallways).
Do I need fire-rated drywall for bedroom walls?
In most single-family homes, standard 1/2" drywall meets code for bedrooms—but check your local building department. Type X (fire-resistant) drywall is required in garages, basements with fuel-burning appliances, and walls separating dwelling units per IRC R302.3 (2021 International Residential Code).
What’s the fastest way to match texture after repair?
For orange peel or knockdown textures, practice on scrap drywall first using a hopper gun and air compressor. For lighter textures, a damp sponge dragged lightly over wet joint compound mimics subtle swirls. Skip texture entirely if repainting the whole wall—matching texture on partial patches rarely works.
Why does my patched area show through paint even after priming?
This ‘flashing’ happens when joint compound absorbs paint differently than intact drywall. It’s almost always caused by insufficient sanding (leaving ridges), uneven compound thickness, or skipping the primer-sealer step. Always use a PVA-based primer-sealer like Zinsser Gardz before topcoats—it blocks differential absorption.
Can I hang a TV mount directly into the new drywall patch?
Only if the patch is fully screwed into solid framing—not just the backing strips. Locate and mark stud centers before hanging. If your mount spans outside the patch area, use toggle bolts rated for your TV’s weight in hollow sections—and verify anchor depth with a depth gauge. Never rely solely on drywall anchors for TVs over 32 lbs.
How long should I wait between joint compound coats?
Standard all-purpose compound requires 24 hours drying time per 1/8" layer at 70°F and 50% humidity. Setting-type (hot mud) dries in 20–90 minutes depending on mix, but requires precise timing and mixing discipline. Rushing coats causes bubbling, cracking, and poor sandability—always test with light pressure before recoating.
A well-executed drywall replacement shouldn’t look like a repair—it should disappear under paint. Take your time measuring, securing, and finishing. The extra 20 minutes spent leveling a seam or feathering compound saves hours later fixing visible ridges or flashing. And remember: if moisture or mold was involved, treat the root cause first—no amount of new drywall fixes a leaking pipe behind the wall.