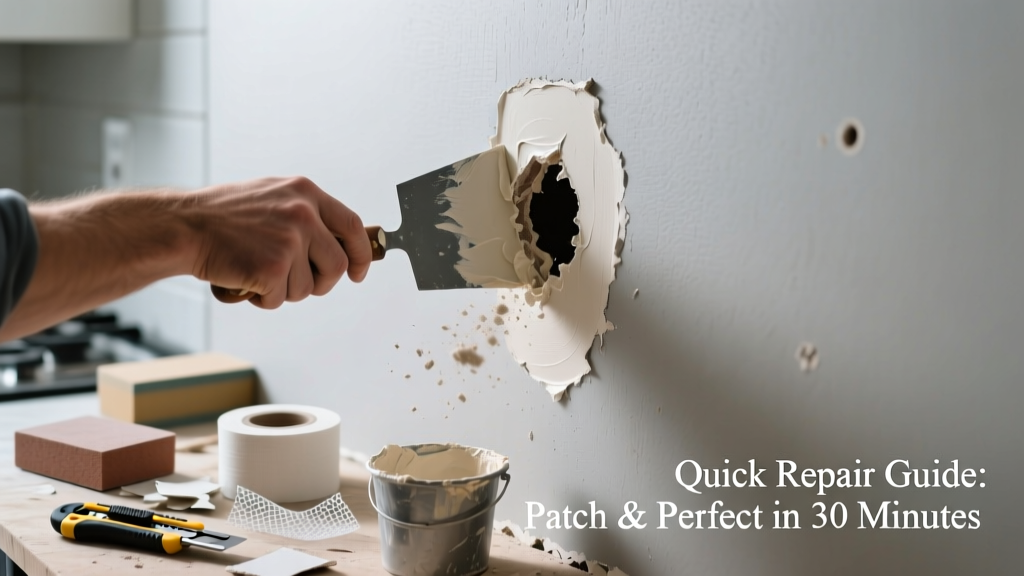
Kitchen drywall holes happen fast—whether it’s a cabinet mounting screw that missed the stud, a dropped pot swinging into the wall, or a loose towel bar pulling out with a chunk of gypsum. Unlike living room walls, kitchen drywall often hides plumbing, electrical lines, or moisture-prone surfaces, so guessing isn’t safe—and delaying repair invites mold or pest entry.
Quick Diagnosis
Before grabbing spackle, identify what caused the hole—it determines your fix:
- Impact damage (e.g., pan, stool, or appliance hitting the wall)
- Over-tightened or stripped screw from cabinet or shelf mounting
- Moisture-weakened drywall near sink or dishwasher (soft, crumbly edges)
- Electrical box cutout that wasn’t properly supported or covered
- Animal or insect activity behind the wall (rare but possible near pantry or floor joists)
Tools & Materials Needed
| Item | Purpose | Estimated Cost |
|---|---|---|
| Drywall saw or utility knife | Cuts clean edges around damaged area; essential for removing compromised gypsum without spreading cracks | $8–$15 |
| Self-adhesive mesh patch (2" × 2" or larger) | Bridges small holes (≤3") without backing; sticks instantly and sands smooth | $4–$7 |
| Setting-type joint compound (e.g., Durabond 45) | Hardens chemically—not air-dried—so resists kitchen humidity better than premixed all-purpose | $12–$18 per 20-lb bag |
| 120-grit sanding sponge | Sands compound without gouging; avoids dust clouds near food prep areas | $3–$6 |
| Paintable caulk (acrylic-latex) | Seals seams near backsplash or countertop where movement occurs; prevents water wicking | $5–$9 |
Step-by-Step Fix
Choose the method based on hole size and location relative to cabinets, outlets, or moisture sources:
- Hole ≤2 inches: Clean debris, apply self-adhesive mesh patch, cover with two thin coats of setting-type joint compound, sand lightly, then prime and paint.
- Hole 2–6 inches: Cut square/rectangular opening using drywall saw, cut matching scrap piece, secure with drywall screws into studs (or use drywall clips if no stud access), tape seams, mud, sand, and finish.
- Hole near outlet or plumbing: Turn off power at breaker and shut off water supply. Remove outlet cover, inspect for damage behind, reinforce with metal bracket if needed, then patch using non-conductive, mold-resistant compound.
- Moisture-softened drywall: Cut out all spongy material past the damp perimeter (minimum 2" beyond discoloration), let wall cavity dry 48+ hours with fan, install mold-resistant drywall (e.g., USG Mold Tough), seal edges with acrylic-latex caulk before mudding.
When to Call a Pro
DIY is smart—but not always safe. Call a licensed contractor or drywall specialist if:
- The hole exposes live wires, corroded pipes, or insulation containing asbestos (common in homes built before 1980)
- You find black mold deeper than 10 sq. in. behind the drywall (per EPA guidelines, remediation requires containment and PPE)
- The damage spans more than one stud bay (i.e., >16" wide) or involves structural framing
- You’re unsure whether the wall is load-bearing—especially near island supports or ceiling beams
"In kitchens, 68% of drywall repairs done without moisture assessment lead to repeat failure within 18 months." — National Association of Home Builders Remodeling Impact Report, 2022
Prevention Tips
Kitchen walls take daily abuse—anticipate it:
- Use toggle bolts or snap toggles instead of drywall anchors for heavy items like pot racks or paper towel holders
- Install a 1/4" plywood backer board behind tile or backsplash zones to absorb impact and simplify future mounting
- Label circuit breakers and shutoff valves clearly—so you can isolate utilities before drilling or patching
- Wipe down walls near sinks weekly to prevent salt and grease buildup that accelerates drywall degradation
Can I use regular spackle instead of joint compound in the kitchen?
No—regular vinyl spackle dries soft and re-emulsifies with humidity. The U.S. EPA estimates that kitchens average 50–70% relative humidity during cooking, which swells standard spackle and causes cracking. Use setting-type joint compound (like Durabond or Sheetrock Brand Easy Sand) for lasting adhesion and moisture resistance.
How long should I wait before painting over the patch?
With setting-type joint compound, wait until it’s fully hardened (check package—usually 45–90 minutes for 45-minute formula). Then sand, prime with stain-blocking primer (e.g., Kilz Original), and paint. Never skip primer: drywall patches absorb paint differently, causing visible 'flashing'—especially under LED kitchen lighting.
Do I need to replace the entire sheet if the hole is near a corner bead?
Not necessarily. If the corner bead itself is intact and only the drywall face is damaged, cut back to the nearest stud, install a new drywall piece flush with the bead, and embed fiberglass mesh tape along the seam before mudding. But if the metal bead is bent, rusted, or detached, replace the bead and adjacent drywall—corner integrity affects cabinet alignment and long-term durability.
Is it safe to patch drywall above the stove?
Yes—if you first confirm no heat-damaged wiring or insulation behind the wall. Per the National Fire Protection Association’s NFPA 90A (2023), combustible materials must be ≥1" from cooktop surfaces. If you see charring, melted wire sheathing, or brittle insulation, stop and contact an electrician before proceeding.
What kind of paint should I use for the patch?
Match the existing finish: most kitchen walls use satin or semi-gloss acrylic paint for wipeability. Avoid flat/matte finishes—they trap grease and show patches more readily. For best results, feather the new paint 6" beyond the patched area using a microfiber roller, and let cure 72 hours before cleaning.
Can I patch drywall behind a refrigerator?
Yes—but only after pulling the unit out safely (use furniture sliders and clear a path). Ensure the wall behind isn’t part of the exterior envelope (which could mean insulation gaps or vapor barrier issues). If the fridge was leaking condensation onto the wall, check for hidden moisture damage with a moisture meter before patching.
A well-patched kitchen wall shouldn’t draw attention—it should just disappear into the background while holding up to steam, splashes, and daily bumps. Keep your drywall saw sharp, your compound mixed fresh, and your outlet covers labeled. And next time you hang that spice rack, measure twice and drill once: choose the right anchor for kitchen loads, and consider adding a backer board behind high-use zones. Small prep saves big headaches later.