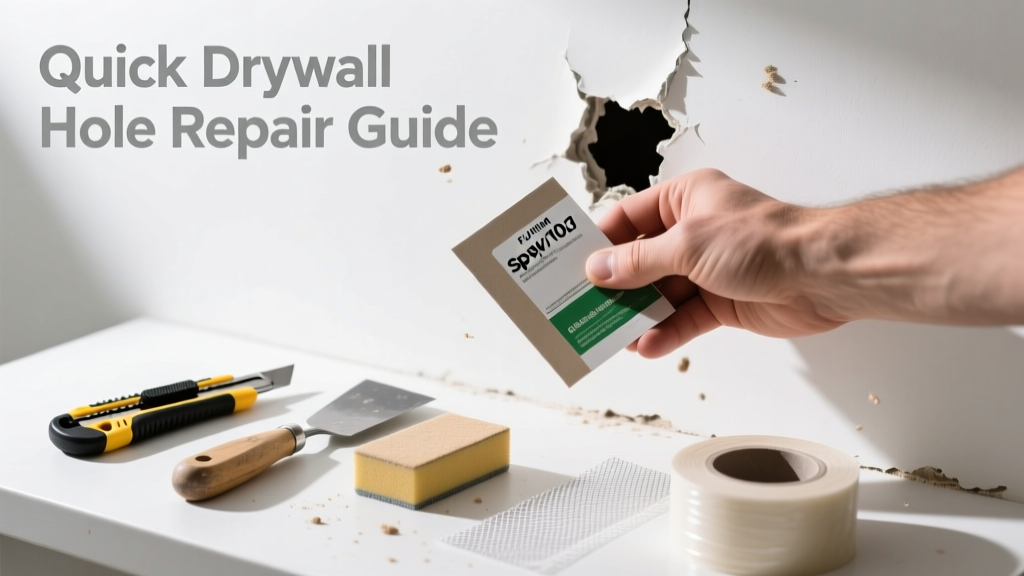
Bathroom drywall holes are more than just cosmetic—they’re red flags for moisture exposure, mold potential, or structural weakness behind the wall. A fist-sized dent near the shower or a screw-pull hole above the vanity needs different handling than one in a bedroom. Get it wrong, and you’ll face peeling paint, crumbling gypsum, or worse: hidden rot.
Quick Diagnosis
Before grabbing spackle, identify what caused the damage. Most bathroom drywall holes fall into these categories:
- Impact damage (e.g., dropped hair dryer, towel bar mounting failure)
- Moisture-induced softening (often around shower valves or leaky faucets)
- Fastener pull-out from repeated vibration (like a loose toilet paper holder)
- Mold-related deterioration (visible black specks, musty odor, spongy texture)
- Tile removal damage (especially when prying off ceramic near seams)
Tools & Materials Needed
| Item | Purpose | Estimated Cost |
|---|---|---|
| Moisture-resistant drywall patch kit (e.g., Sheetrock® Brand Mold Tough) | Resists humidity and inhibits mold growth—critical for bathrooms | $12–$22 |
| 120-grit sandpaper + pole sander | Sanding without over-saturating the area; avoids dust inhalation near plumbing | $8–$15 |
| Hydrophobic joint compound (e.g., Durabond 45) | Set-time control and water resistance—not standard all-purpose mud | $14–$19 |
| Backer board screws (1¼" coated) | Secure patches where studs aren’t accessible; corrosion-resistant for humid air | $5–$9 |
| Paintable silicone caulk (ASTM C920, mildew-resistant) | Seal edges against steam infiltration—especially near tub/shower surrounds | $4–$7 |
Step-by-Step Fix
Choose your method based on hole size and location:
- Small holes (≤1½"): Clean debris, apply mesh tape, cover with two thin coats of hydrophobic joint compound, sand smooth, prime with Zinsser Mold Killing Primer, then paint.
- Medium holes (1½"–6"): Cut square around damaged area, install wood backing behind drywall, screw in a new drywall patch, tape seams, apply three mud coats (feathering 3" beyond edges), sand, prime, and paint.
- Holes near tile or plumbing: Use a fiberglass-reinforced patch with silicone sealant at the perimeter instead of mud alone—prevents wicking along grout lines. Let cure 48 hours before exposing to steam.
- Soft, crumbly drywall: Excavate until firm substrate is reached—even if that means cutting back to the nearest stud. Replace full section with greenboard or cement board if within 12" of shower pan.
When to Call a Pro
DIY stops being safe or effective in these situations:
- The hole exposes wet insulation or blackened framing—indicating active water intrusion behind the wall
- It’s larger than 12" × 12" and overlaps plumbing supply lines or electrical junction boxes
- You detect mold deeper than surface-level (NIOSH defines hazardous mold exposure as >10 spores/m³ in indoor air)
- The wall is part of a load-bearing assembly (e.g., exterior bathroom wall in a balloon-framed home)
- You’re uncomfortable shutting off water main or tracing leaks under tile without infrared imaging
Prevention Tips
Bathroom drywall lasts longer when protected proactively:
- Install grab bars and towel racks into studs—not just drywall anchors
- Run bathroom exhaust fan for 20 minutes post-shower (ASHRAE Standard 62.2-2022 recommends ≥50 CFM continuous or 100 CFM intermittent)
- Inspect caulk around tubs and sinks every 6 months; reseal before cracks exceed 1/16" wide
- Use semi-gloss or satin mold-resistant paint (e.g., Benjamin Moore Aura Bath & Spa) instead of flat interior paint
- Add a dehumidifier if relative humidity consistently exceeds 60% (U.S. EPA recommends 30–50% RH indoors)
Can I use regular drywall compound in a bathroom?
No. Standard all-purpose joint compound absorbs moisture, swells, and fails quickly in high-humidity zones. According to the Gypsum Association’s 2023 Technical Bulletin GA-235, only Type X or mold-resistant compounds labeled for 'high-moisture areas' should be used within 3 feet of showers or tubs.
How long does the repair need to dry before painting?
Hydrophobic compounds like Durabond 45 set in 45 minutes but require full 72-hour cure before priming in humid bathrooms. Rushing this step causes blistering—especially under semi-gloss finishes. Always verify surface dryness with a moisture meter (<25% RH reading).
What if the hole is behind the mirror?
If the mirror is glued directly to drywall (not mounted on clips), cut access from the adjacent closet or attic if possible. If not, carefully score and remove mirror backing, patch, then re-mount using adhesive rated for wet areas (e.g., Loctite PL Premium Mirror Adhesive). Avoid drilling into mirror glass.
Do I need to replace the entire sheet if there’s one small hole?
Rarely. Full-sheet replacement is overkill unless the drywall shows widespread efflorescence, warping, or has been submerged. The U.S. Department of Housing and Urban Development’s 2022 Renovation Guidelines state localized repairs are code-compliant when structurally sound and moisture-free.
Can I patch over moldy drywall?
No—never. Mold penetrates paper and core. The CDC advises complete removal of affected drywall plus 12 inches beyond visible growth. Wear an N95 mask and seal off the area before cutting.
"Surface cleaning doesn't eliminate mold roots in gypsum board—removal is the only reliable fix," says Dr. Jane Johnson, Indoor Air Quality Specialist at the National Institute of Building Sciences (2023).
Is greenboard enough for a shower wall?
Greenboard resists moisture but isn’t waterproof. For direct-tile applications in showers, the Tile Council of North America (TCNA Handbook, 2024 Edition) requires cement board or glass-mat drywall (e.g., DensShield) behind tile—not greenboard alone.
A well-executed bathroom drywall repair buys years of trouble-free use—if you respect the environment it lives in. Humidity isn’t just background noise here; it’s the silent partner in every failure and success. Treat the patch like part of the building envelope, not just a surface fix. And if you’ve ever patched near a steam shower, you know: patience with drying time isn’t optional—it’s the difference between lasting repair and repeat failure. For related help, see our guide on bathroom exhaust fan installation or mold in bathroom ceiling.