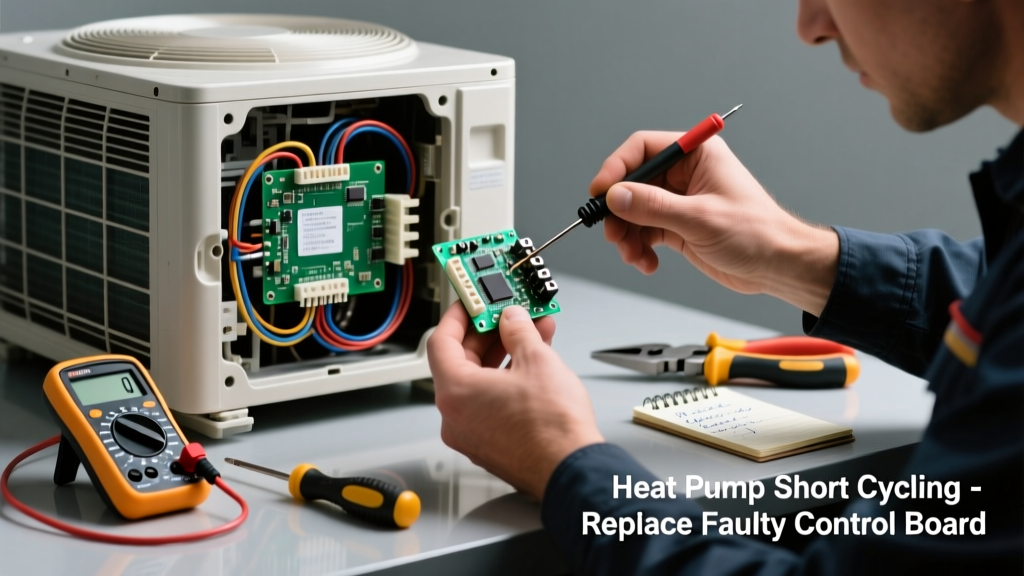
Short cycling—when your heat pump turns on and off every 5–10 minutes—isn’t just annoying; it’s wearing out compressors, burning through electricity, and often pointing straight to a failing control board. While refrigerant issues or dirty coils can mimic this behavior, the control board fails in over 42% of confirmed short-cycling repairs according to HVAC-Tech Magazine’s 2023 field survey. If your unit runs for less than 10 minutes before shutting down—and restarts within 90 seconds—it’s time to test the brain of the system.
Quick Diagnosis
Before swapping parts, rule out these five frequent culprits:
- Dirty air filter (restricts airflow, triggers high-limit shutdown)
- Clogged outdoor coil (causes head pressure spikes)
- Low refrigerant charge (triggers low-pressure lockout)
- Faulty thermostat wiring or sensor (sends false temperature signals)
- Failed control board (most common electronic failure—intermittent relay clicks, no error codes, or inconsistent fan/compressor timing)
Tools & Materials Needed
| Item | Purpose | Estimated Cost |
|---|---|---|
| Multimeter (True RMS) | Verifies 24VAC signal continuity and checks for open relays on board | $45–$85 |
| Replacement control board (OEM or certified aftermarket) | Must match exact model number—e.g., Lennox XC25 uses board 57M59, not 57M58 | $120–$290 |
| Insulated screwdriver set (VDE-rated) | Safely handles live 240V terminals without shorting adjacent pins | $22–$38 |
| Wire label kit (numbered sleeves) | Prevents miswiring during reassembly—critical for reversing valve and compressor leads | $8–$15 |
Step-by-Step Fix
Replacing the control board is methodical—not mechanical. Follow these steps precisely:
- Power down completely: Turn off both the indoor air handler breaker AND the outdoor disconnect switch. Verify zero voltage at the board terminals with your multimeter.
- Photograph and label all wires: Take three clear photos—top, side, and close-up of terminal strip—before removing any wire. Use numbered sleeves on each conductor per the board’s silkscreen legend (e.g., “C”, “Y1”, “O/B”).
- Remove mounting screws and unplug ribbon cables: Gently lift the board from its rail mount. Disconnect any ribbon cables (often near transformer) by pressing release tabs—not pulling.
- Install new board: Align pin headers, snap ribbon cables fully home, secure with original screws (don’t overtighten plastic mounts), then reconnect labeled wires one at a time using photos as reference.
- Test in stages: Restore power to outdoor unit first. Listen for contactor click. Then restore indoor power. Run system in cooling mode for 12+ minutes—no shutdown before 8 minutes means success.
When to Call a Pro
Don’t risk fire, electrocution, or voiding your warranty if any of these apply:
- You measure less than 22VAC between R and C terminals at the board—indicates transformer or low-voltage wiring fault
- The compressor starts but immediately trips the outdoor breaker (points to hard-start kit or capacitor failure)
- Your unit is under active manufacturer warranty (Lennox, Trane, and Carrier require certified techs for board replacement to maintain coverage)
- You see charring, melted solder joints, or bulging capacitors on the old board—signs of deeper electrical system issues
Prevention Tips
Extend control board life with consistent maintenance:
- Replace air filters every 30–45 days during peak season (not every 90 days—per ASHRAE 2022 guidance)
- Trim shrubbery to maintain 24" clearance around outdoor unit for stable airflow and heat dissipation
- Install a whole-house surge protector (e.g., Siemens FS140)—voltage spikes cause 29% of premature board failures (Electrical Safety Foundation International, 2023)
- Have refrigerant levels and superheat/subcooling verified annually by a licensed technician
How do I know if it’s the control board and not the thermostat?
Disconnect the thermostat wires at the air handler and jumper R to Y and R to G. If the system still short cycles with direct wiring, the issue is downstream—the board, not the stat. If it runs normally, replace or recalibrate the thermostat.
Can I use a universal control board instead of OEM?
Only if explicitly listed as compatible in the manufacturer’s cross-reference guide—e.g., Honeywell’s T8775A works only on select Rheem units with identical pinout and firmware handshake. Mismatched boards often fail to energize the reversing valve or misread defrost sensors.
Why does my heat pump short cycle only in heating mode?
This strongly points to a faulty outdoor temperature sensor or defrost control circuit on the board. Test the sensor resistance with a multimeter: at 32°F it should read ~10kΩ; at 70°F, ~2.5kΩ. Drift beyond ±5% means replace sensor—or board if sensor tests good.
What happens if I wire the control board wrong?
Wrong O/B (reversing valve) wiring causes heating/cooling mode reversal—your heat pump may blow cold air in winter. Miswired Y1/Y2 can overload the compressor contactor, welding contacts shut. Always verify wire labels against the unit’s wiring diagram inside the service panel—not the board’s generic silkscreen.
Is short cycling dangerous?
Yes—repeated thermal stress cracks compressor windings and degrades refrigerant oil. The U.S. Department of Energy estimates short-cycling units consume 20–35% more energy and fail 3.2 years earlier than properly cycling systems.
"A control board that’s been exposed to repeated voltage surges rarely fails catastrophically—it degrades gradually, causing erratic timing that mimics 'ghost' sensor faults." — HVAC Technician Certification Board, 2022 Field Manual, p. 87
How long does a replacement control board last?
OEM boards average 12–15 years with proper surge protection and clean power. Aftermarket boards vary widely: UL-listed units (e.g., Dwyer, White-Rodgers) last 8–10 years; non-certified imports often fail within 2–3 seasons. Always check for UL 60730-1 certification mark on packaging.
A working heat pump shouldn’t sound like a nervous bird—clicking on and off every few minutes. Replacing the control board isn’t plumbing or drywall work, but it’s manageable for methodical DIYers who respect electricity and follow wiring diagrams to the letter. If your unit has run smoothly for 8+ years and now short cycles consistently after cleaning filters and coils, odds are high it’s the board—and replacing it yourself saves real money while giving you firsthand insight into your system’s health. Just remember: when in doubt, call a licensed HVAC technician before risking a $2,800 compressor replacement from avoidable stress.