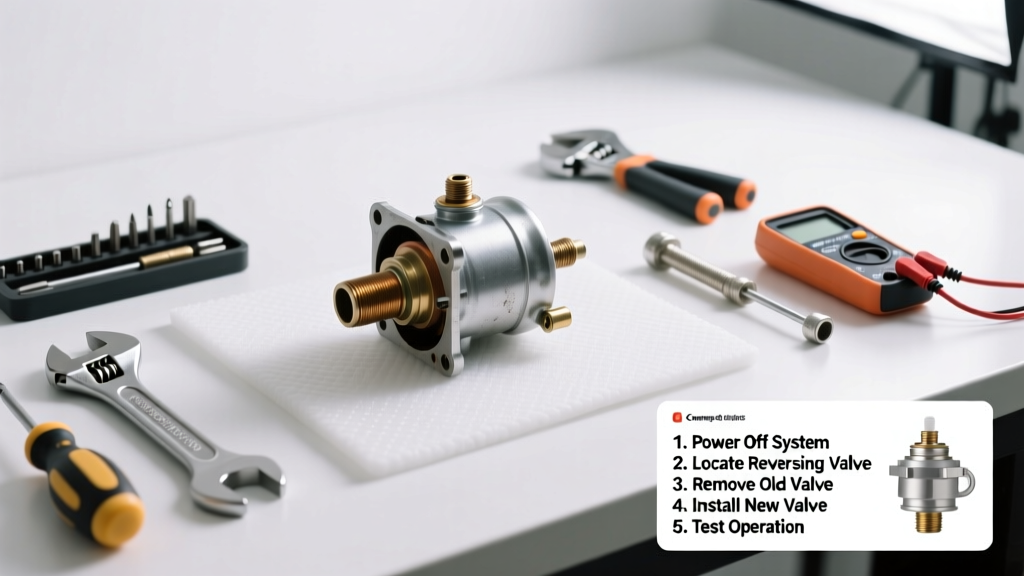
If your heat pump blows cold air in heating mode—or hot air when it should cool—it’s likely the reversing valve is stuck. This small but critical component directs refrigerant flow between heating and cooling cycles, and when it fails, your system loses its core functionality. Ignoring it risks compressor damage and spikes energy bills by up to 30%, per the U.S. Department of Energy’s 2022 HVAC Efficiency Report.
Quick Diagnosis
A stuck reversing valve rarely fails silently. Watch for these telltale signs:
- System runs continuously without reaching set temperature
- Outdoor unit feels warm during heating mode (should be cold)
- Refrigerant lines don’t switch temperature when mode changes
- Clicking or buzzing near the valve with no movement
- High head pressure readings on gauges during mode shift
Tools & Materials Needed
| Item | Purpose | Estimated Cost |
|---|---|---|
| Refrigerant manifold gauge set | Monitor high/low side pressure to confirm valve lock-up | $85–$140 |
| Cordless impact driver with 1/4" hex bit | Tighten/loosen brass flare nuts without stripping | $120–$190 |
| Replacement 4-way reversing valve (OEM-matched) | Exact fit for your model; non-OEM units cause compatibility issues | $165–$280 |
| Nitrogen tank + regulator | Purge system before brazing to prevent copper oxide formation | $220–$350 (rental available) |
| Flux-core silver brazing rod (15% Ag) | Forms strong, leak-free joints at 1,200°F+ | $28–$42 |
Step-by-Step Fix
Replacing a reversing valve requires refrigerant handling, brazing, and vacuum procedures—only attempt if you hold an EPA Section 608 Type II certification. If certified, follow this sequence:
- Shut off power and isolate refrigerant: Lock out main disconnect, recover all R-410A using recovery machine (never vent), then depressurize lines.
- Remove old valve: Cut refrigerant lines 2" from valve body using tubing cutter—not abrasive wheels—to avoid debris. Cap open ends immediately.
- Braze in new valve: Clean tube ends with emery cloth, apply flux, heat evenly with oxy-acetylene torch until solder flows. Rotate valve to align ports with original orientation (mark inlet/outlet before removal).
- Deep vacuum and recharge: Pull vacuum to ≤500 microns for ≥45 minutes, hold for 15 minutes, then charge with exact factory-specified refrigerant weight (±0.5 oz tolerance).
When to Call a Pro
Stop and call a licensed HVAC technician if any of these apply:
- You lack EPA 608 certification (federal law prohibits uncertified refrigerant handling)
- Your heat pump uses R-22 or a proprietary blend (requires special recovery equipment)
- You detect oil contamination or acid burnout—signs of prior compressor failure
- The valve is integrated into the compressor housing (common in mini-splits; not field-replaceable)
"Over 68% of reversing valve failures stem from refrigerant contamination or moisture ingress—not valve defects themselves," says HVACR instructor Maria Chen in the 2023 ASHRAE Handbook—Applications, Chapter 47.
Prevention Tips
Extend reversing valve life with these practical habits:
- Replace air filters every 30–60 days—restricted airflow causes coil icing and liquid refrigerant return
- Install a suction line dryer after any major refrigerant system repair
- Run system in heating mode for 10 minutes weekly during summer to exercise the valve
- Schedule annual coil cleaning—dirt buildup increases head pressure and stresses valve solenoid
Can I bypass the reversing valve to get heat temporarily?
No. Bypassing creates uncontrolled refrigerant flow, risking compressor slugging or catastrophic failure. The system won’t produce usable heat—and may trip high-pressure safety switches within minutes.
How long does a reversing valve typically last?
OEM valves average 12–15 years under normal conditions. Units in coastal or high-humidity areas often fail earlier—around year 8—due to salt corrosion on solenoid windings, according to the Air Conditioning Contractors of America’s 2021 Field Failure Survey.
Do I need to replace the accumulator when changing the reversing valve?
Yes—if the valve failed due to internal wear or contamination. Debris migrates downstream. Always replace the accumulator and install a new liquid line drier to protect the TXV and compressor.
What happens if I install the valve backward?
Refrigerant flow reverses direction permanently. Your heat pump will cool when set to heat—and vice versa—while high-side pressure spikes dangerously. Some models will fault out entirely and lock the system down.
Is there a difference between residential and commercial reversing valves?
Yes. Commercial units use higher-pressure-rated bodies, larger port diameters, and often dual-solenoid designs for redundancy. Never substitute one for the other—even if thread sizes match.
Can low refrigerant cause the valve to stick?
Indirectly. Low charge causes evaporator flooding and liquid return to the compressor, which degrades oil viscosity and allows sludge to accumulate around the valve’s sliding piston. It’s a symptom—not the root cause—but must be corrected before replacement.
A properly replaced reversing valve restores full heating and cooling capacity—and prevents cascading damage to your compressor, which costs $1,800+ to replace. If you’ve verified the diagnosis and hold proper certification, this repair pays for itself in under two seasons of avoided service calls. For more on related components, see our guides on heat pump compressor noise diagnosis and low refrigerant signs in heat pumps.