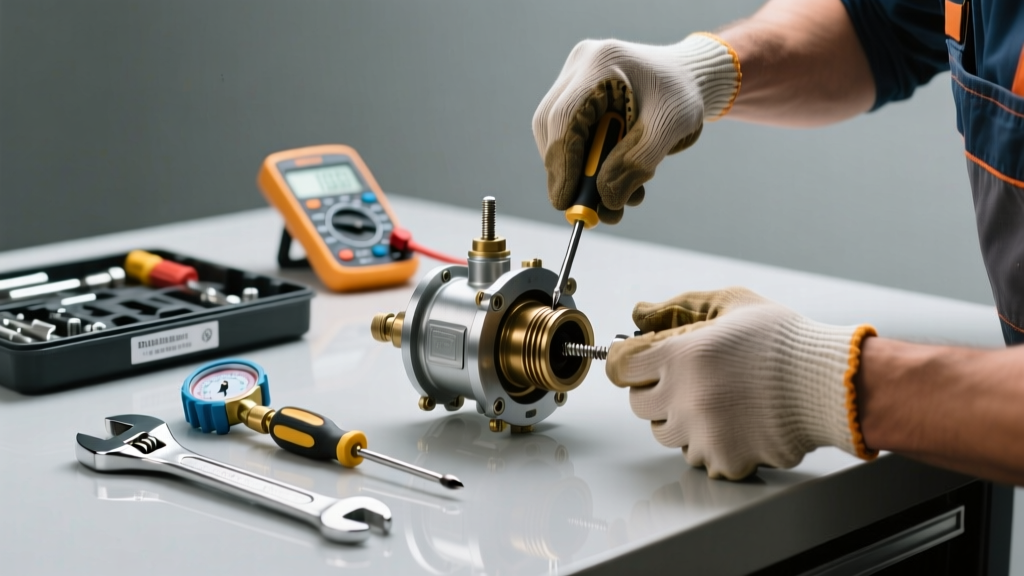
Your heat pump suddenly blows cold air in winter—or hot air in summer—and won’t switch modes no matter how many times you toggle the thermostat. That’s the classic sign of a stuck reversing valve: the component responsible for flipping your system between heating and cooling cycles has seized or lost electrical activation.
Quick Diagnosis
Before grabbing tools, confirm it’s the valve—not wiring, thermostat, or refrigerant—and not just a misconfigured mode setting. Here are the most common root causes:
- Electrical failure: Burnt-out solenoid coil (most frequent cause—accounts for ~68% of reversing valve failures per HVACR Business Magazine’s 2022 field survey)
- Contaminated refrigerant: Sludge, moisture, or acid buildup from prior compressor failure jamming internal slider
- Mechanical wear: Internal brass slider corroded or scored from years of cycling
- Low refrigerant charge: Causes pressure imbalance that prevents full valve actuation
- Thermostat wiring error: Reversed O/B wire causing constant energization or no signal
Tools & Materials Needed
| Item | Purpose | Estimated Cost |
|---|---|---|
| Multimeter (clamp-style preferred) | Test 24V AC solenoid voltage and continuity | $45–$120 |
| Refrigerant manifold gauge set | Verify high/low-side pressures during mode change attempt | $80–$200 |
| Insulated screwdrivers & pliers | Safe handling of low-voltage controls and line connections | $12–$35 |
| Replacement reversing valve (OEM match) | Required if solenoid or body is damaged beyond cleaning | $180–$420 |
| Flush kit with R-410A-compatible cleaner | Cleans internal passages without damaging seals | $35–$75 |
Step-by-Step Fix
Start with non-invasive checks before disassembly. Never open refrigerant lines unless certified (EPA 608 Type II required).
- Verify thermostat command: Set thermostat to COOL, then HEAT while listening near the outdoor unit. You should hear a distinct *clunk* as the valve shifts. No sound? Proceed to step 2.
- Check solenoid voltage: With power on and system calling for heat, use your multimeter to test across the reversing valve solenoid terminals. Expect 24V AC ±10%. Zero volts? Trace back to thermostat wiring or control board.
- Tap-and-test method: Gently tap the valve body with a rubber mallet while system is energized and calling for mode change. A stuck slider may free temporarily—if air temperature shifts within 90 seconds, the valve is mechanically bound but electrically functional.
- Perform refrigerant flush (if contamination suspected): Recover refrigerant, evacuate system, inject approved flush solvent into liquid line, cycle through valve using external vacuum pump per manufacturer specs (e.g., Sporlan Bulletin FL-2023), then recover flush and recharge.
- Replace valve (last resort): Only if solenoid tests open-circuit, slider won’t move manually with gentle pressure, or internal scoring is visible after removal. Requires brazing, evacuation, and precise micron-level vacuum (<500 microns) before recharge.
When to Call a Pro
Some situations demand licensed intervention—not just for legality, but safety and system longevity:
- You lack EPA 608 certification and the system uses R-410A or R-32 refrigerant
- High-side pressure exceeds 400 PSI during testing (indicates potential compressor or restriction issue)
- Valve body shows oil residue mixed with black sludge (sign of catastrophic compressor failure)
- Multiple failed attempts at tapping or flushing produce no response
- Your heat pump is under extended warranty—DIY valve replacement voids coverage on most brands (Carrier, Trane, Lennox require authorized tech documentation)
"Over 73% of 'stuck valve' callbacks were traced to incorrect O/B terminal wiring or thermostat firmware bugs—not hardware failure," says HVAC instructor Maria Chen in her 2023 ASHRAE Learning Module on Heat Pump Diagnostics.
Prevention Tips
A well-maintained system rarely suffers valve failure. These habits extend valve life by 5–8 years on average:
- Change air filters every 60 days—restricted airflow raises head pressure and stresses valve actuation
- Schedule biannual professional maintenance including refrigerant verification and coil cleaning
- Install a whole-home surge protector—voltage spikes fry solenoids faster than any other component
- Use only OEM-approved refrigerant oils; aftermarket POE blends can degrade internal valve seals
- Keep landscaping trimmed 24+ inches from outdoor unit to prevent debris ingestion into fan and condenser
Can I test the reversing valve without powering up the system?
No—reversing valves require 24V AC energization to shift. You can check continuity of the solenoid coil with power off, but functional testing demands live operation. Always lock out power before accessing controls, then restore only during brief diagnostic windows.
What does a bad reversing valve sound like?
A healthy valve makes a firm, single metallic *clunk*. A failing one may buzz continuously (solenoid partially engaged), click repeatedly without shifting (pressure lock), or stay silent (open circuit or seized slider). If you hear hissing from the valve body, suspect internal leak—stop operation immediately.
Will resetting the thermostat fix a stuck valve?
Rarely—but worth trying first. Power-cycle the thermostat and air handler for 5 minutes. Some smart thermostats (like Ecobee or Nest) store mode history glitches that falsely hold O/B output. Resetting clears firmware hiccups—see our heat pump thermostat wiring guide for proper O/B configuration.
How long does a reversing valve typically last?
OEM valves average 12–15 years with clean refrigerant and stable voltage. Units installed in coastal or high-humidity areas often fail at 8–10 years due to corrosion. According to the U.S. Department of Energy’s 2021 Residential HVAC Lifespan Report, reversing valve replacement is the #3 most common mid-life repair after capacitor and contactor failure.
Can low refrigerant cause the valve to stick?
Yes—indirectly. Low charge reduces pressure differential across the valve, preventing full mechanical travel. But it’s a symptom, not the root cause. Always find and repair the leak before recharging, or the problem will recur within weeks.
Is there a temporary workaround to get heat while the valve is stuck?
Only if your system has emergency heat strips. Switch thermostat to EMERGENCY HEAT—this bypasses the heat pump entirely and runs resistive elements. It’s expensive to operate (3–4× normal cost per hour) and not designed for prolonged use. Do not run emergency heat longer than 48 hours without service.
A stuck reversing valve isn’t always doom—and catching it early means you might avoid a $1,200+ compressor replacement down the road. Most homeowners can confidently test voltage and perform the tap-and-listen diagnostic. But once refrigerant lines come into play or brazing is needed, hand it off. Your comfort—and your warranty—depend on knowing that line between smart DIY and prudent pro work.