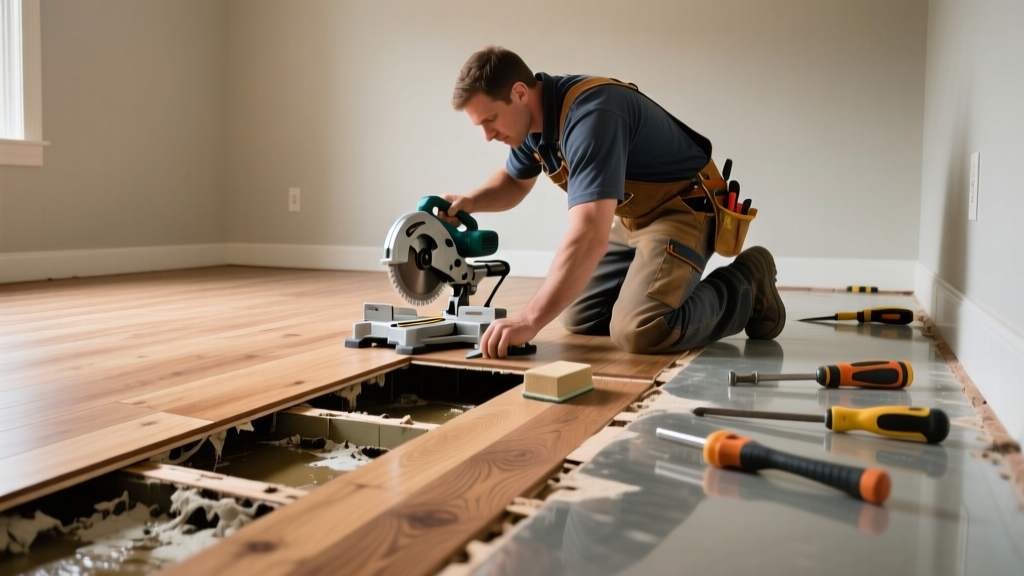
Water damage on hardwood floors isn’t always a total replacement job—often just one or two boards need swapping. But if you delay or misdiagnose, mold can take hold beneath the subfloor or adjacent boards may swell beyond repair within 48 hours.
Quick Diagnosis
Before grabbing tools, confirm the damage is localized and structural integrity remains intact. Look for these telltale signs:
- Visible cupping, crowning, or buckling in isolated boards (not entire room)
- Soft spots or spongy feel when stepped on near baseboards or seams
- Discoloration or white mineral deposits (efflorescence) along board edges
- Musty odor concentrated under a specific section—not throughout the floor
Tools & Materials Needed
| Item | Purpose | Estimated Cost |
|---|---|---|
| Circular saw with fine-tooth blade (or oscillating tool) | Makes clean, controlled cuts without splintering adjacent boards | $85–$150 |
| Chisel & mallet (3/8" and 1/2") | Removes tongue-and-groove remnants and cleans grooves for new fit | $18–$32 |
| Hardwood replacement planks (same species, width, thickness) | Ensures grain match and expansion compatibility; acclimate 72+ hours | $6–$14/ft |
| Wood glue (Titebond III or similar waterproof) | Bonds new board to subfloor and adjacent tongues/grooves | $9–$13 |
| Clamps (bar or pipe, 24"–36") | Holds new board flush while glue cures—critical for seamless height alignment | $22–$45 |
Step-by-Step Fix
- Mark and cut: Use a straightedge to outline a square or rectangle around the damaged area—extend at least 1/2" beyond visible warping. Cut along lines with a circular saw set to depth just shy of subfloor (typically 3/4" for solid 3/4" oak).
- Remove damaged boards: Pry up sections using a pry bar and hammer. Work from center outward to avoid cracking neighboring boards. Clean all residual glue and debris from grooves and subfloor.
- Test-fit and trim: Dry-fit replacement plank(s), checking for snug tongue-and-groove engagement. Trim ends with a jigsaw if needed to match existing expansion gaps (1/4" at walls).
- Glue and clamp: Apply Titebond III to both groove sides and subfloor contact points. Tap into place with a scrap block and mallet. Clamp across width for 4–6 hours (per manufacturer’s cure time).
- Finish and blend: Lightly sand only the replaced area with 120-grit, then apply matching stain and polyurethane. Feather edges to avoid lap lines—see our hardwood floor sanding tips for best results.
When to Call a Pro
DIY replacement fails fast when moisture has compromised more than surface-level wood. Stop and call a certified flooring contractor if:
- You detect softness or flex in the subfloor (plywood or OSB) beneath the damaged boards
- Moisture meter readings exceed 15% MC in three or more adjacent boards (per NWFA standards, 2022)
- The affected area exceeds 4 linear feet or crosses multiple joist spans
- You’re replacing engineered hardwood with attached underlayment—removing it risks damaging the wear layer
Prevention Tips
Water damage often starts small but escalates silently. Install these safeguards now:
- Place absorbent mats (not rubber-backed) at every exterior door and under sink cabinets
- Check dishwasher and washing machine hoses annually; replace every 5 years—even if no leaks are visible
- Use a hygrometer to monitor indoor RH: keep it between 30–50% year-round (U.S. EPA, 2023)
- Install a smart water leak detector like Moen Flo or Phyn under sinks and near water heaters—they alert before saturation occurs
How long do I wait before walking on the repaired floor?
Wait at least 12 hours after clamping before light foot traffic. For full durability—including furniture weight—allow 72 hours for glue and finish to fully cure. Avoid rugs or area carpets for 5 days to prevent trapping solvents.
Can I reuse the old board if it’s only discolored?
No—discoloration usually signals irreversible cellulose breakdown or mold infiltration in the core. Even if it looks dry,
"Once hardwood absorbs >12% moisture content, its dimensional stability is permanently compromised." — National Wood Flooring Association Installation Guidelines, 2022Reinstalling it invites future cupping or squeaking.
Do I need to remove baseboard to replace a single board?
Not always—but it helps. If the damaged board runs parallel to the wall and is within 12" of baseboard, removing the trim gives access to the groove side and prevents breakage when prying. Use a stiff putty knife and 5-in-1 tool to minimize nail damage—see our baseboard removal guide for safe techniques.
What if my floor is glued-down instead of nailed?
Glued-down floors require extra care: use a heat gun (not torch!) to soften adhesive before cutting, and scrape residue with a carbide scraper. Expect longer prep time—adhesive removal adds 1–2 hours per board. Don’t force separation; overheating can scorch the subfloor.
Can I match the stain on an older floor?
Yes—with patience. Bring a 2"x2" sample (sanded smooth) to a local hardwood dealer or Sherwin-Williams. They’ll use a spectrophotometer to analyze color and sheen. Always test stain on a hidden board first. For floors over 8 years old, consider blending the entire room with a refresh coat—our hardwood floor refinishing cost breakdown shows partial touch-ups rarely age evenly.
Is it okay to skip acclimating the new board?
No. Skipping acclimation causes immediate expansion stress. According to the Forest Products Laboratory (USDA, 2021), unacclimated 3/4" red oak can swell up to 1/16" across its width in humid conditions—enough to buckle adjacent boards. Store planks flat in the room for 72+ hours at normal living conditions.
A properly replaced board should last as long as the rest of your floor—if you catch it early and seal it right. The real win isn’t just fixing the damage; it’s knowing exactly where the water came from and stopping it at the source. That’s what keeps your floor looking tight and dry for another decade.