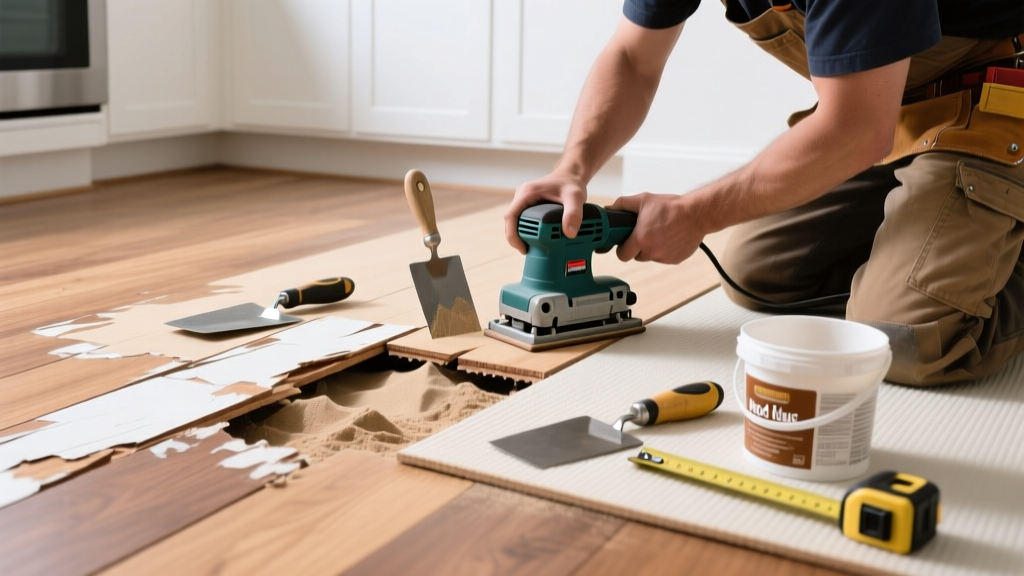
Kitchen hardwood floors face constant moisture threats—from leaky dishwashers and sink overflows to steam from boiling pots and accidental spills. Unlike bathrooms or basements, kitchens combine high traffic with hidden plumbing, making water damage both common and deceptively serious. Catch it early, and you might save most of the floor; wait 48 hours, and cupping, buckling, or mold could require full replacement.
Quick Diagnosis
Identify the source before pulling up boards. Most kitchen hardwood water damage stems from:
- Leaking dishwasher supply line or drain hose (accounts for 37% of appliance-related floor damage, per Home Repair Safety Council 2022)
- Cracked or loose sink P-trap or garbage disposal flange
- Overflowing kettle or pot left on the stove near flooring edges
- Refrigerator ice maker line rupture (often silent until pooling occurs)
- Steam buildup under sealed vinyl-backed rugs or rubber mats
Tools & Materials Needed
| Item | Purpose | Estimated Cost |
|---|---|---|
| Moisture meter (pin-type) | Measures wood moisture content—critical to confirm drying progress below 12% MC | $85–$140 |
| Industrial-grade dehumidifier (70+ pint/day) | Removes ambient humidity faster than fans alone; essential for subfloor drying | $220–$380 |
| 16-gauge finish nails & nail set | Secures loose boards without surface marks; avoids screw heads that catch on mops or shoes | $8–$15 |
| Wood filler (water-resistant, stainable) | Fills shallow cracks or gaps caused by shrinkage—not for saturated, crumbling wood | $12–$22 |
| Shop vacuum with wet/dry capability | Extracts standing water *before* it wicks into tongue-and-groove joints | $60–$130 |
Step-by-Step Fix
Act within 24 hours for best results. Prioritize extraction, then drying, then repair:
- Stop the source and extract water: Shut off water supply to dishwasher or sink. Use a wet/dry vac on all visible puddles—including under cabinets and behind appliances. Don’t skip the gap between baseboard and floor—water hides there.
- Dry aggressively for 3–5 days: Place two 70-pint dehumidifiers—one at each end of the affected zone—and run continuously. Add box fans angled *across* (not down onto) the floor to move air horizontally. Monitor with a moisture meter daily: readings must drop from >20% to ≤12% before sanding.
- Assess board condition: Tap each board with a coin—if it sounds hollow or flexes, it’s compromised. Cupped boards (edges raised, center dipped) may flatten with drying; buckled ones (lifted entirely) usually need replacement.
- Repair selectively: For minor gaps or shallow cracks, use water-resistant wood filler, sand smooth, and re-stain. For isolated buckled boards, remove with a chisel and pry bar, replace with matching pre-finished strip, and blind-nail using the existing nail holes where possible.
When to Call a Pro
DIY stops where structural integrity or health risks begin:
- Moisture readings exceed 25% in subfloor (concrete or plywood) after 5 days of drying
- Visible mold growth (black, green, or fuzzy patches) on underside of flooring or joists
- Damage spans more than three full rows—or crosses into adjacent rooms
- You suspect slab leakage (water seeping up through concrete foundation), which requires pressure testing by a licensed plumber
"Hardwood floors exposed to standing water for over 48 hours have a 73% likelihood of irreversible dimensional change—even if surface drying appears successful." — National Wood Flooring Association (NWFA) Technical Bulletin #2023-07
Prevention Tips
Most kitchen water damage is preventable with low-effort habits and smart upgrades:
- Install dishwasher leak detectors like Flo by Moen under appliances—they shut off supply lines automatically at first drip
- Replace rubber sink垫 (gaskets) every 3 years; inspect garbage disposal flange bolts annually for corrosion
- Use only breathable natural-fiber rugs (jute, cotton) in front of sinks—never rubber-backed mats
- Add a 1/4" expansion gap behind baseboards during installation (many older kitchens skip this, worsening buckling)
- Wipe up spills immediately—even small amounts migrate under toe-kick plates and saturate particleboard subfloors
Can I sand and refinish just the damaged area?
No—spot refinishing rarely matches. The surrounding wood oxidizes and darkens over time, so even identical stain will look blotchy. If less than 10% of the floor is affected, try localized cleaning and oil-based polyurethane touch-ups instead. For larger areas, consider full-room resanding with color blending.
Will a steam mop make it worse?
Absolutely. Steam mops force heat and vapor into seams and micro-cracks, accelerating delamination and glue failure in engineered hardwood. Use only pH-neutral cleaners damp-mopped—not wet—and dry immediately with a microfiber cloth.
How long does hardwood take to dry naturally?
Natural air drying takes 10–21 days in ideal conditions (low humidity, 70°F, cross-ventilation)—but kitchen environments rarely meet those specs. That delay allows mold spores to colonize subfloor insulation and joist cavities. Always use mechanical drying.
Can I replace just one warped board?
Yes—if it’s a solid 3/4" hardwood nailed to sleepers or joists. Engineered planks installed via click-lock or glue-down are nearly impossible to replace individually without damaging neighbors. In those cases, cut out the damaged board and patch with a custom-milled match—or accept a small repair plate.
Do I need to remove baseboards?
Only if moisture readings along the wall edge exceed 15%. Baseboards trap moisture against the top of the subfloor. Removing them allows airflow and lets you check for rot behind drywall or plaster. Reuse original baseboards if undamaged—nail them back with finish nails, not adhesive.
Is vinegar safe for cleaning water stains?
Vinegar can lighten tannin-based stains on oak or walnut but risks etching polyurethane finishes. Mix 1 part white vinegar with 3 parts water, apply with a cotton swab only to the stain, wipe dry in 30 seconds, then test on an inconspicuous area first. Better options: oxalic acid wood bleach (for deep gray stains) or fine steel wool + mineral spirits for surface haze.
Water damage in the kitchen isn’t a question of *if*, but *when*—and how fast you respond makes the difference between a $120 moisture meter fix and a $4,200 floor replacement. Keep your dehumidifier plugged in year-round near the sink cabinet, check appliance hoses every January and July, and treat every puddle like it’s already warping your floor. That mindset buys decades of service from quality hardwood—even in the wettest room in the house.